Modules & Options
6 - 76 PC Camera
6
Camera App
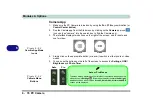
1.
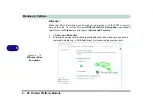
Make sure the PC Camera is turned on by using the
Fn + F10
key combination (or
Control Center button
).
2.
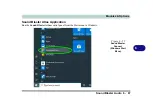
Run the Camera app from the Start menu by clicking on the
Camera
app icon
(you can type “camera” into the search box to find the Camera app).
3.
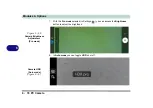
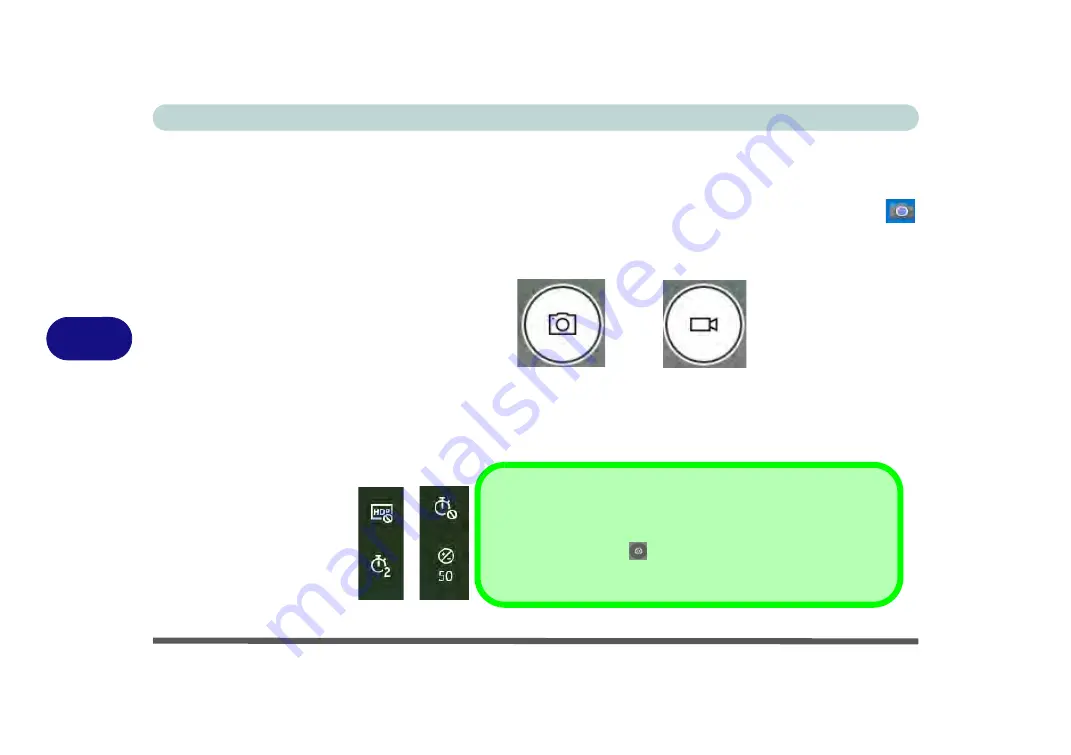
The interface displays two buttons on the right of the screen; one for photo and
one for video.
4.
Simply click on the appropriate button (or arrow) to switch to either photo or video
modes.
5.
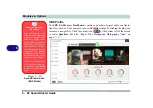
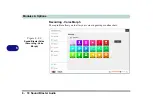
You can use the buttons on the left of the screen to access the
Settings,
HDR/
Brightness
and
Photo Timer
.
Figure 6 - 63
Camera App Mode
Icons
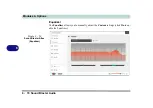
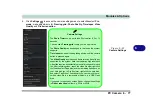
Figure 6 - 64
Camera Menu
Buttons
Photo
Video
Auto
Pro
Auto or Pro Modes
The menu buttons displayed on the left side of the screen will depend on the
mode chosen in
Settings
.
Pro
mode will display the
timer and bright-
ness
buttons, and with Pro Mode disabled (
Auto mode
) the
timer and HDR
buttons will be displayed.
Summary of Contents for X170SM-G
Page 1: ...V20 1 00 ...
Page 2: ......
Page 20: ...XVIII Preface ...
Page 66: ...Quick Start Guide 1 34 1 ...
Page 124: ...Drivers Utilities 4 14 4 ...
Page 252: ...Troubleshooting 7 18 7 ...
Page 258: ...Interface Ports Jacks A 6 A ...
Page 320: ...Video Driver Controls C 34 C ...

