MatrixMonitor™ IOM - Rev 4 - 4/11/2013
Page 31
Press the
(enter) key to return to the “
Control Set Up
” sub menu and the grease life
timer for array 1 will be reset.
Return to Main Menu
From the “
Control Setup
” submenu, scroll down to highlight “
10. Return to Main
”. Press the
(enter) key to return to the main menu. Before the systems transfers control to the main menu it saves
the array set up option data to a setup data file in the flash memory of the Rabbit RCM3000 control
module. A momentary screen displaying the message “
Saving Settings
” will appear to confirm this.
Set the real time clock
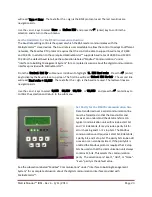
Setting the real time clock is accomplished from the submenu that is accessed from the main menu
screen. The real time clock has a battery backup and never needs to be reset. The clock does not
automatically adjust for daylight savings time so you may want to do so to keep the time current with
the actual time on the site. The clock is needed for the lubrication monitoring system and it is not
necessary for the clock to be adjusted for daylight savings time changes for this to function properly.
From the “
Main Menu
” scroll down and highlight “
7. Clock Settings
”. The following submenu will
display:
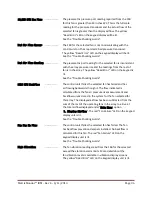
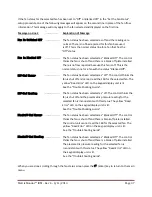
Menu Lines Displayed
……………….. Screen Type
(Screen Function)
<<<Clock Settings>>>
1. Time and Date
2. Return to Main
In order to select one of the menu options use the ^ and ˅ keys to highlight the menu option desired
and then press the enter key.
Time and Date
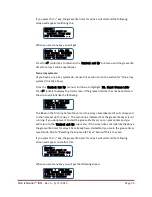
From the “
Clock Settings
” submenu scroll down
and highlight “
1. Time and date
” and press
(enter) key to set the real time clock.
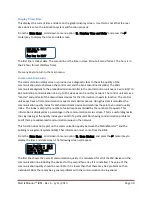
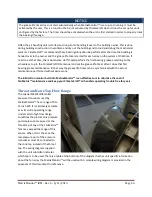
The following lines will appear on the graphic
display:
Select
4 digit year : 1980
(+/-) to Select
Enter to Continue
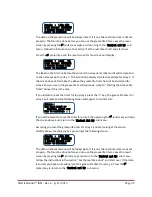
The clock starts counting from January 1, 1980. The
number after the colon in the second line is the
year. If the clock has never been set or the battery
has been replaced the year will be 1980. To change


