5
c l i m a t e m a s t e r. c o m
T H E S M A R T S O L U T I O N F O R E N E R G Y E F F I C I E N C Y
Tr a n q u i l i t y
®
2 0 ( T S ) S e r i e s
R e v. : 0 6 / 1 7 / 1 5
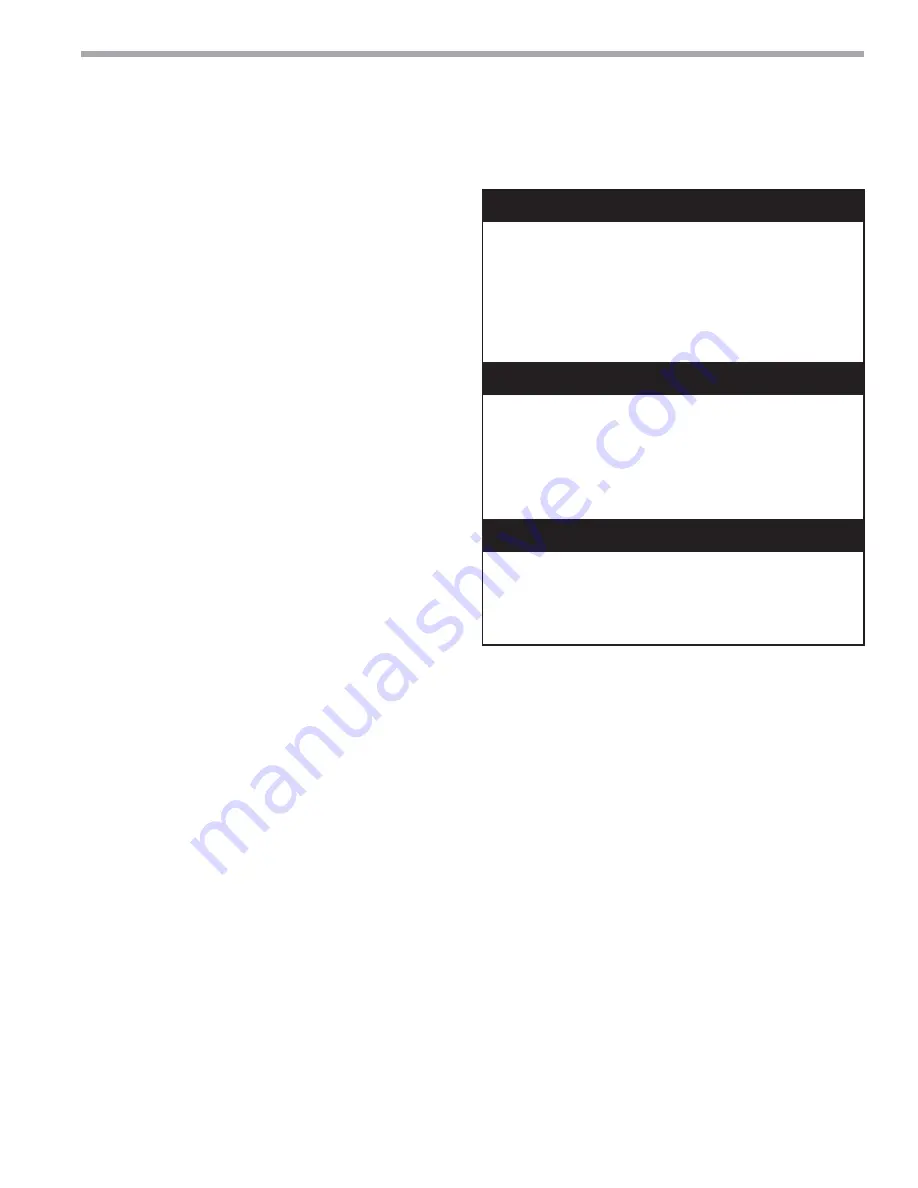
CAUTION!
All three phase scroll compressors must have
direction of rotation verifi ed at start-up. Verifi cation is
achieved by checking compressor Amp draw. Amp draw
will be substantially lower compared to nameplate values.
Additionally, reverse rotation results in an elevated sound
level compared to correct rotation. Reverse rotation will result
in compressor internal overload trip within several minutes.
Verify compressor type before proceeding.
CAUTION!
DO NOT store or install units in corrosive
environments or in locations subject to temperature or
humidity extremes (e.g., attics, garages, rooftops, etc.).
Corrosive conditions and high temperature or humidity can
signifi cantly reduce performance, reliability, and service life.
Always move and store units in an upright position. Tilting
units on their sides may cause equipment damage.
NOTICE! Failure to remove shipping brackets from
spring-mounted compressors will cause excessive
noise, and could cause component failure due to
added vibration.
CAUTION!
CAUTION!
CAUTION!
CAUTION!
CUT HAZARD - Failure to follow this caution may
result in personal injury. Sheet metal parts may have sharp
edges or burrs. Use care and wear appropriate protective
clothing, safety glasses and gloves when handling parts and
servicing heat pumps.
General Information
Pre-Installation
- Installation, Operation, and
Maintenance instructions are provided with each unit.
Horizontal equipment is designed for installation
above false ceiling or in a ceiling plenum. Other unit
confi gurations are typically installed in a mechanical
room. The installation site chosen should include
adequate service clearance around the unit. Before unit
start-up, read all manuals and become familiar with the
unit and its operation. Thoroughly check the system
before operation.
Prepare units for installation as follows:
1. Compare the electrical data on the unit nameplate
with ordering and shipping information to verify that
the correct unit has been shipped.
2. Keep the cabinet covered with the original packaging
until installation is complete and all plastering,
painting, etc. is fi nished.
3. Verify refrigerant tubing is free of kinks or dents and
that it does not touch other unit components.
4. Inspect all electrical connections. Connections must
be clean and tight at the terminals.
5. Remove any blower support packaging (water-to-air
units only).
6. Loosen compressor bolts on units equipped with
compressor
spring
vibration isolation until the
compressor rides freely on the springs. Remove
shipping restraints. (No action is required for
compressors with rubber grommets.)
7. Some airfl ow patterns are fi eld convertible (horizontal
units only). Locate the airfl ow conversion section of
this IOM.
8. Locate and verify any hot water generator (HWG),
hanger, or other accessory kit located in the
compressor section or blower section.


