20
Check the box in front of
“
Motion Detection Enable
” to determine whether the IP
Camera
’s motion detection function should be activated.
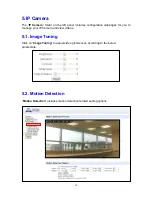
The IP Camera can configure up to 2 customizable regions for motion detection. To
activate the motion detection region, check the box in front of
“
Region 1
” or
“
Region 2
”.
When motion is detected, the
“
Region 1
” or “
Region 2
” text color will turn red for
approximately 3 seconds to indicate it has detected motion. The IP Camera will
report the motion detection event according to Report setting and record the event
in
“
Reported Event
” webpage. Refer to
5.6. Alarm Setting
for setting video length.
If a Motion Detection is triggered, the IP Camera must complete video recording
before a second motion detection can be triggered again.
<NOTE>
By default,
“
Region 1
” is ticked and it detection coverage includes the whole
camera view.
If
“
Motion Detection Enable
” is ticked but neither of “
Region 1
” or “
Region 2
”
is ticked, The IP Camera will not be able to detect any movement.
Please click t
he “
OK
” button for the changes to be effective.
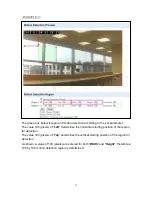
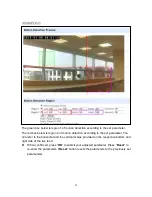
Motion Detection Region
You can choose the location, size and sensitivity of the motion detection region by
adjusting the parameters shown. The live feed has scales on the horizontal and the
vertical axis for you to refer to.
“
Left
” determines the horizontal starting point of the motion detection box. It starts
from left of the screen at 0 pixels, towards the right at 640 pixels.
“
Top
” determines the vertical starting point of the motion detection box. It starts
from top of the screen at 0 pixels, towards the bottom at 360 pixels.
“
Width
” determines the width of the box. The value of “
Left
” determines its starting
point.
“
Height
” determines the height of the box. The value of “
Top
” determines its
starting point.
Summary of Contents for VST-1818
Page 1: ...September 30 2017 ...

