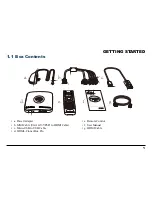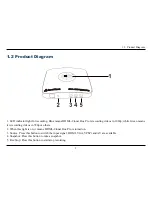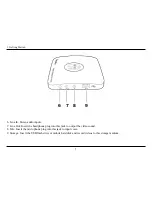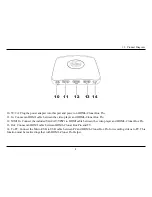
1. Getting Started
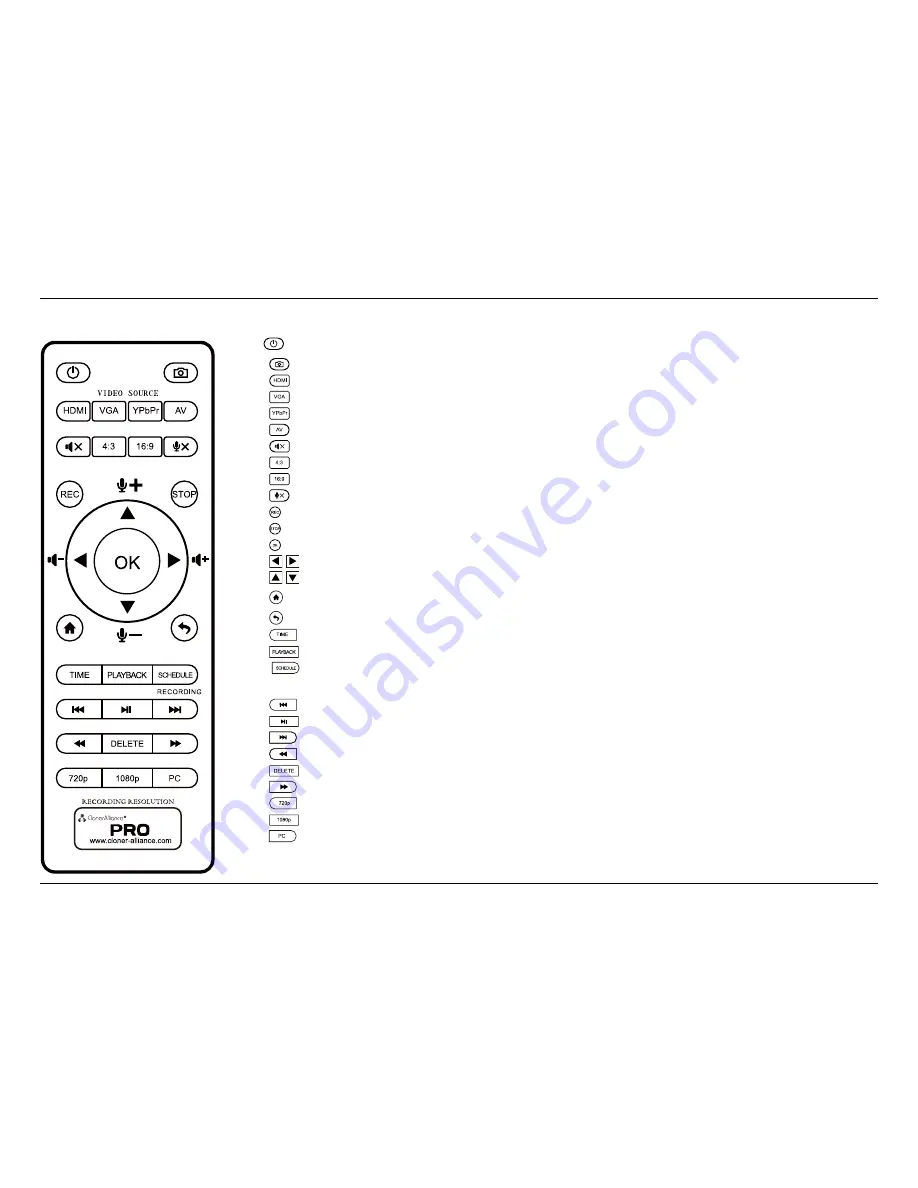
HDML Cloner box
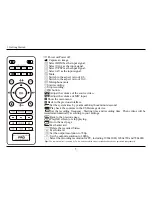
Power on/Power off.
Capture an image.
Select HDMI as the input signal.
Select VGA as the input signal.
Select YPbPr as the input signal.
Select AV as the input signal.
Mute.
Switch to the aspect ratio of 4:3.
Switch to the aspect ratio of 16:9.
Microphone mute.
Start recording.
Stop recording.
OK button.
Adjust the volume of the source video.
Adjust the volume of MIC input.
Show the main menu.
Back to the previous interface.
Set the system time by year/month/day/hour/minute/second.
Play back the contents in the USB storage device.
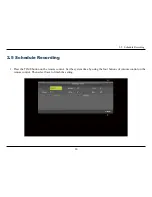
Set the recording frequency. Starting time and recording time. Then videos will be
recorded automatically according to your settings.
Back to the previous page.
Play(full screen) or stop playing.
Go to the next page.
Fast backward.
Delete the recorded Video.
Fast forward.
Set the output resolution to 720p.
Set the output resolution to 1080p.
Select the recording resolution for PC, including 1920x1080, 1280x720 and 720x480.
Tips:
The remote control is powered by 2 AAA batteries which are not included and need to be purchased independently.
5
Summary of Contents for CA-998P
Page 1: ...HDML Cloner Box Pro User Manual Source Snapshot Rec Stop HDML Cloner box...
Page 15: ...2 How to record videos to the USB storage device 3 You will see the file list 11...
Page 24: ...2 6 Menu Navigation 20...
Page 31: ...3 How to record videos to PC 27...
Page 36: ...3 4 Record Capture 2 Click to start recording 32...


