7. Setup
7-6. RECORD
▫
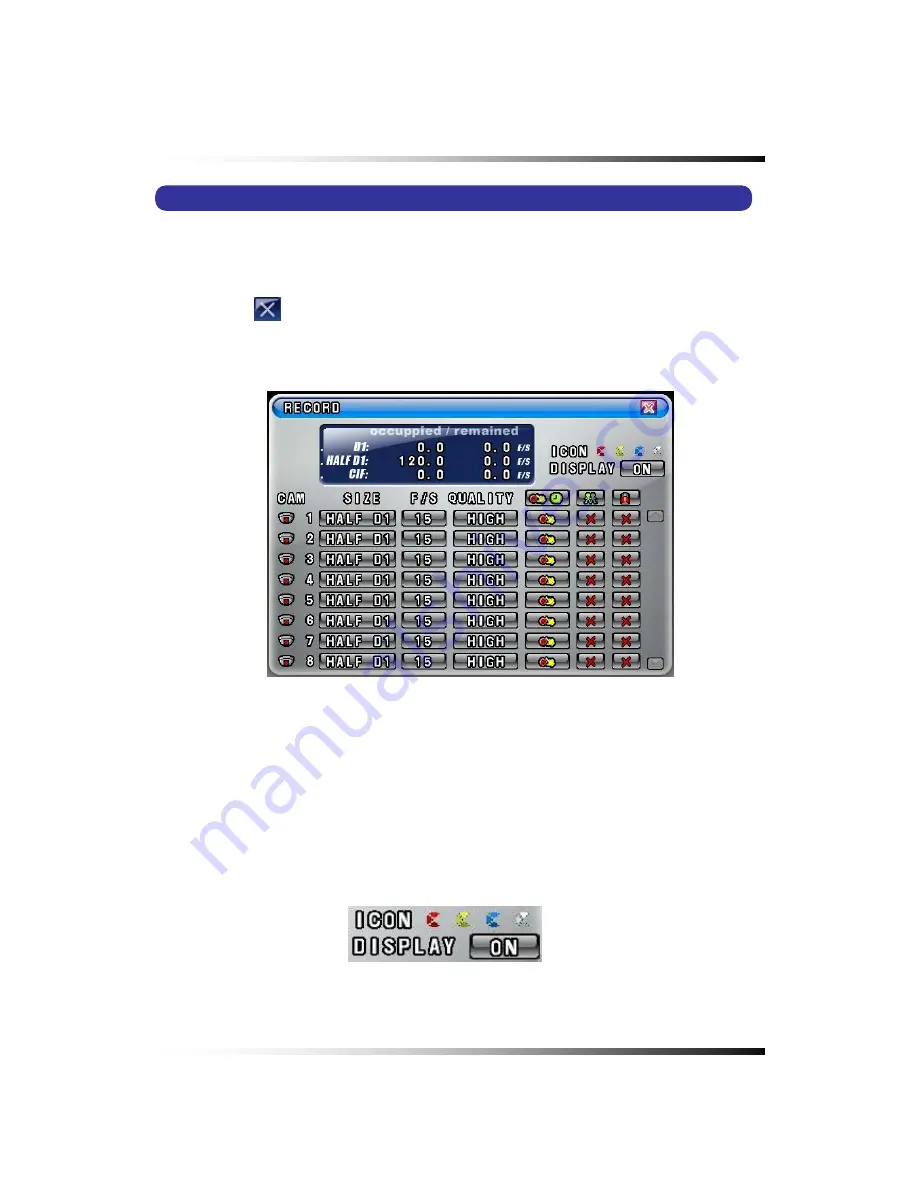
Click the “RECORD” button in the SETUP menu and the RECORD menu will be displayed
as shown in Fig.7-54.
▫
Click the
(EXIT) button to return to the SETUP menu.
[Fig.7-54 RECORD menu]
7-6.1. Record ICON Display
▫
The Recording Icons depends on recording modes are displayed on the upper left corner
of the screen.
▫
To turn the Recording Icon OFF, click the DISPLAY ON in the RECORD menu and then it
will be turned OFF. You can select the value
ON
or
OFF
by repeatedly clicking the mouse.
[Fig.7-55 Record ICON Display button]
99
Summary of Contents for CDR-0850
Page 2: ...2 ...
Page 8: ...Stand alone DVR Instruction Manual 8 ...
Page 10: ...Stand alone DVR Instruction Manual 10 ...
Page 14: ...Stand alone DVR Instruction Manual 14 ...
Page 16: ...Stand alone DVR Instruction Manual 16 ...
Page 18: ...Stand alone DVR Instruction Manual 18 ...
Page 23: ...5 Installation 5 3 System Connection Fig 5 3 System Connection 23 ...
Page 30: ...Stand alone DVR Instruction Manual 30 ...
Page 81: ...7 Setup Fig 7 16 BACKUP CONFIG window 81 ...
Page 87: ...7 Setup Fig 7 25 HDD FORMAT window 87 ...
Page 128: ...Stand alone DVR Instruction Manual 128 ...
Page 141: ...8 Remote Host Program Fig 8 12 Copying on the SmViwer Fig 8 13 Copy Completion 141 ...
Page 152: ...Stand alone DVR Instruction Manual 152 ...
Page 153: ...APPENDIX CONTENTS RECORDING TIME TABLE 154 FACTORY DEFAULT SETTINGS 155 153 ...
Page 158: ...Stand alone DVR Instruction Manual 158 ...


