27
DIGITAL VIDEO RECORDER
USE
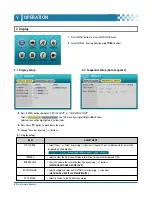
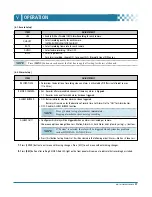
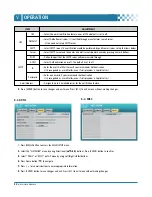
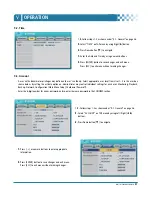
• Enable (ON) or Disable (OFF) Alarm Recording for each camera.
QUALITY
• Select recording quality for each camera.
[ULTRA/SUPER/HIGH
/
MIDDLE/LOW]
RATE
• Select recording frame rate for each camera.
AUDIO
• Select audio recording : ON or OFF.
INPUT
• Select input device.
For alarm recording, choose N.O. to connect N.O. (Normally Open) PIR Sensor.
ITEM
ADJUSTMENT
7
.
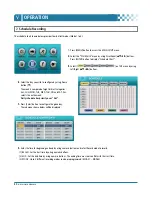
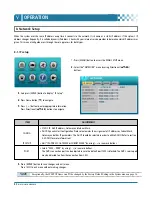
Press [ENTER] button to exit menu with saving changes. Press [ESC] to exit menu without making changes.
8
.
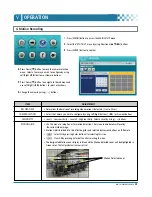
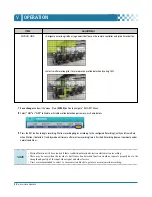
Press
[REC]
button after setting RECORD. Red LED light on the front panel will come on to indicate that recording has started.
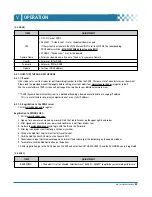
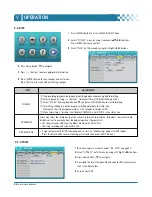
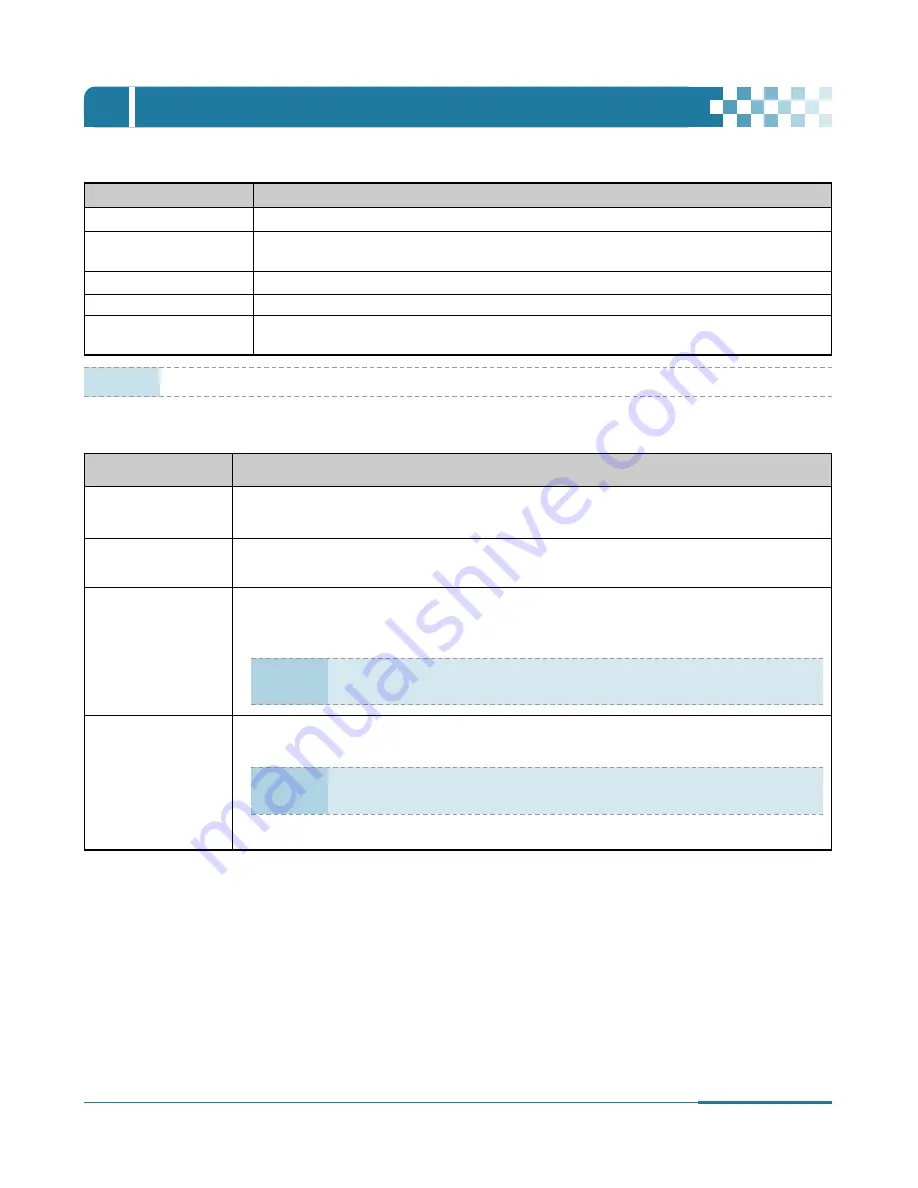
RECORD TIME
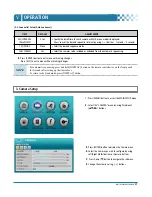
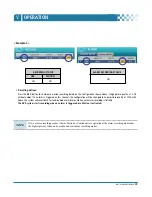
• Determines the duration of recording when an alarm is activated by PIR (Passive Infrared) sensor.
[1 to 20sec].
RECORD CAMERA
• ALL : Records all alarm enabled channels if there any alarm is triggered.
• 1:1 : Records a channel for which alarm has been triggered.
ALARM BUZZER
• ON : Buzzer indicates whether alarm has been triggered.
Buzzer will remain on for the duration of record time. Set Alarm Out to “ON” for Alarm buzzer.
• OFF : Disables ALARM BUZZER function.
ALARM OUT1
• Configure which relay will be triggered when an alarm is activated per camera.
Choose one option among Video Loss, Motion, Alarm ALL, Each Alarm and System by using [-,+] buttons.
• Press [Esc] button to stop Alarm Out. It will be cleared in the following order : Alarm > Motion > Video Loss.
ITEM
ADJUSTMENT
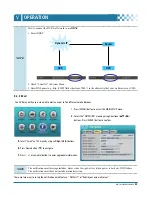
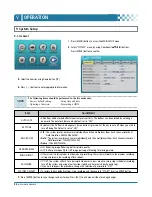
NOTE
Press [-] button to stop alarm buzzer immediately.
Stopping alarm buzzer does not stop recording.
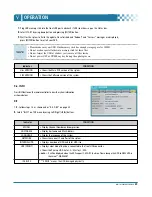
NOTE
If “System” is selected, the relay will be triggered when System has problems
such as HDD FAIL, FAN LOCK etc.
NOTE
Press
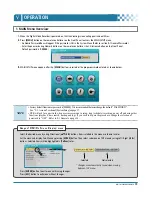
[MENU] button on each item at the first line to apply all setting for the rest of channels.
[6-1. Record Setup]
[6-2. Alarm Setup]
OPERATION
Ⅴ
Summary of Contents for CDR-4770
Page 2: ......
Page 51: ...CLIENT PROGRAM CLViewer...
Page 52: ......
Page 90: ...88 DIGITAL VIDEO RECORDER...


