DRIVETRAIN COMPONENTS
Front Differential
17
2199
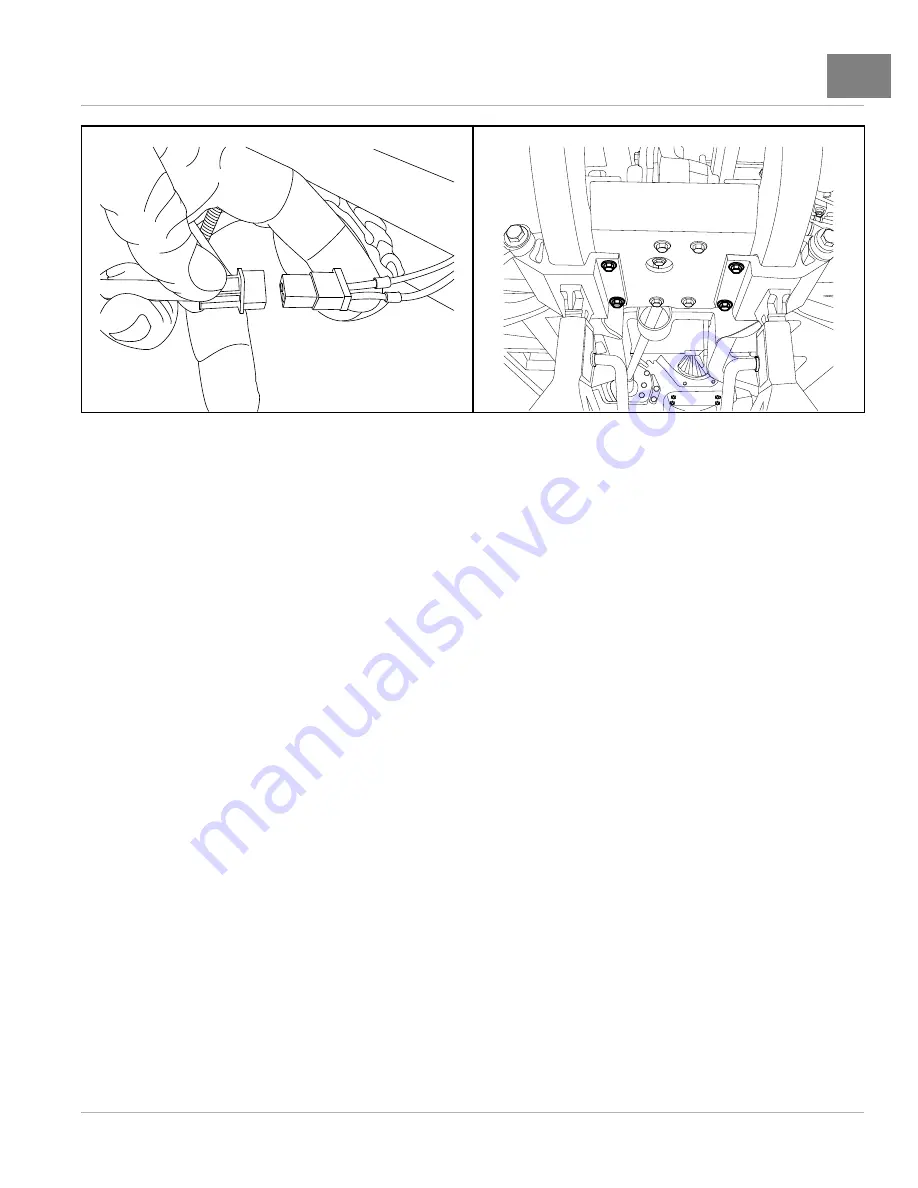
Figure 17-7
Differential Clutch Connector
2200
Figure 17-8
Front Differential Plate Bolts
FRONT DIFFERENTIAL INSTALLATION
See General Warnings, Section 1, Page 1-2.
NOTE:
If the differential was removed or replaced from the differential plate, use new flange-head bolts and tighten
the hardware to 30 ft-lb (41 N·m).
1.
Apply a light coat of anti-seize compound to the differential pinion shaft.
2.
Position the front differential and plate on the two frame support weldments. Align the splined coupling on the
universal joint so the roll pin hole in the spline coupling aligns with the roll pin hole in the differential pinion shaft.
3.
Slide the differential pinion shaft into the driveshaft universal joint coupling.
4.
Secure the differential plate to the frame support weldments with new flange-head bolts. Tighten the hardware to
23 ft-lb (31 N·m)
5.
Connect the electric clutch harness to the connector behind splash guard
6.
Connect the vent tube to the differential housing
See following NOTE.
NOTE:
If the tube shows signs of cracking or splitting, trim the end before the tube is connected or replaced.
7.
Secure the driveshaft universal joint coupling to the differential pinion shaft with bolt and lock nut. Tighten lock
nut to 17 ft-lb (23 N·m).
8.
Fill the front differential with the specified lubricant.
See Periodic Lubrication Schedule, Section 10, Page 10-6.
9.
Install the half shafts.
See Half Shaft Installation on page 17-2.
10.
Connect battery.
See Side-Post Battery: Connecting the Battery – Gasoline/Diesel Vehicles on page 1-4.
See Top-Post Battery: Connecting the Battery- Gasoline/Diesel Vehicles on page 1-4.
2016 Carryall 1500/1700 and XRT 1550 Maintenance and Service Manual
Page 17-5
Summary of Contents for Carryall 1500 2016
Page 2: ......
Page 432: ...NOTES...
Page 433: ...NOTES...
Page 434: ...NOTES...
Page 435: ......
Page 436: ......


