TORQUE CONVERTER
Driven Clutch
Page 17-12
2006-2010 Turf/Carryall 272/472 and XRT 1200/1200 SE Maintenance and Service Manual
17
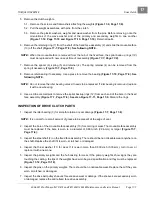
4. Install the drive belt as instructed.
See Drive Belt Installation on page 17-3.
5. Connect battery and spark plug wire(s).
See Connecting The Battery on page 1-3.
6. Drive the vehicle and check for proper operation.
DRIVEN CLUTCH
See General Warning, Section 1, Page 1-1.
DRIVEN CLUTCH REMOVAL
1. Turn the key switch OFF and remove the key. Place the Forward/Reverse handle in the NEUTRAL posi-
tion. Chock the wheels.
2. Disconnect battery and spark plug wire(s).
See Disconnecting The Battery on page 1-3.
3. Remove the drive belt as instructed.
See Drive Belt Removal on page 17-3.
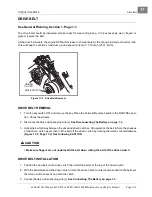
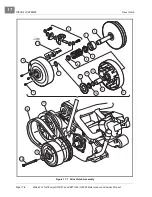
4. Remove the bolt (11) and mounting washer (12) from the clutch shaft
5. Grasp the driven clutch assembly and slide it off the shaft.
6. Leave the key (9) in the keyway
.
DRIVEN CLUTCH DISASSEMBLY
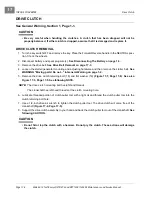
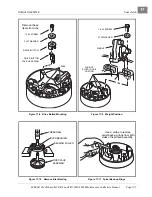
1. Using external snap ring pliers, remove the retaining ring (2)
.
See following
WARNING.
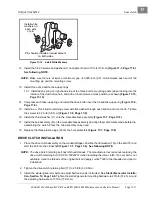
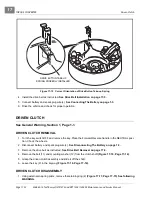
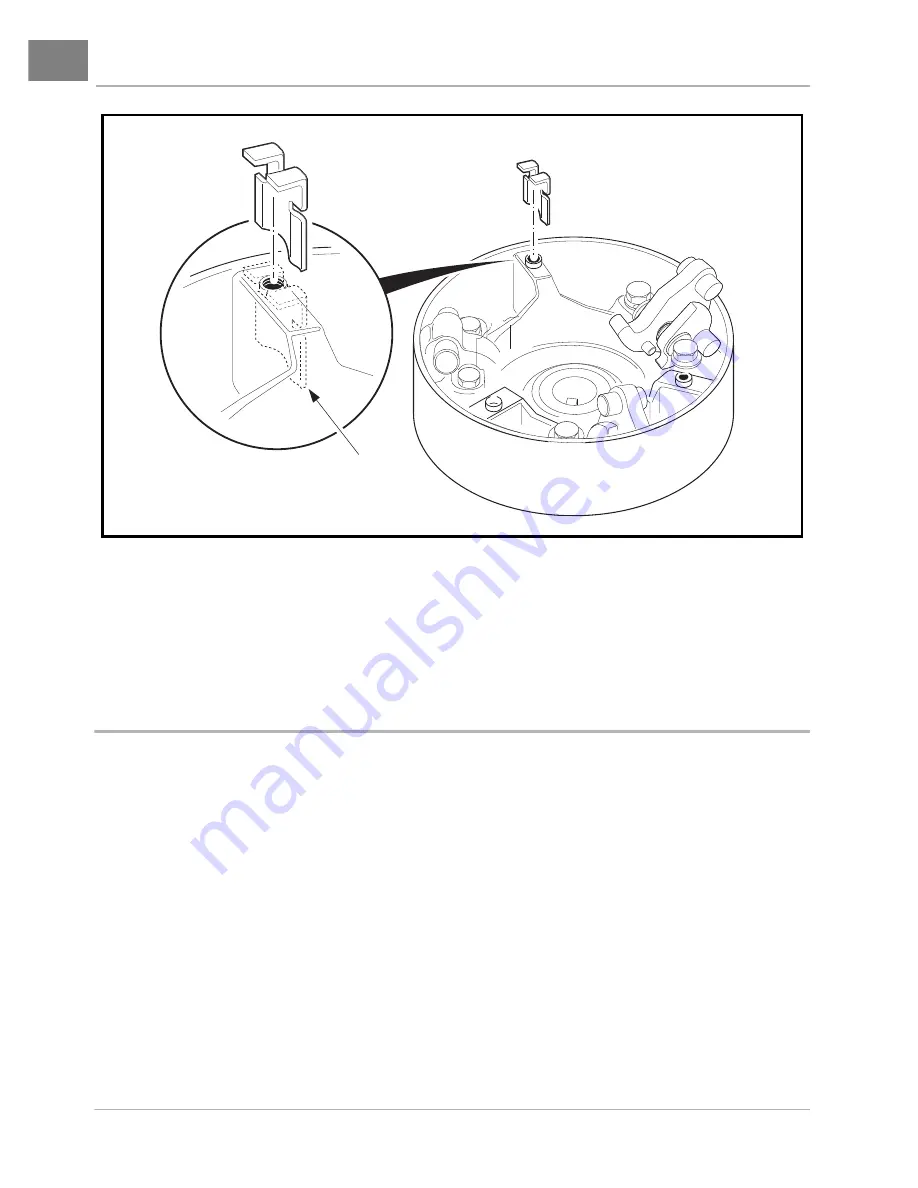
Figure 17-15 Correct Orientation of Drive Button Take-up Spring
DRIVE BUTTON TAKE UP
SPRING PROPERLY INSTALLED
Summary of Contents for CARRYALL 272
Page 2: ......
Page 14: ......
Page 18: ...1...
Page 52: ...5...
Page 90: ...6...
Page 110: ...7...
Page 112: ...8...
Page 128: ...10...
Page 170: ...11...
Page 224: ...13...
Page 284: ...16...
Page 302: ...17...
Page 308: ......
Page 309: ...Club Car R NOTES...
Page 310: ...Club Car R NOTES...
Page 311: ......


