7
Rack and Pinion
STEERING AND FRONT SUSPENSION
2050
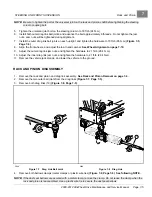
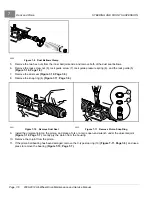
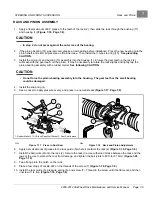
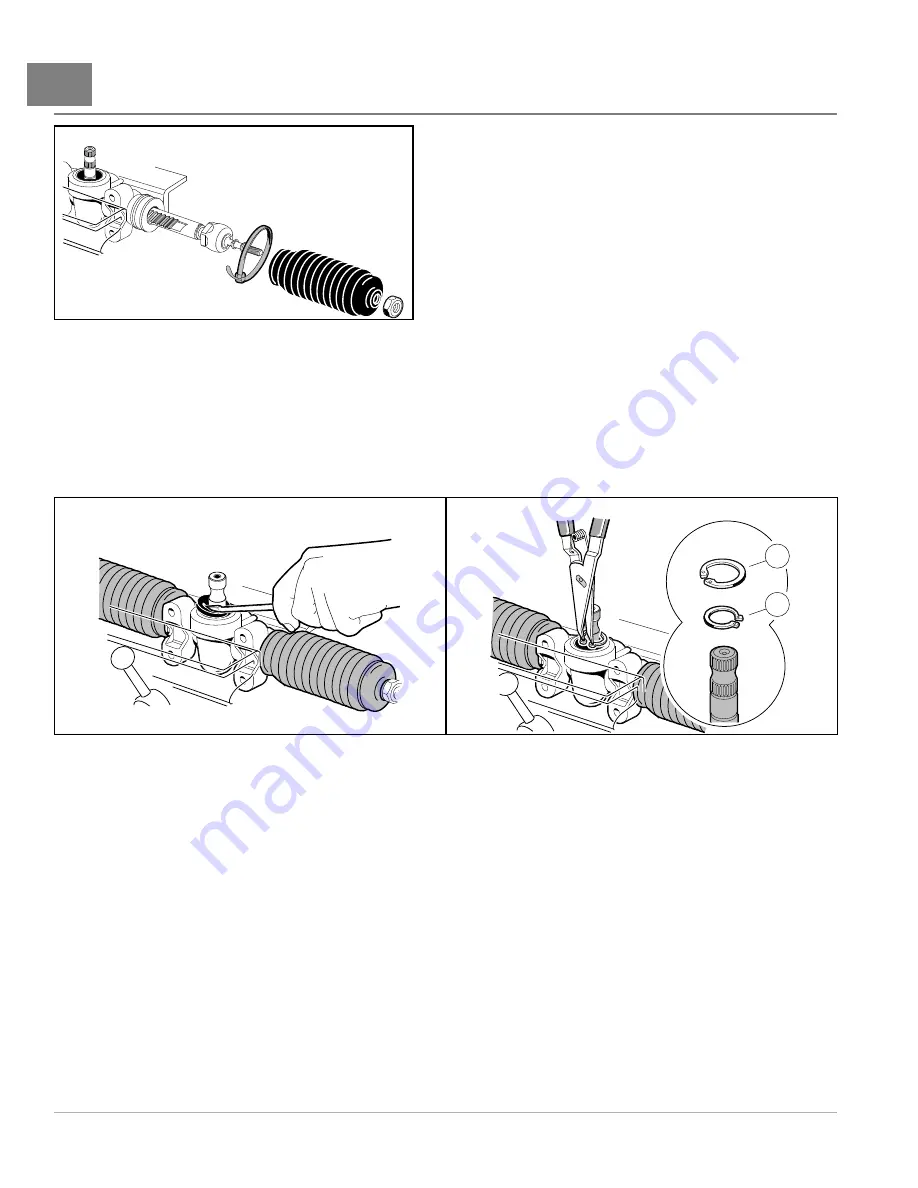
Figure 7-9
Dust Bellows Clamp
5.
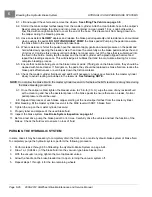
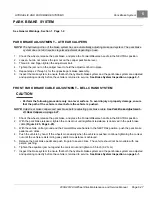
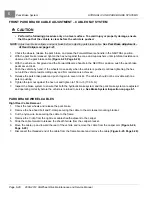
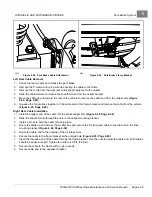
Remove the two hex nuts from the inner ball-joint ends, and remove both of the dust seal bellows.
6.
Remove the rack screw nut (8), rack guide screw (7), rack guide pressure spring (6), and the rack guide (5)
.
7.
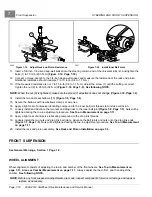
Remove the dust seal
8.
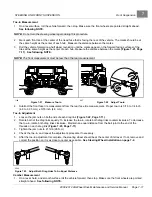
Remove the snap ring (4)
.
4
16
2051
Figure 7-10
Remove Dust Seal
2052
Figure 7-11
Remove Pinion Snap Ring
9.
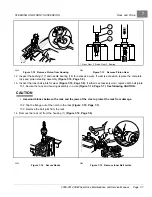
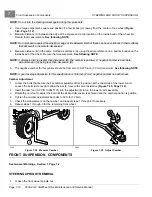
Install the universal joint on the pinion, and place a fork or a large open-end wrench under the universal joint
. Gently pry the pinion from the housing.
10. Remove the U-joint from the pinion.
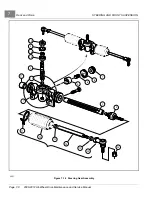
11. If the pinion ball bearing has been damaged, remove the C-type stop ring (16)
, and use a
press to remove the bearing
.
Page 7-6
2008-2012 All-Wheel Drive Maintenance and Service Manual
Summary of Contents for Carryall 295 SE
Page 2: ......
Page 20: ......
Page 28: ......
Page 58: ......
Page 66: ......
Page 100: ......
Page 122: ......
Page 150: ......
Page 157: ......
Page 190: ......
Page 197: ......
Page 236: ......
Page 284: ......
Page 386: ......
Page 394: ......
Page 442: ......
Page 452: ......
Page 454: ......
Page 455: ......
Page 456: ......

