REAR SUSPENSION
Swing Arms – 2008-2011 Models
9
SWING ARMS – 2008-2011 MODELS
See General Warnings, Section 1, Page 1-2.
SWING ARM REMOVAL
1.
Remove the rear axle.
See Rear Axle Removal, Section 17, Page 17-8.
2.
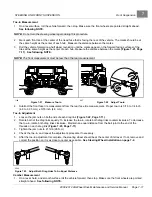
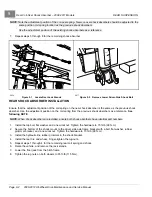
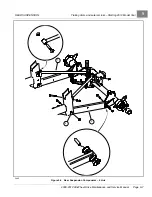
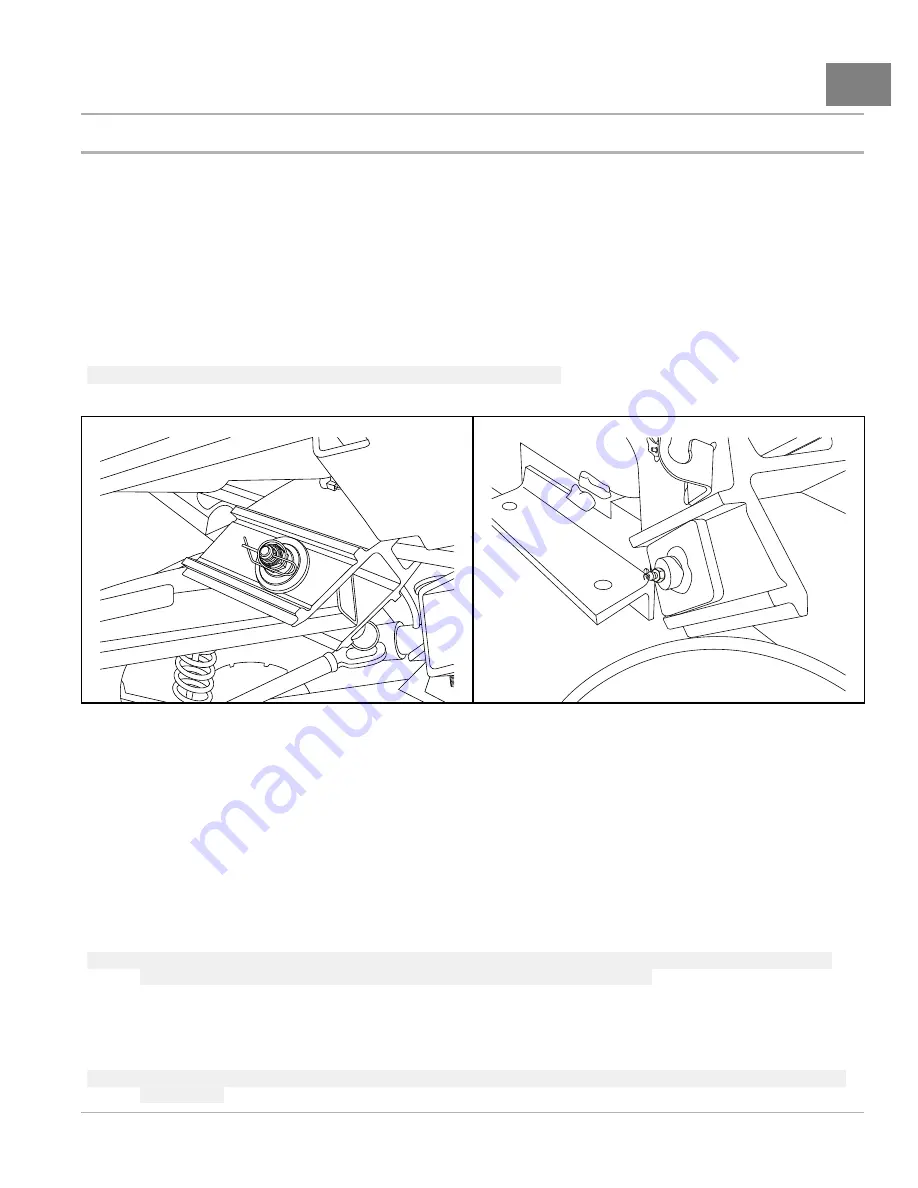
Remove the rue pin, locknut and washer from the swing arm pivot bolt
3.
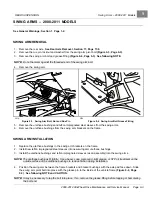
Remove the swing arm bolt and grease fitting
See following NOTE.
NOTE:
Do not hammer against the threaded end of the swing arm bolt.
4.
Remove the swing arm.
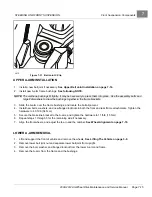
2078
Figure 9-3
Swing Arm Bolt, Nut and Rue Pin
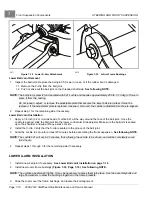
2079
Figure 9-4
Swing Arm Bolt Grease Fitting
5.
Remove the urethane bushings and teflon impregnated steel sleeves from the swing arms.
6.
Remove the urethane bushings from the swing arm brackets on the frame.
SWING ARM INSTALLATION
1.
Replace the urethane bushings in the swing arm brackets on the frame.
2.
Install new teflon impregnated steel sleeves into new swing arm urethane bushings.
3.
Install the urethane bushings and teflon impregnated sleeves (as an assembly) into the swing arms.
NOTE:
The urethane bushings fit tightly. Use a heavy soap compound, light grease, or STP oil treatment on the
outside surface of the urethane bushings to reduce friction during installation.
4.
Position the swing arm between the frame brackets and bracket bushings with the axle pad face down. Slide
the swing arm pivot bolt into place with the grease pin to the inside of the vehicle frame
.
See following NOTE and CAUTION.
NOTE:
It may be necessary to tap the bolt into place. If so, remove the grease fitting before tapping or hammering
the bolt end.
2008-2012 All-Wheel Drive Maintenance and Service Manual
Page 9-3
Summary of Contents for Carryall 295 SE
Page 2: ......
Page 20: ......
Page 28: ......
Page 58: ......
Page 66: ......
Page 100: ......
Page 122: ......
Page 150: ......
Page 157: ......
Page 190: ......
Page 197: ......
Page 236: ......
Page 284: ......
Page 386: ......
Page 394: ......
Page 442: ......
Page 452: ......
Page 454: ......
Page 455: ......
Page 456: ......

