9
Trailing Arms and Lateral Links – Starting 2012 Model Year
REAR SUSPENSION
TRAILING ARM REMOVAL
See General Warnings on page 1-2.
1.
Disconnect battery and spark plug wire(s).
See Disconnecting the Battery – Gasoline/Diesel Vehicles on
2.
Raise the cargo bed.
See Body and Trim, Section 4, Page 4-1.
3.
Lift and support the rear of vehicle and remove the wheel.
See Lifting The Vehicle, Section 3, Page 3-9.
4.
Support the rear axle.
5.
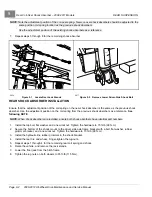
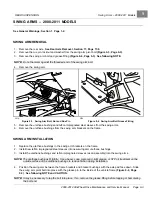
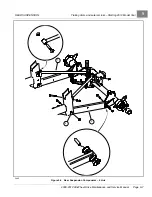
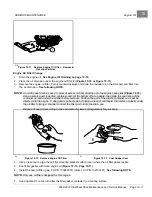
Remove the hardware securing the trailing arm (2) to the rear axle
.
6.
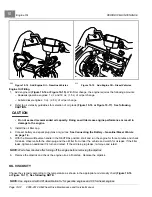
Remove the hardware securing the front of the trailing arm to the chassis and remove the trailing arm.
TRAILING ARM INSTALLATION
1.
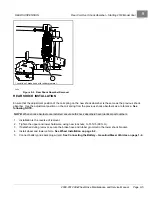
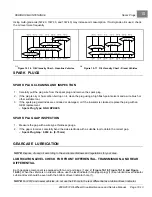
Installation is the reverse of removal
. Orient hardware as shown.
See following NOTE.
NOTE:
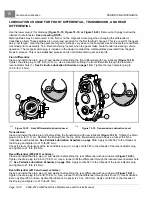
Be sure the wear clip (3) is in place on chassis when trailing arm is installed and secured with hardware.
2.
Tighten the trailing arm hardware to 57 ft-lb (77 N·m).
3.
Install wheel and lower vehicle.
See Wheel Installation on page 8-2.
4.
Lower the cargo bed.
See Body and Trim, Section 4, Page 4-1.
5.
Connect battery and spark plug wire(s).
See Connecting the Battery – Gasoline/Diesel Vehicles on page 1-4.
Page 9-8
2008-2012 All-Wheel Drive Maintenance and Service Manual
Summary of Contents for Carryall 295 SE
Page 2: ......
Page 20: ......
Page 28: ......
Page 58: ......
Page 66: ......
Page 100: ......
Page 122: ......
Page 150: ......
Page 157: ......
Page 190: ......
Page 197: ......
Page 236: ......
Page 284: ......
Page 386: ......
Page 394: ......
Page 442: ......
Page 452: ......
Page 454: ......
Page 455: ......
Page 456: ......

