11
Test Procedures
TROUBLESHOOTING AND ELECTRICAL
SYSTEM: GASOLINE VEHICLES
5.
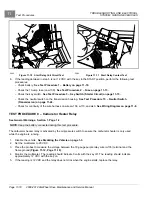
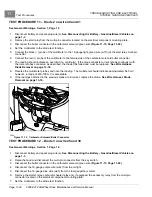
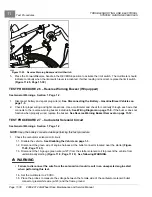
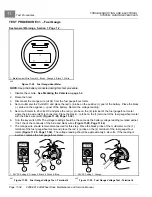
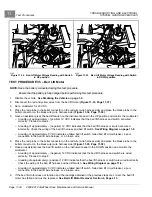
Leave the 18-gauge purple wire (w42) connected to the low oil warning light.
6.
Place a jumper wire on the terminal of the low oil warning light where the blue/white wire (w17) was removed.
7.
Touch the frame (ground) with the remaining end of the jumper wire.
8.
Turn the key switch to the ON position. The low oil warning light should illuminate.
9.
If the low oil warning light does not illuminate when the key switch is in the ON position, check the 18-gauge
purple wire (w42) for continuity between the terminal at the low oil warning light and the 18-gauge purple wire
(w47) at the key switch. Also check the continuity between the terminal on the 18-gauge blue/white wire (w17)
and the terminal on the engine 6-pin connector brown wire (w146).
10. If there is continuity between the 18-gauge purple wire (w42) at the low oil warning light and the 18-gauge purple
wire (w47) at the key switch, replace the low oil warning light.
See Warning Light Removal on page 13-6.
11. If the problem is not corrected by performing the previous steps, test the oil pressure switch.
See the Kawasaki
FH680D engine manual (CC P/N 103351201).
TEST PROCEDURE 29 – 12-Volt Accessory Receptacle
See General Warnings, Section 1, Page 1-2.
NOTE:
Keep the battery connected during this test procedure.
1.
Disable the vehicle.
See Disabling the Vehicle on page 1-3.
2.
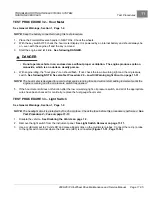
Set the multimeter to 20 VDC.
3.
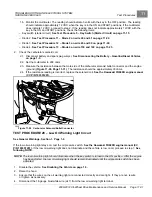
Measure the voltage between the center contact and the outer contact of the accessory receptacle. The voltage
should be approximately 12 VDC.
4.
If the voltage is not approximately 12 VDC, check the 10-amp fuse on the orange/white wire (w115) located on the
electrical component mounting plate.
See Test Procedure 2 – Fuse on page 11-13.
5.
If the fuse is good, check the continuity of the wires connected to the accessory receptacle.
6.
If the wire continuity is good, replace the accessory receptacle.
TEST PROCEDURE 30 – Fuel Level Sending Unit
See General Warnings, Section 1, Page 1-2.
WARNING
• To avoid the possibility of fire or explosion, make sure the fuel tank cap is securely in place while
performing this test procedure.
1.
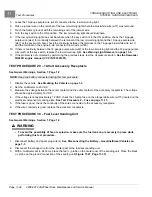
Disconnect battery and spark plug wire(s).
See Disconnecting the Battery – Gasoline/Diesel Vehicles on
2.
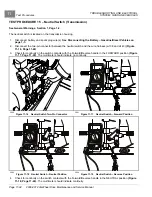
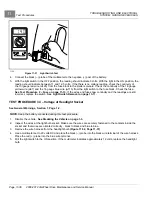
Disconnect the orange wire from the center post of the fuel level sending unit.
3.
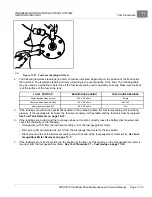
With a multimeter set to 2k ohms, place the red (+) probe on the center post of the sending unit. Place the black
(–) probe on the ground connection of the sending unit
.
Page 11-32
2008-2012 All-Wheel Drive Maintenance and Service Manual
Summary of Contents for Carryall 295 SE
Page 2: ......
Page 20: ......
Page 28: ......
Page 58: ......
Page 66: ......
Page 100: ......
Page 122: ......
Page 150: ......
Page 157: ......
Page 190: ......
Page 197: ......
Page 236: ......
Page 284: ......
Page 386: ......
Page 394: ......
Page 442: ......
Page 452: ......
Page 454: ......
Page 455: ......
Page 456: ......

