TROUBLESHOOTING AND ELECTRICAL SYSTEM:
DIESEL VEHICLES
Test Procedures
12
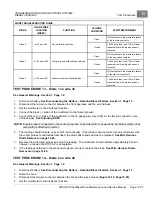
TEST PROCEDURE 33 – Hour Meter
See General Warnings, Section 1, Page 1-2.
NOTE:
Keep the battery connected during this test procedure.
1.
Place the Forward/Reverse handle in NEUTRAL. Chock the wheels.
2.
With the key switch OFF, check the hour meter display. It is powered by an internal battery and should always be
on, even with the engine off and the key removed.
3.
Start the engine and let it idle.
See following DANGER.
DANGER
• Do not operate vehicle in an enclosed area without proper ventilation. The engine produces carbon
monoxide, which is an odorless, deadly poison.
4.
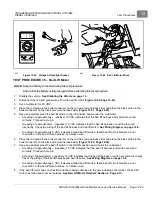
With engine idling, the "hour glass" icon should flash. If not, check the low oil warning light and the oil pressure
switch.
See following NOTE. See also Test Procedure 29 – Low Oil Warning Light Circuit on page 12-38.
NOTE:
The hour meter is designed to record actual engine running time and will not start adding increments until the
engine is running and the oil pressure switch has opened.
5.
If the hour meter still does not function after the low oil warning light, oil pressure switch, and all of the appropriate
wires have been checked for continuity, replace the fuel gauge/hour meter.
TEST PROCEDURE 34 – Light Switch
See General Warnings, Section 1, Page 1-2.
NOTE:
The headlight circuit is protected by the 20-amp fuse. Check the fuse before this procedure is performed.
See
Test Procedure 2 – Fuse on page 12-15.
Keep the battery connected during this test procedure.
1.
Disable the vehicle.
See Disabling the Vehicle on page 1-3.
2.
Raise the hood.
3.
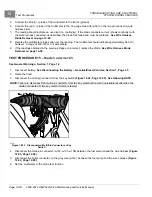
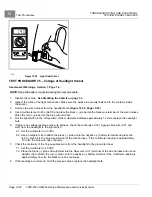
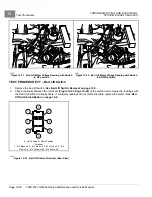
Press the upper and lower retaining tabs and push the light switch out of the instrument panel.
4.
Use a multimeter set to 20 volts DC and place alligator clips on the multimeter probes. Connect the red (+) probe
to the light switch terminal where the blue wire (w03) is connected
.
5.
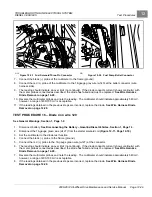
Connect the black (–) probe of the multimeter to the negative (–) post of the battery.
6.
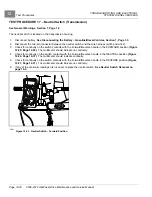
With the light switch in the OFF position, the reading should indicate 0 volts. With the light in the ON position, the
reading should indicate between 11 and 12.5 volts. If the there is no voltage reading, check the continuity of the
10-gauge red wire (w126) from the fuse block to the starter solenoid. Check the continuity of the 14-gauge yellow
wire (w07) and the 14-gauge blue wires (w08 and w113) from the light switch to the fuse block. Check the fuse.
See Test Procedure 2 – Fuse on page 12-15.
If the wires and fuse show continuity and the readings are still
incorrect, replace the switch.
See Light Switch Removal on page 14-10.
2008-2012 All-Wheel Drive Maintenance and Service Manual
Page 12-41
Summary of Contents for Carryall 295 SE
Page 2: ......
Page 20: ......
Page 28: ......
Page 58: ......
Page 66: ......
Page 100: ......
Page 122: ......
Page 150: ......
Page 157: ......
Page 190: ......
Page 197: ......
Page 236: ......
Page 284: ......
Page 386: ......
Page 394: ......
Page 442: ......
Page 452: ......
Page 454: ......
Page 455: ......
Page 456: ......

