ELECTRICAL COMPONENTS: GASOLINE
VEHICLES
Fuel Gauge/Hour Meter
13
11
6
13
12
8
7
1
10
2
3
9
2131
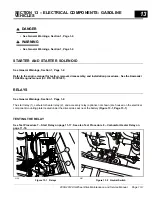
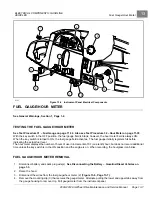
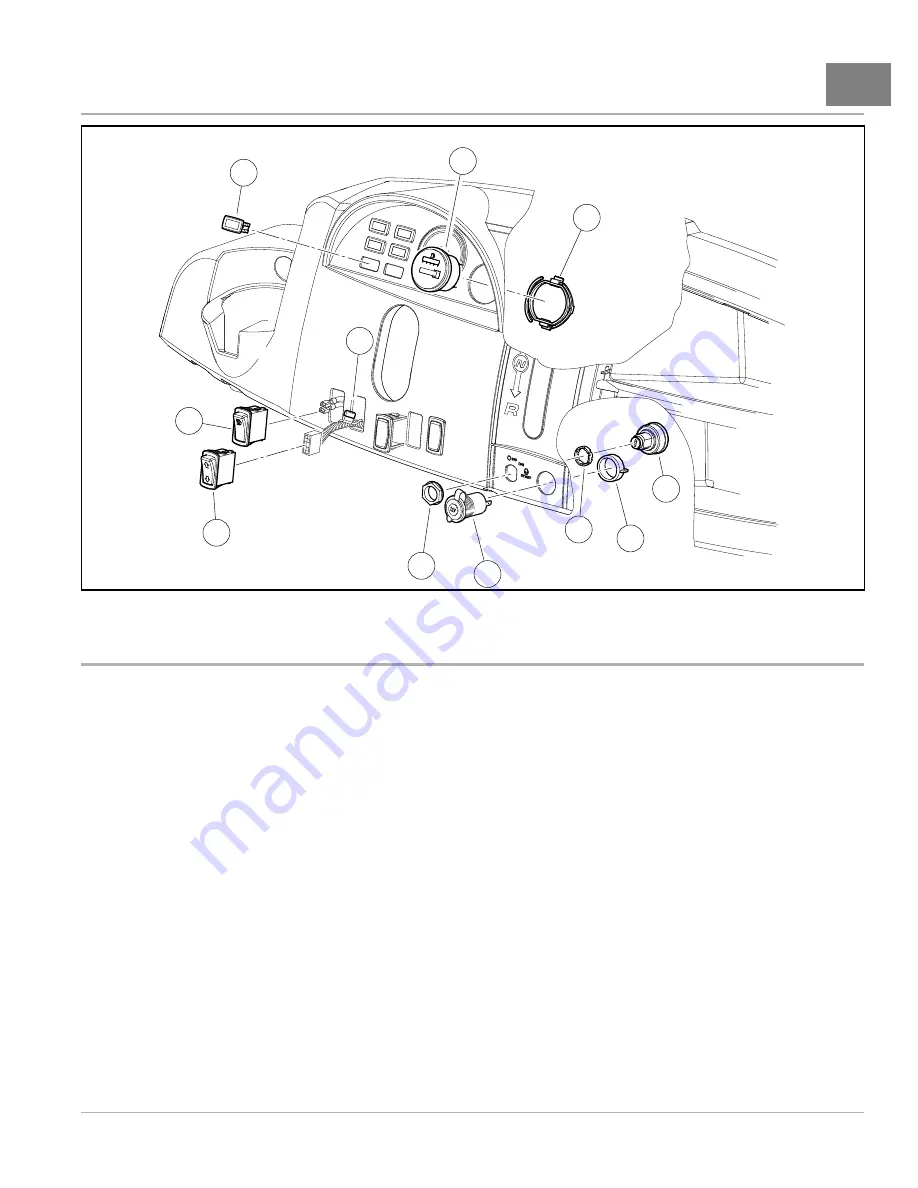
Figure 13-6
Instrument Panel Electrical Components
FUEL GAUGE/HOUR METER
See General Warnings, Section 1, Page 1-2.
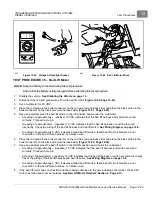
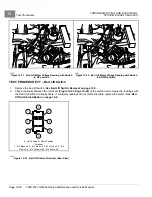
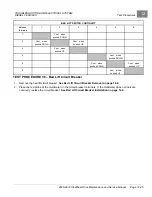
TESTING THE FUEL GAUGE/HOUR METER
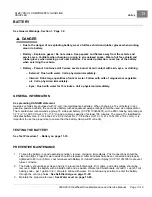
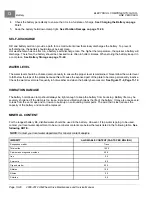
See Test Procedure 31 – Fuel Gauge on page 11-34. Also see Test Procedure 32 – Hour Meter on page 11-35.
With the key switch in the OFF position, the fuel gauge field is blank; however, the hour meter field is always ON.
When the key switch is turned to ON, the fuel gauge field activates. The fuel gauge initially registers full before
indicating the actual fuel level.
The hour meter displays the number of hours of use in increments of 0.1 (one tenth) hour, but does not record additional
time unless the key switch is in the ON position and the engine is on. When recording, the hourglass icon blinks.
FUEL GAUGE/HOUR METER REMOVAL
1.
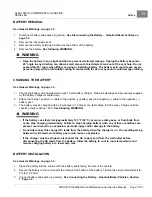
Disconnect battery and spark plug wire(s).
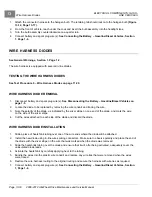
See Disconnecting the Battery – Gasoline/Diesel Vehicles on
2.
Raise the hood.
3.
Disconnect the wires from the fuel gauge/hour meter (2)
.
4.
Remove the mounting clip (3) that secures the gauge/meter. Alternate pulling the lower and upper tabs away from
the gauge housing to remove clip. Pull gauge/meter from the instrument panel.
2008-2012 All-Wheel Drive Maintenance and Service Manual
Page 13-7
Summary of Contents for Carryall 295 SE
Page 2: ......
Page 20: ......
Page 28: ......
Page 58: ......
Page 66: ......
Page 100: ......
Page 122: ......
Page 150: ......
Page 157: ......
Page 190: ......
Page 197: ......
Page 236: ......
Page 284: ......
Page 386: ......
Page 394: ......
Page 442: ......
Page 452: ......
Page 454: ......
Page 455: ......
Page 456: ......

