15
Clutches
GASOLINE ENGINE, MUFFLER, FUEL
SYSTEM, AND CLUTCHES
5.
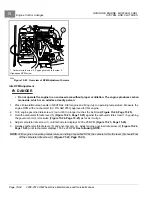
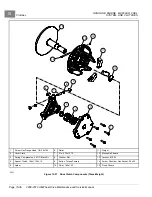
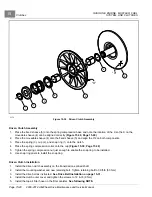
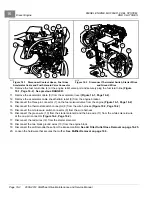
Pull the moveable sheave upward and start threading bolts (1) into holes.
6.
Use a crisscross pattern to continue tightening the bolts to 113 in-lb (12.7 N·m).
Drive Clutch Installation – Both Designs
1.
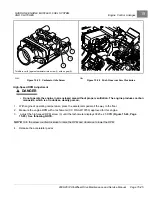
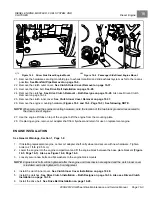
Place the drive clutch assembly on the crankshaft taper.
2.
Install the mounting washer and new retaining bolt.
–
Two-Weight Design:
Tighten new retaining bolt to 39 ft-lb (53 N·m).
–
Three-Weight Design:
Tighten new retaining bolt to 21 ft-lb (28.5 N·m).
3.
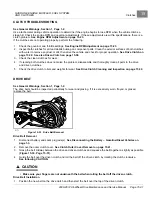
Install the drive belt as instructed.
See Drive Belt Installation on page 15-31.
4.
Install the clutch outer cover and tighten the bolts to 72 in-lb (8.0 N·m).
5.
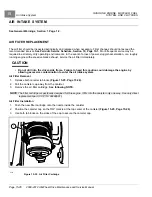
Secure the top air filter hose (outlet) to the filter canister.
See following NOTE.
NOTE:
Ensure the hose contacts the canister and the clamp is installed tightly between the port bead and canister.
6.
Connect battery and spark plug wire(s).
See Connecting the Battery – Gasoline/Diesel Vehicles, Section
7.
Drive the vehicle and check for proper operation.
DRIVEN CLUTCH
See General Warnings, Section 1, Page 1-2.
A two-weight drive clutch was used up to late-2011 model year. It was replaced by a three-weight drive clutch starting
late-2011 model year. Replacement parts will remain available for the two-weight drive clutch but not the clutch as a
whole. If the entire drive clutch is to be replaced, only the three-weight design will be available. It will be part of a kit
that includes a matching, replacement spring for the driven clutch. The driven clutch must be modified with this new
spring to work properly with the three-weight drive clutch.
See following CAUTIONS.
The driven clutch for the two-weight drive clutch continues to be available in the event the driven clutch needs to be
replaced in a vehicle equipped with a two-weight drive clutch.
CAUTION
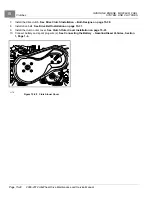
• To avoid undesirable performance, always replace the spring (3) in the driven clutch (Figure 15-39,
Page 15-40) when replacing a two-weight drive clutch with a three-weight drive clutch.
• Be very careful with the clutches. A clutch that has been dropped will not be properly balanced. If
either clutch is dropped, assume that it is damaged and replace it.
Driven Clutch Removal
1.
Disconnect battery and spark plug wire(s).
See Disconnecting the Battery – Gasoline/Diesel Vehicles on
2.
Remove the top air filter hose from the filter canister.
3.
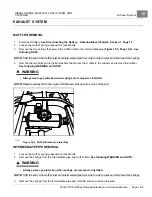
Remove the clutch outer cover.
See Clutch Outer Cover Removal on page 15-41.
4.
Remove the drive belt as instructed.
See Drive Belt Removal on page 15-31.
5.
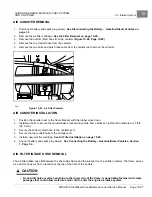
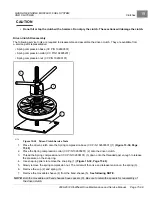
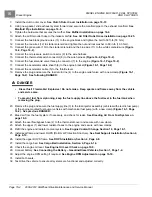
Remove the bolt and washer from the center of the clutch and discard bolt.
6.
Remove the driven clutch.
See following CAUTION.
Page 15-38
2008-2012 All-Wheel Drive Maintenance and Service Manual
Summary of Contents for Carryall 295 SE
Page 2: ......
Page 20: ......
Page 28: ......
Page 58: ......
Page 66: ......
Page 100: ......
Page 122: ......
Page 150: ......
Page 157: ......
Page 190: ......
Page 197: ......
Page 236: ......
Page 284: ......
Page 386: ......
Page 394: ......
Page 442: ......
Page 452: ......
Page 454: ......
Page 455: ......
Page 456: ......

