DRIVETRAIN COMPONENTS
Half Shafts
17
HALF SHAFT INSTALLATION
Half shafts are assembled with CV joints and are available only as a complete assembly. If a half shaft is replaced
because of wear, the manufacturer recommends that both half shafts be replaced.
1.
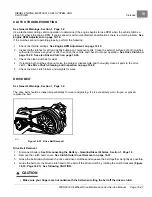
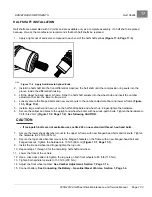
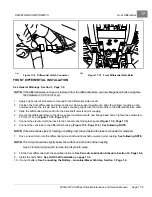
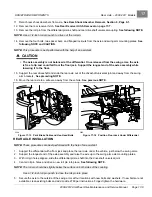
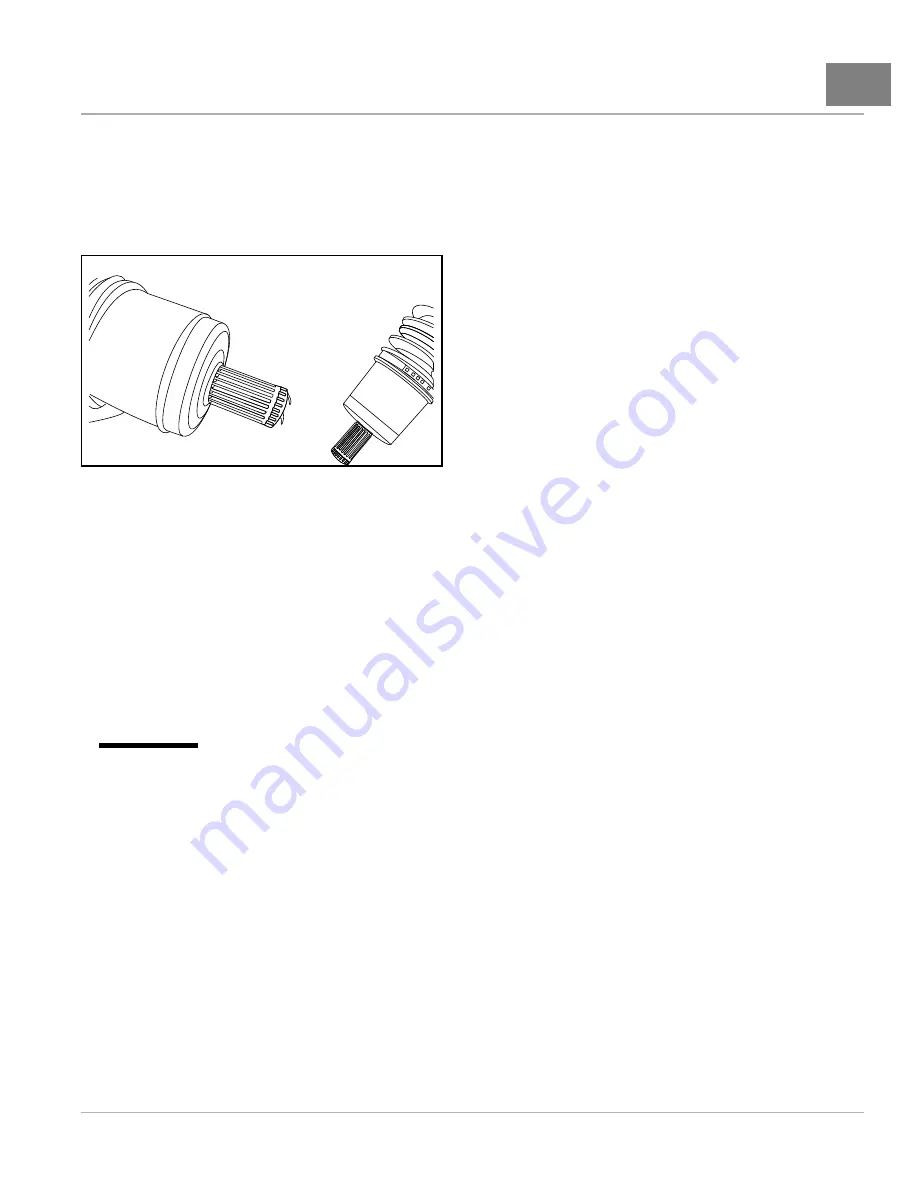
Apply a light coat of anti-seize compound to each end of the half shaft splines
.
2196
Figure 17-6
Apply Anti-Seize to Splined Ends
2.
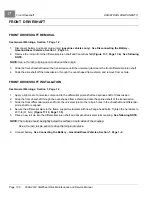
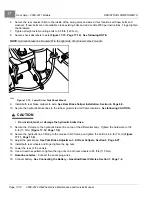
Install the half shaft into the front differential. Advance the half shaft until the compression ring seats into the
groove inside the differential housing.
3.
Lift the wheel hub and upper A-frame. Slide the half shaft spindle into the wheel hub and insert the camber
adjustment bar into the lower A-frame slot.
4.
Loosely secure the flanged bolts and new square nuts to the camber adjustment bar and lower A-frame
.
5.
Install a large washer and new nut on the half shaft spindle and wheel hub. Finger-tighten the hardware.
6.
Secure the caliper and discs to the upright and wheel hub disc with new lock-patch bolts. Tighten the hardware to
36 ft-lb (49 N·m)
See following CAUTION.
CAUTION
• If lock-patch bolts are not available, use Loctite 222 on new, standard thread, hex-head bolts.
7.
Secure the lower shock absorber mount to the upper A-frame with new flanged-head bolts and locknuts. Tighten
the hardware to 22 ft-lb (30 N·m).
8.
Secure the top shock absorber mount to the flanged brackets on the frame with a new flanged-head bolt and
flanged locknut. Tighten the hardware to 73 ft-lb (99 N·m)
9.
Install the tire and wheel and finger-tighten the lug nuts.
10. Repeat steps 1 through 9 for the remaining half shaft and wheel.
11.
Lower the front of the vehicle.
12. Use a crisscross pattern to tighten the lug nuts on both front wheels to 85 ft-lb (115 N·m).
13. Tighten both spindle locknuts to 150 ft-lb (203 N·m).
14. Adjust the front wheel camber.
See Camber Adjustment, Section 7, Page 7-12.
15. Connect battery.
See Connecting the Battery – Gasoline/Diesel Vehicles, Section 1, Page 1-4.
2008-2012 All-Wheel Drive Maintenance and Service Manual
Page 17-3
Summary of Contents for Carryall 295 SE
Page 2: ......
Page 20: ......
Page 28: ......
Page 58: ......
Page 66: ......
Page 100: ......
Page 122: ......
Page 150: ......
Page 157: ......
Page 190: ......
Page 197: ......
Page 236: ......
Page 284: ......
Page 386: ......
Page 394: ......
Page 442: ......
Page 452: ......
Page 454: ......
Page 455: ......
Page 456: ......

