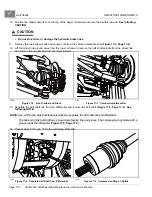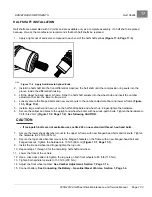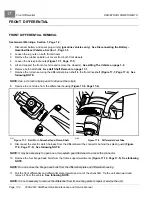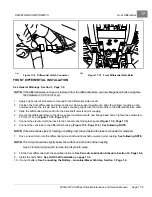
17
Front Differential
DRIVETRAIN COMPONENTS
FRONT DIFFERENTIAL
FRONT DIFFERENTIAL REMOVAL
See General Warnings, Section 1, Page 1-2.
1.
Disconnect battery and spark plug wire(s)
(gasoline vehicles only)
.
See Disconnecting the Battery –
Gasoline/Diesel Vehicles, Section 1, Page 1-3.
2.
Loosen the lug nuts on both front wheels.
3.
Remove the rubber spindle nut covers from both front wheels.
4.
Loosen the axle spindle nuts
5.
Lift and support the front of vehicle and remove the wheel(s).
See Lifting The Vehicle on page 3-9.
6.
Remove both half shafts.
See Half Shaft Removal on page 17-1.
7.
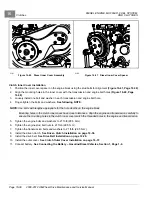
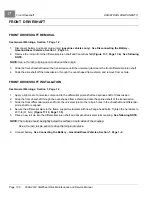
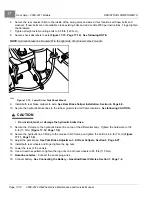
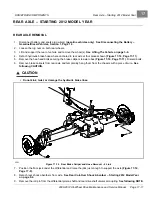
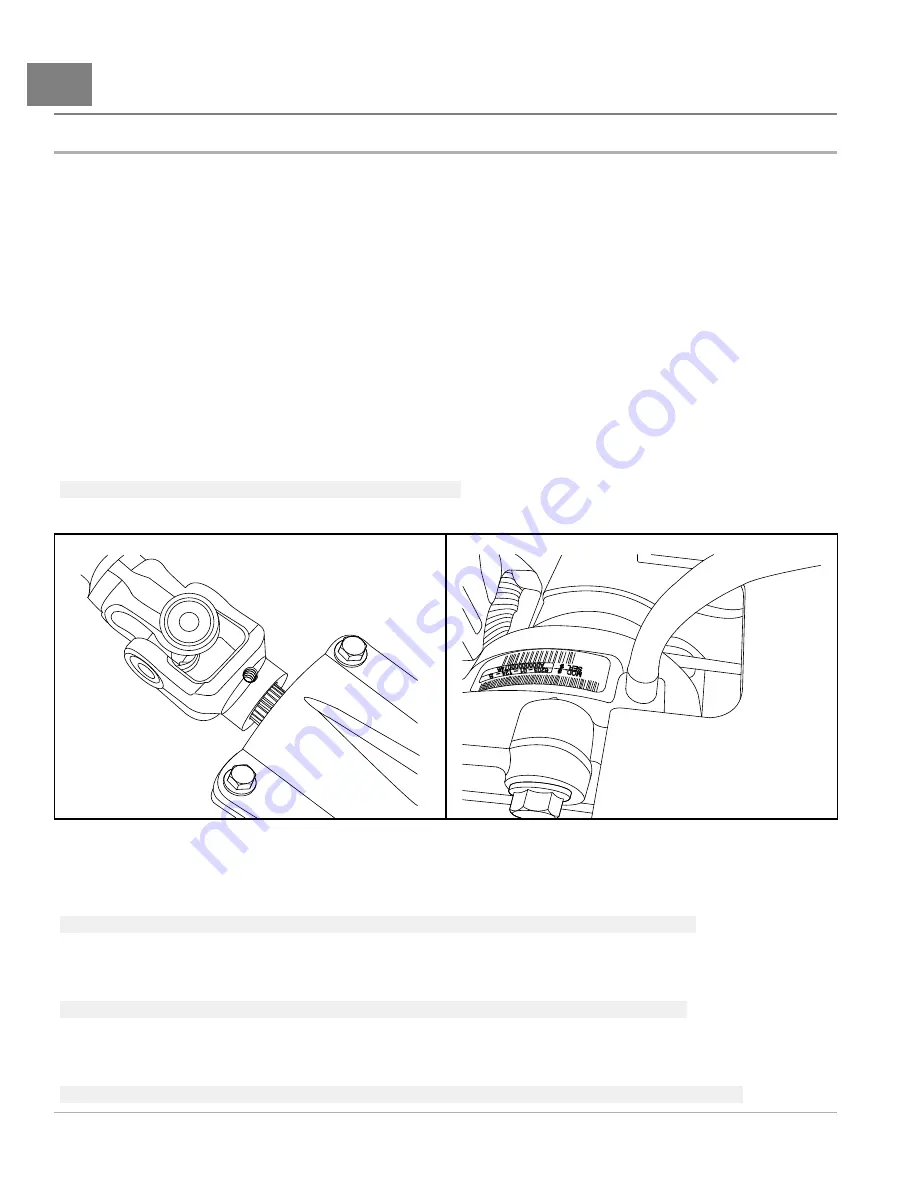
Remove the roll pin securing the differential pinion shaft to the front driveshaft
See
following NOTE.
NOTE:
Use a 1/4-inch roll pin punch to drive out the roll pin.
8.
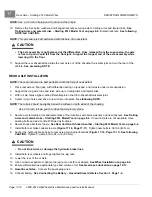
Remove the vent tube from the differential housing
.
2197
Figure 17-7
Roll Pin in Driveshaft and Pinion Shaft
2198
Figure 17-8
Differential Vent Tube
9.
Disconnect the electric clutch harness from the differential at the connector behind the splash guard
See following NOTE.
NOTE:
It may be necessary to open one or two splash guard fasteners to access the connector.
10. Remove the four flange-head bolts from the frame support weldments
.
See following
NOTE.
NOTE:
Do not remove the flange-head bolts from the differential plate and differential housing.
11. Pull the front differential and differential plate forward and out of the driveshaft. Tip the unit downward and
remove it from the vehicle.
See following NOTE.
NOTE:
It is not necessary to remove the differential from its mounting plate to repair or service the unit.
Page 17-4
2008-2012 All-Wheel Drive Maintenance and Service Manual
Summary of Contents for Carryall 295 SE
Page 2: ......
Page 20: ......
Page 28: ......
Page 58: ......
Page 66: ......
Page 100: ......
Page 122: ......
Page 150: ......
Page 157: ......
Page 190: ......
Page 197: ......
Page 236: ......
Page 284: ......
Page 386: ......
Page 394: ......
Page 442: ......
Page 452: ......
Page 454: ......
Page 455: ......
Page 456: ......

