DRIVETRAIN COMPONENTS
Rear Axle – Starting 2012 Model Year
17
REAR AXLE – STARTING 2012 MODEL YEAR
REAR AXLE REMOVAL
1.
Disconnect battery and spark plug wire(s)
(gasoline vehicles only)
.
See Disconnecting the Battery –
Gasoline/Diesel Vehicles, Section 1, Page 1-3.
2.
Loosen the lug nuts on both rear wheels.
3.
Lift and support the rear of vehicle and remove the wheel(s).
See Lifting The Vehicle on page 3-9.
4.
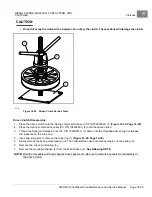
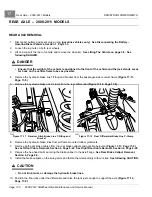
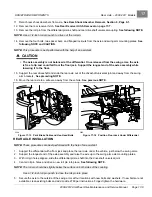
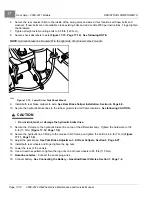
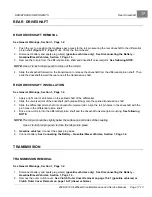
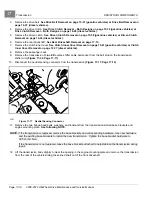
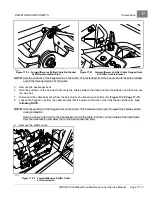
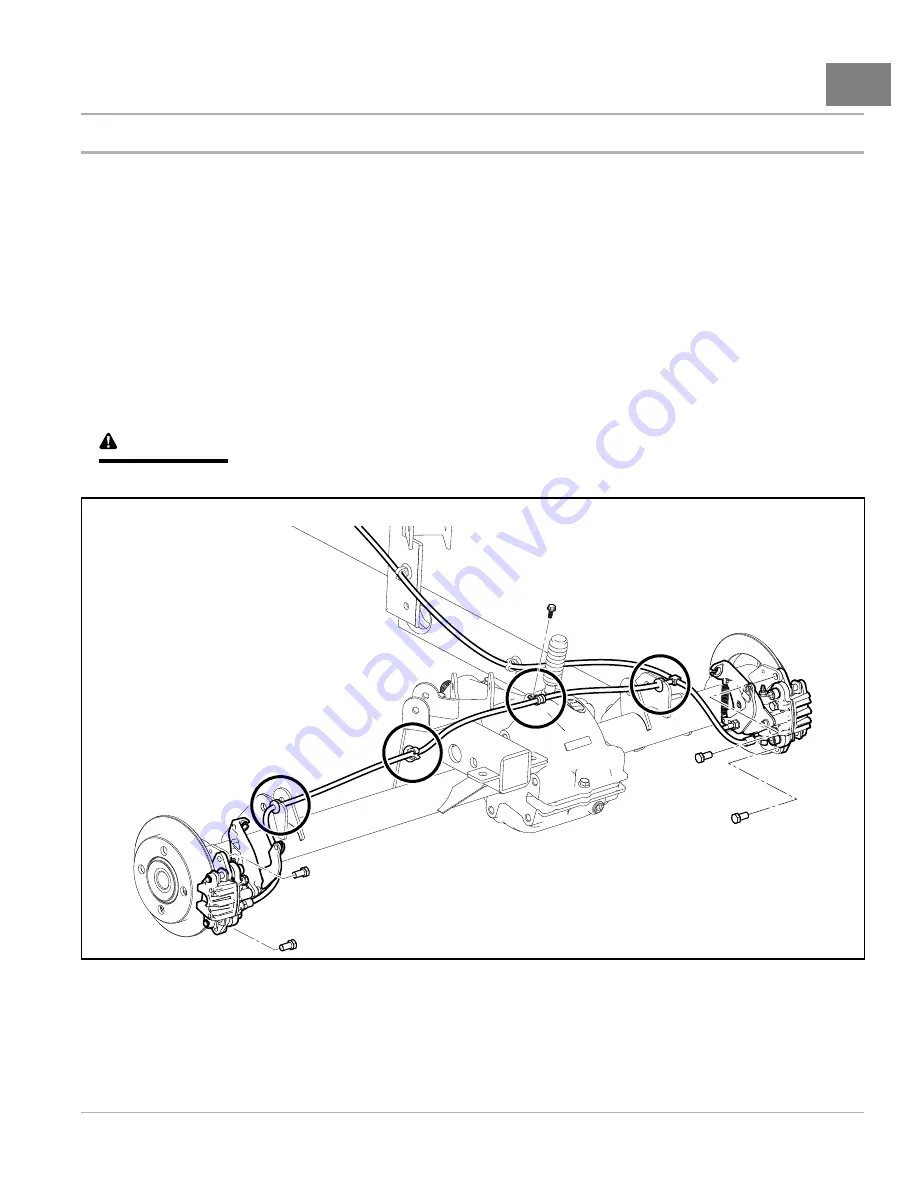
Detach hydraulic brake hose where anchored to rear axle at four places shown
5.
Remove the hex-head bolts securing the brake calipers to axle tubes
. Discard bolts.
6.
Remove brake calipers from rear axle and temporarily hang them from the chassis with a piece of wire.
See
following CAUTION.
CAUTION
• Do not kink, twist, or damage the hydraulic brake lines.
2502
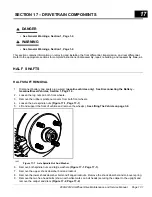
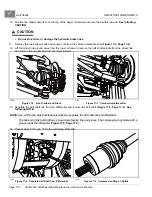
Figure 17-16
Rear Brake Caliper and Hose Removal – 4 Link
7.
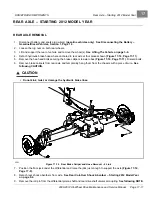
Position the floor jack under the differential and raise the jack just enough to support the axle
.
8.
Detach rear shock absorbers from axle.
See Rear Coil-Over Shock Absorber – Starting 2012 Model Year
9.
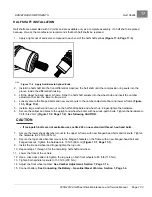
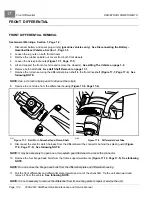
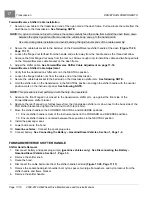
Remove the roll pin from the differential pinion shaft and rear driveshaft universal coupling.
See following NOTE.
2008-2012 All-Wheel Drive Maintenance and Service Manual
Page 17-11
Summary of Contents for Carryall 295 SE
Page 2: ......
Page 20: ......
Page 28: ......
Page 58: ......
Page 66: ......
Page 100: ......
Page 122: ......
Page 150: ......
Page 157: ......
Page 190: ......
Page 197: ......
Page 236: ......
Page 284: ......
Page 386: ......
Page 394: ......
Page 442: ......
Page 452: ......
Page 454: ......
Page 455: ......
Page 456: ......

