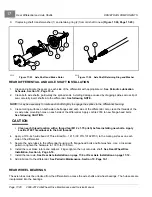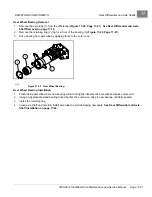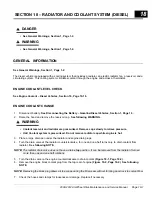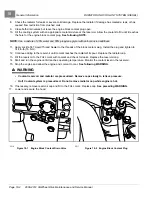
17
Transmission
DRIVETRAIN COMPONENTS
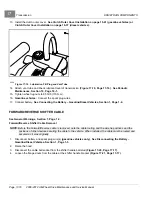
Forward/Reverse Shifter Cable Installation
1.
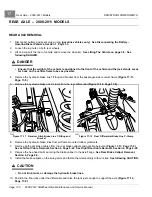
Secure a new cable to the transmission end of the nylon cord at the dash frame. Pull and route the cable from the
dash frame to the transmission.
See following NOTE.
NOTE:
If a nylon cord was not used to remove the cable, carefully feed the cable from behind the dash frame down
between the splash guard and frame, under the vehicle body, and up to the transmission.
Use care during cable installation and avoid bending the rigid tubular ends of the cable assembly.
2.
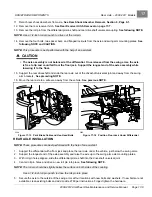
Secure the cable ball socket to the ball stud on the Forward/Reverse shifter handle at the dash
.
3.
Loosen the flanged nut farthest from the handle end as far away from the handle end as the thread will allow.
4.
Advance the front flanged nut away from the rear nut. Allow enough room to install the cable and two flanged nuts
on the Forward/Reverse cable bracket on the dash frame.
5.
Adjust the shifter cable.
See Forward/Reverse Shifter Cable Adjustment on page 17-18.
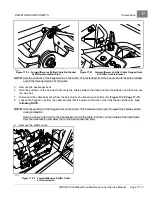
Forward/Reverse Shifter Cable Adjustment
1.
Verify that the transmission shifter arm is in the NEUTRAL position.
2.
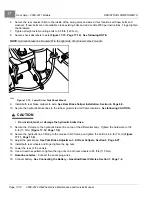
Loosen the flanged cable nuts from the cable end at the transmission.
3.
Secure the cable ball socket to the ball stud on the transmission shifter arm.
See following NOTE.
4.
Hold the shifter arm on the transmission in the NEUTRAL position and align the shifter handle with the neutral
position mark on the instrument panel.
See following NOTE.
NOTE:
This procedure is best performed with the help of an assistant.
5.
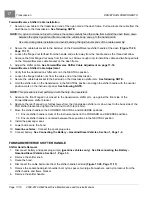
Advance the front flanged nut, closest to the transmission shifter arm, up against the front side of the
Forward/Reverse shifter bracket.
6.
Advance the rear flanged nut, farthest away from the transmission shifter arm, down next to the back side of the
FNR shifter bracket and tighten the front nut to 25 ft-lb (34 N·m).
7.
Move the shifter handle to the FORWARD, NEUTRAL, and REVERSE positions.
7.1. Ensure shifter handle is clear of the instrument panel in the FORWARD and REVERSE positions.
7.2. Ensure shifter handle is centered between those positions in the NEUTRAL position.
8.
Install the passenger seat.
9.
Lower and secure the hood.
10.
Gasoline vehicles:
Connect the spark plug wires.
11. Connect battery.
See Connecting the Battery – Gasoline/Diesel Vehicles, Section 1, Page 1-4.
FORWARD/REVERSE SHIFTER HANDLE
Shifter Handle Removal
1.
Disconnect battery and spark plug wire(s)
(gasoline vehicles only)
.
See Disconnecting the Battery –
Gasoline/Diesel Vehicles, Section 1, Page 1-3.
2.
Remove the shifter knob.
3.
Raise the hood.
4.
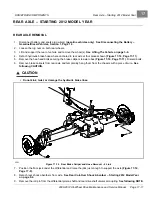
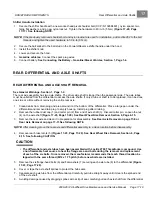
Disconnect the cable ball socket from the shifter handle ball stud
.
5.
Remove the socket-head pivot shoulder bolt, nylon spacer, two large flat washers, and nylon locknut from the
shifter handle and frame bracket.
6.
Remove the shifter handle.
Page 17-18
2008-2012 All-Wheel Drive Maintenance and Service Manual
Summary of Contents for Carryall 295 SE
Page 2: ......
Page 20: ......
Page 28: ......
Page 58: ......
Page 66: ......
Page 100: ......
Page 122: ......
Page 150: ......
Page 157: ......
Page 190: ......
Page 197: ......
Page 236: ......
Page 284: ......
Page 386: ......
Page 394: ......
Page 442: ......
Page 452: ......
Page 454: ......
Page 455: ......
Page 456: ......

