19
Electrical
HYDRAULIC ATTACHMENT SYSTEM
5.
Ensure the wires are connected correctly and are tight. If they are not, rewire or tighten as necessary.
6.
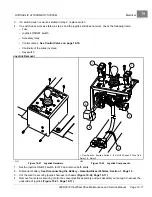
Unplug harness from the eight switches under joystick
.
7.
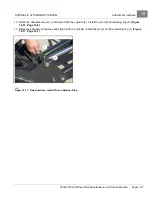
Remove four nuts and screws securing joystick to control box cover.
Joystick Installation
1.
Insert joystick into control box cover and secure with the four nuts and screws previously removed. Tighten
nuts to 23 in-lb (2.6 N·m).
2.
Connect joystick harness wires to the eight switches
3.
Install control box cover/joystick assembly and secure with the four screws.
4.
Secure joystick harness to chassis with new wire tie
5.
Connect battery.
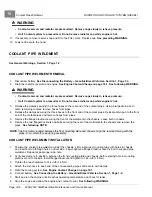
See Connecting the Battery – Gasoline/Diesel Vehicles, Section 1, Page 1-4.
JOYSTICK ON/OFF SWITCH
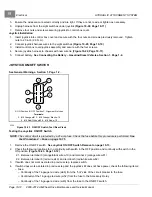
See General Warnings, Section 1, Page 1-2.
A
3
2
B
5
6
C
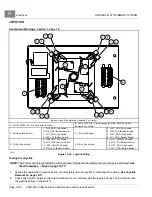
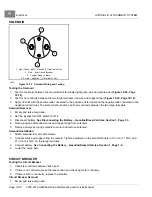
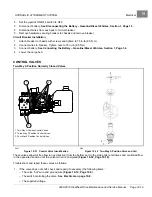
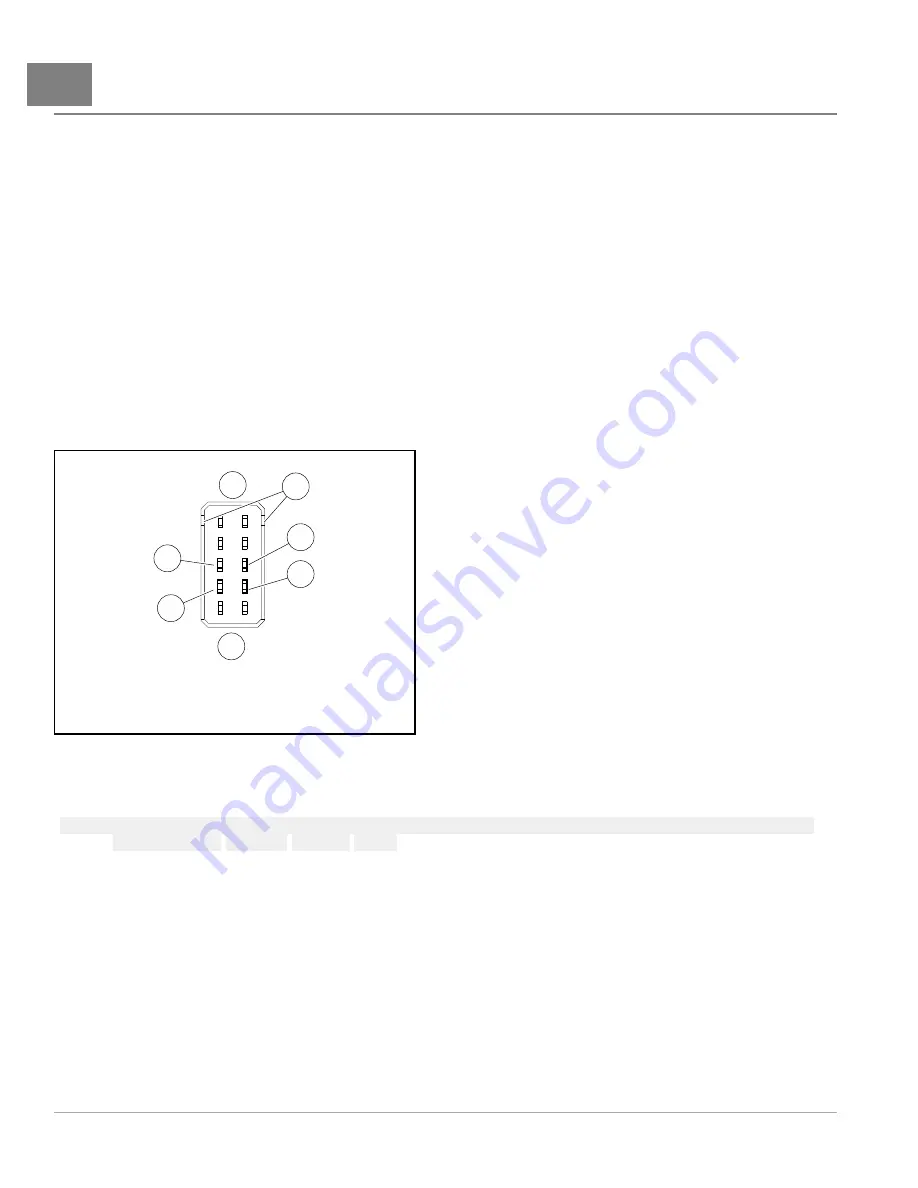
A. ON Position B. OFF Position C. Alignment Notches
Terminals:
2. #16 Orange w81 3. #16 Orange/ Black w10
5. #18 Red/White w82 6. #18 Red w16
2239
Figure 19-23
ON/OFF Switch Test (Rear View)
Testing the Joystick ON/OFF Switch
NOTE:
The control circuit is protected by a 20-amp fuse. Check the fuse before this procedure is performed.
See
Test Procedure 2 – Fuse on page 12-15.
1.
Remove the ON/OFF switch.
See Joystick ON/OFF Switch Removal on page 19-13.
2.
Check the following locations for no continuity with switch in the OFF position and continuity with switch in the
ON position
:
2.1. Between terminal 3 (orange/black wire w10) and terminal 2 (orange wire w81)
2.2. Between terminal 6 (red wire w16) and terminal 5 (red/white wire w82)
3.
If switch does not work as stated in previous step, replace switch.
4.
If switch does work as stated in previous step and the joystick still does not have power, check the following items:
– Fuse.
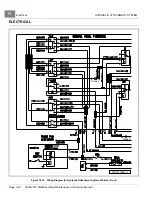
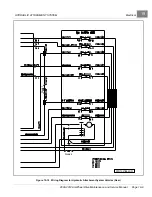
– Continuity of the 14-gauge red wire (w06) from the “hot” side of the circuit breaker to the fuse.
– Ccontinuity of the 14-gauge red wire (w52) from the fuse to the Accessory Relay
– Continuity of the 18-gauge red wire (w40) from the fuse to the ON/OFF switch.
Page 19-12
2008-2012 All-Wheel Drive Maintenance and Service Manual
Summary of Contents for Carryall 295 SE
Page 2: ......
Page 20: ......
Page 28: ......
Page 58: ......
Page 66: ......
Page 100: ......
Page 122: ......
Page 150: ......
Page 157: ......
Page 190: ......
Page 197: ......
Page 236: ......
Page 284: ......
Page 386: ......
Page 394: ......
Page 442: ......
Page 452: ......
Page 454: ......
Page 455: ......
Page 456: ......

