HYDRAULIC ATTACHMENT SYSTEM
Quick Connect Fittings (Auxiliary Hydraulic Circuit only)
19
QUICK CONNECT FITTINGS (AUXILIARY HYDRAULIC CIRCUIT ONLY)
2252
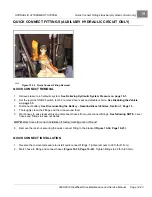
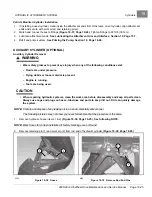
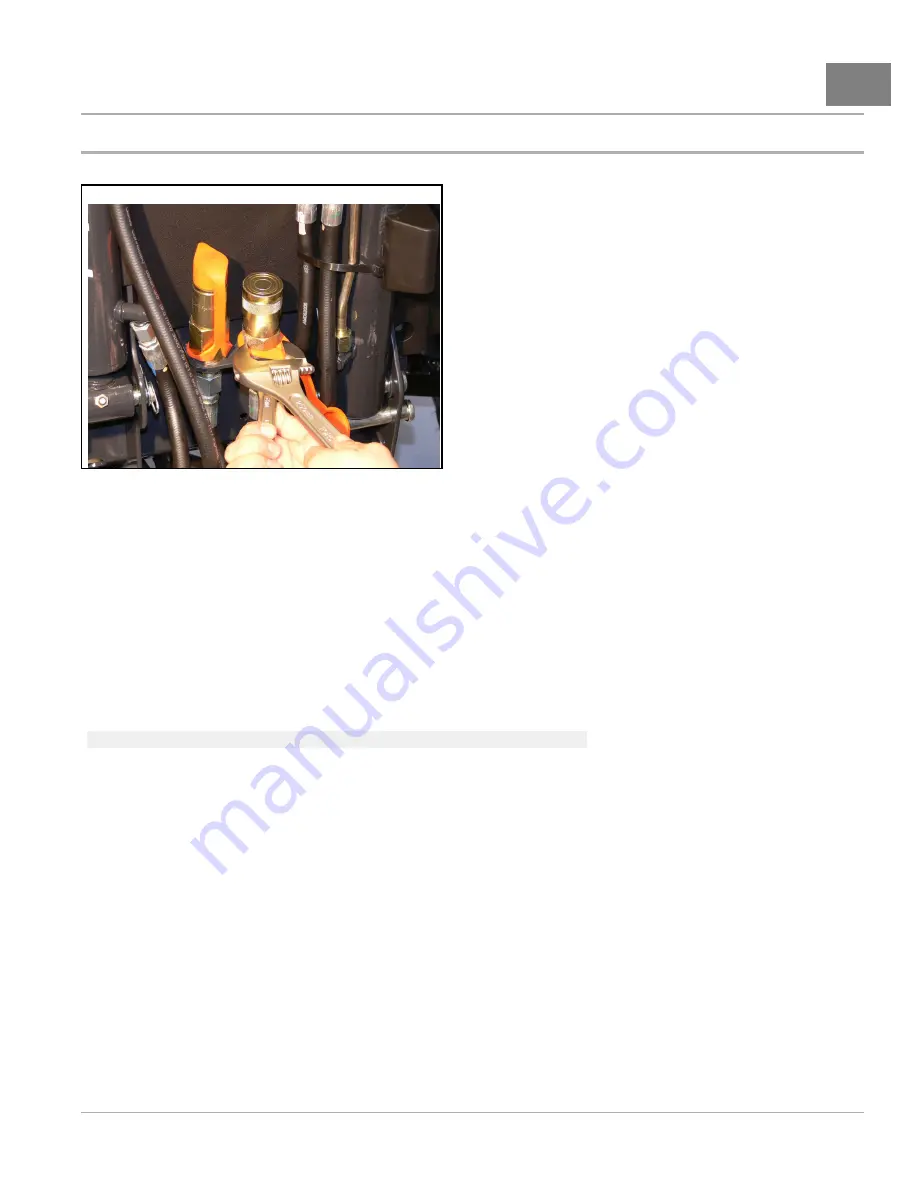
Figure 19-36
Quick Connect Fitting Removal
QUICK CONNECT REMOVAL
1.
Relieve pressure in hydraulic system.
See Relieving Hydraulic System Pressure on page 19-1.
2.
Set the joystick ON/OFF switch to OFF, remove driver seat and disable vehicle.
3.
Disconnect battery.
See Disconnecting the Battery – Gasoline/Diesel Vehicles, Section 1, Page 1-3.
4.
Thoroughly clean the fittings and the area around them.
5.
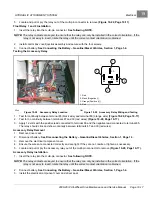
Mark hoses to ease reassembly and disconnect hoses from quick connect fittings.
See following NOTE.
Cover
hoses and fittings to keep out debris.
NOTE:
Mark hoses for correct installation if factory markings are not found.
6.
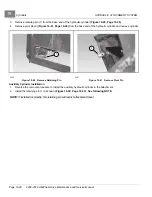
Remove the lock nut securing the quick connect fitting to the bracket
QUICK CONNECT INSTALLATION
1.
Reverse the removal procedure to install quick connect fittings. Tighten jam nuts to 30 ft-lb (41 N·m).
2.
Match hose to fitting and connect hoses
. Tighten fittings to 22 ft-lb (30 N·m).
2008-2012 All-Wheel Drive Maintenance and Service Manual
Page 19-23
Summary of Contents for Carryall 295 SE
Page 2: ......
Page 20: ......
Page 28: ......
Page 58: ......
Page 66: ......
Page 100: ......
Page 122: ......
Page 150: ......
Page 157: ......
Page 190: ......
Page 197: ......
Page 236: ......
Page 284: ......
Page 386: ......
Page 394: ......
Page 442: ......
Page 452: ......
Page 454: ......
Page 455: ......
Page 456: ......

