4
Seat Belts
BODY AND TRIM
2.
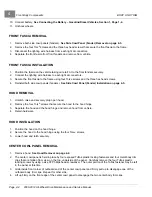
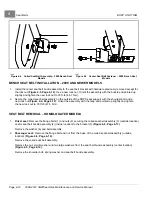
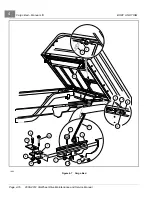
Remove the seat support.
SEAT SUPPORT INSTALLATION
1.
Install the seat support (7)
2.
Secure the seat support to the seat side plates with bolts (9), washers (10 and 11), and flanged locknuts (12).
Tighten the hardware to 37 ft-lb (50 N·m).
SEAT BELTS
See General Warnings, Section 1, Page 1-2.
CAUTION
• Be careful not to damage the safety belt webbing or hardware.
• Inspect the safety belt system periodically. Check for cuts, fraying, and loose parts. Replace damaged
parts immediately. Do not disassemble or modify the system.
• Keep safety belts clean and dry. If cleaning is necessary, use a solution of mild soap and lukewarm
water. Do not use bleach, dye, or abrasive cleaners as they may severely weaken the safety belts.
• Do not insert coins, clips, etc. into the safety belt buckle. Foreign objects may interfere with the
buckle locking mechanism.
• If the safety belt does not function normally, contact your dealer/distributor or trained technician
immediately. Do not occupy the seat until the safety belt is repaired.
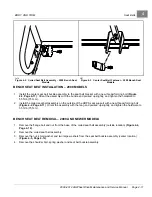
BENCH SEAT BELT REMOVAL – 2008 MODELS
1.
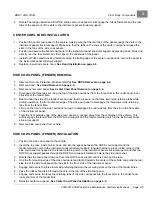
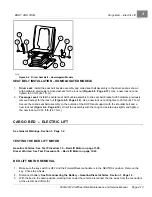
Remove the bolt from the base of the coiled seat belt assembly (outside location)
.
2.
Remove the coiled seat belt assembly.
3.
Remove the bolt from the seat belt buckle assembly (center location)
4.
Remove the seat belt buckle assembly.
Page 4-10
2008-2012 All-Wheel Drive Maintenance and Service Manual
Summary of Contents for Carryall 295 SE
Page 2: ......
Page 20: ......
Page 28: ......
Page 58: ......
Page 66: ......
Page 100: ......
Page 122: ......
Page 150: ......
Page 157: ......
Page 190: ......
Page 197: ......
Page 236: ......
Page 284: ......
Page 386: ......
Page 394: ......
Page 442: ......
Page 452: ......
Page 454: ......
Page 455: ......
Page 456: ......

