6
Brake Disc and Hub – 2008-2011 Models
HYDRAULIC AND PARK BRAKE SYSTEMS
WARNING
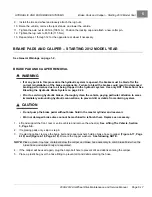
• To reduce the possibility of diminished brake performance or failure, never use petroleum-based
lubricants on brake system components, and ensure lubricant does not contact friction surfaces of
brake pads or rotors.
1.
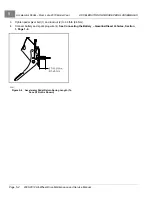
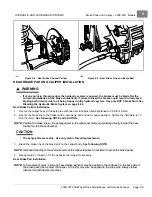
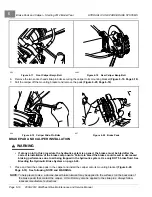
Install the brake pads and install the socket-head slide-pin bolts through the top and bottom holes of the pads.
Tighten the hardware to 32 ft-lb (43 N·m).
See preceding NOTE and WARNING. Also see following NOTE.
NOTE:
It may be necessary to loosen the park brake adjuster arm on the caliper.
2.
Install the tire and wheel and finger-tighten the lug nuts.
3.
Lower the vehicle and use a crisscross pattern to tighten the lug nuts to 85 ft-lb (115 N·m).
4.
Repeat steps 1 through 3 for the opposite rear wheel if necessary.
5.
Inspect the brake system.
See Brake System Inspection on page 6-1.
6.
Burnish the new pads before initial vehicle operation. On a flat, open surface, accelerate the vehicle to moderate
speed, then apply the brakes under modest, steady pressure. Repeat this procedure for eight to twelve times.
7.
Adjust the parking brake.
See Park Brake Adjustment – At Rear Calipers on page 6-27.
BRAKE DISC AND HUB – 2008-2011 MODELS
See General Warnings, Section 1, Page 1-2.
FRONT WHEEL DISC AND HUB REMOVAL
WARNING
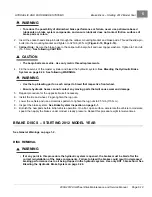
• If at any point in this procedure the hydraulic system is opened, the brakes must be bled after the
correct reinstallation of the brake components. Failure to bleed the brakes could result in decreased
braking performance due to air being trapped in the hydraulic system. Use only DOT 5 brake fluid. See
Bleeding the Hydraulic Brake System on page 6-24.
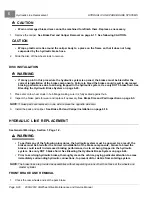
CAUTION
• Worn or damaged brake discs cannot be machined to refinish them. Replace as necessary.
1.
Lift and support the front of vehicle and remove the wheel.
See Lifting The Vehicle on page 3-9.
2.
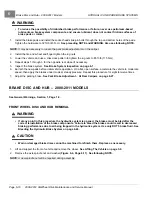
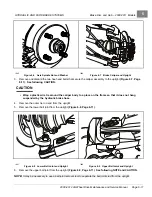
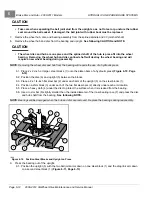
Remove the axle spindle nut and washer
.
See following NOTE.
NOTE:
A new spindle nut will be required during assembly.
Page 6-10
2008-2012 All-Wheel Drive Maintenance and Service Manual
Summary of Contents for Carryall 295 SE
Page 2: ......
Page 20: ......
Page 28: ......
Page 58: ......
Page 66: ......
Page 100: ......
Page 122: ......
Page 150: ......
Page 157: ......
Page 190: ......
Page 197: ......
Page 236: ......
Page 284: ......
Page 386: ......
Page 394: ......
Page 442: ......
Page 452: ......
Page 454: ......
Page 455: ......
Page 456: ......

