

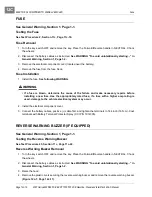


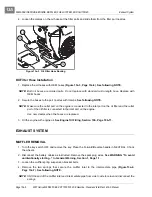

ELECTRICAL COMPONENTS: DIESEL VEHICLES
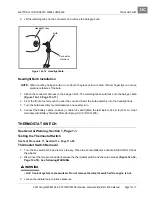
Thermostat Switch
Page 12c-18
2007 Carryall 295/295 SE & XRT 1550/1550 SE Gasoline, Diesel and IntelliTach M & S Manual
12C
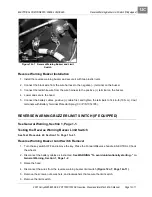
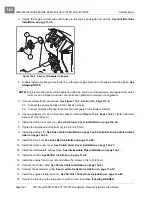
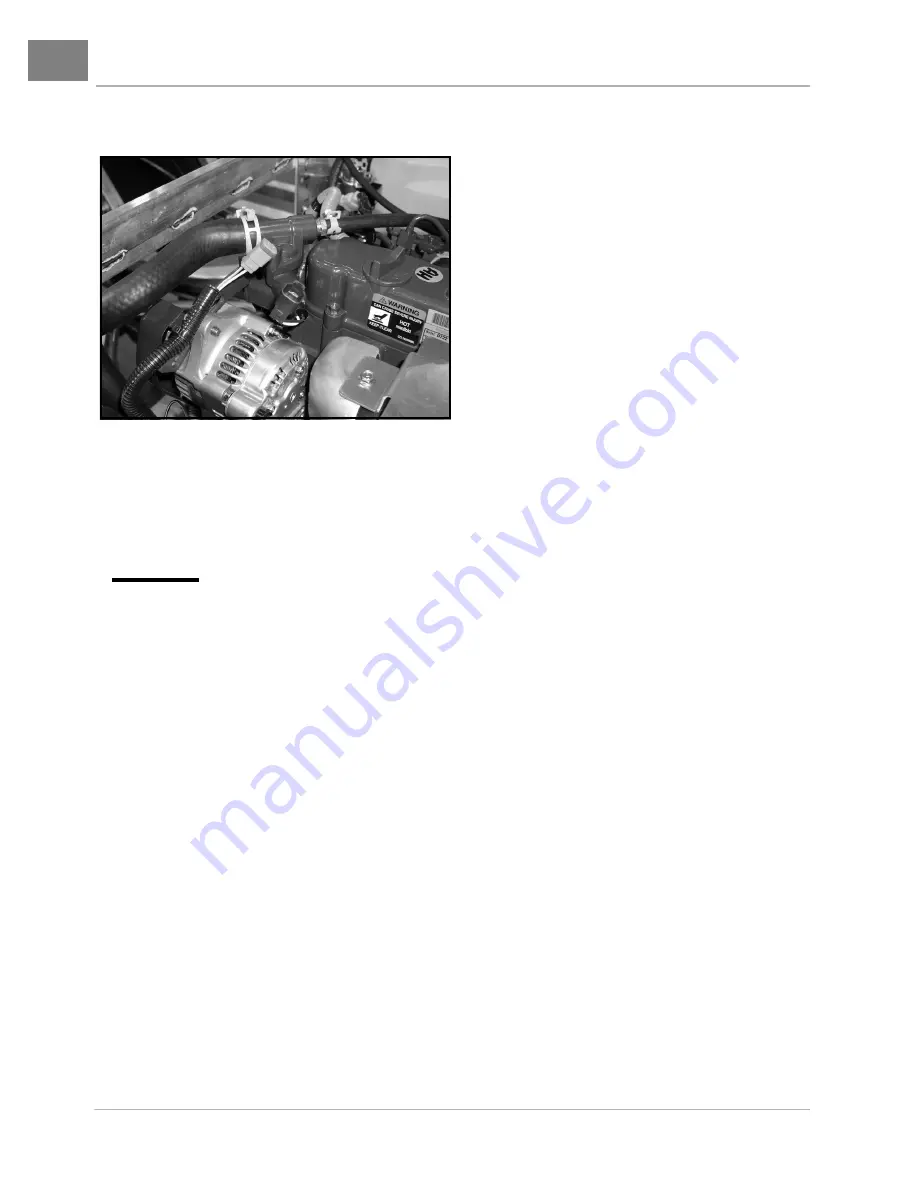
4. Unscrew the thermostat switch from the engine block.
See preceding WARNING.
Thermostat Switch Installation
1. Apply Loctite 567 Liquid Thread Sealer to the threads of the thermostat switch.
See following CAU-
TION.
CAUT ION
• Do not use any thread-sealing tape on the threads of the thermostat switch. The housing of
the thermostat switch must make a good connection to the engine block. If thread sealer
insulates the thermostat switch housing from the engine block, the radiator fan will not
function and the high-temperature warning lamp will not illuminate. Thus, the engine will
over-heat and the operator will not be alerted to the potential engine damage.
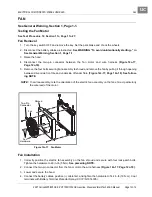
2. Hand-tighten the thermostat switch and then tighten two full revolutions.
3. Connect the two-pin connector from the thermostat switch to the wire harness.
4. Tighten the radiator cap. Check the coolant level in the reservoir. If the coolant level is at or below the
LOW mark, add pre-mixed coolant until the level reaches the FULL mark.
See Engine Coolant – Diesel
Vehicles, Section 10a, Page 10a-16.
5. Connect the battery cables, positive (+) cable first, and tighten the terminals to 144 in-lb (16 N·m). Coat
terminals with Battery Terminal Protector Spray (CCI P/N 1014305).
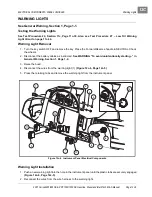
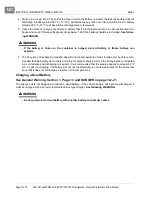
Figure 12c-16 Thermostat Switch
Summary of Contents for IntelliTach XRT 1550
Page 2: ......
Page 22: ...1...
Page 54: ...4...
Page 60: ...5...
Page 90: ...6...
Page 114: ...8...
Page 118: ...9...
Page 196: ...11A...
Page 290: ...11C...
Page 468: ...13C...
Page 490: ...14...
Page 498: ...15...
Page 548: ...16...
Page 560: ...Club Car R NOTES...
Page 561: ...Club Car R NOTES...
Page 562: ...Club Car R NOTES...
Page 563: ......