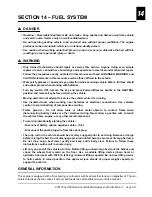
FUEL SYSTEM
Engine Control Linkage
2001 Pioneer 900 Gasoline Vehicle Maintenance and Service Manual Page 14-11
14
Governor Cable Installation and Adjustment
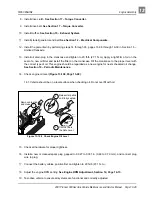
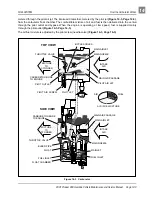
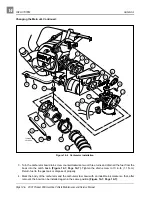
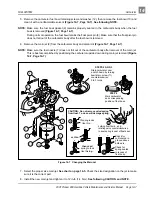
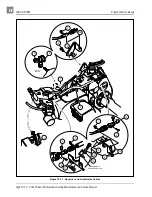
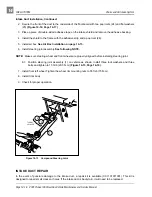
1. Install the cable onto the governor cable support bracket (10) and the engine bracket (11) and attach
an E-ring (7) at each end (Figure 14-11, Page 14-12).
2. Push the cable dust shields onto the ends of the cable conduit.
3. Install governor cable end into carburetor throttle clevis and install clevis pin (8) and cotter pin (9) (Fig-
4. Install governor cable clevis over governor lever arm and install clevis pin (8) and cotter pin (9) (Figure
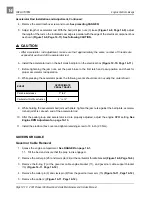
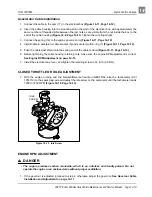
5. With the governor lever arm loose on the governor shaft, use a 1/8 inch punch or scratch awl to turn the
governor arm shaft counterclockwise until it stops. Then pull the governor lever arm rearward until the
carburetor throttle is in the “wide open throttle” (WOT) position.
6. While holding the arm and shaft in the fully counterclockwise position, tighten the governor arm lever
nut to 36 in-lb (4.0 N·m).
7. Check engine RPM adjustment. See Engine RPM Adjustment on page 14-13.
ACCELERATOR CABLE
Accelerator Cable Removal
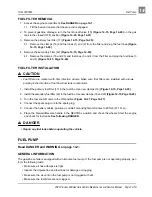
1. Access the engine compartment. See DANGER on page 14-1.
1.1. Tilt the bed and ensure that the prop rod is engaged.
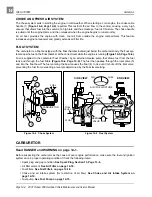
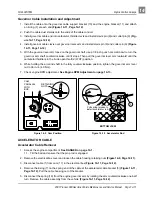
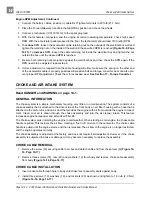
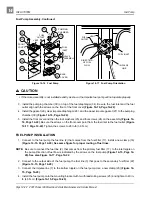
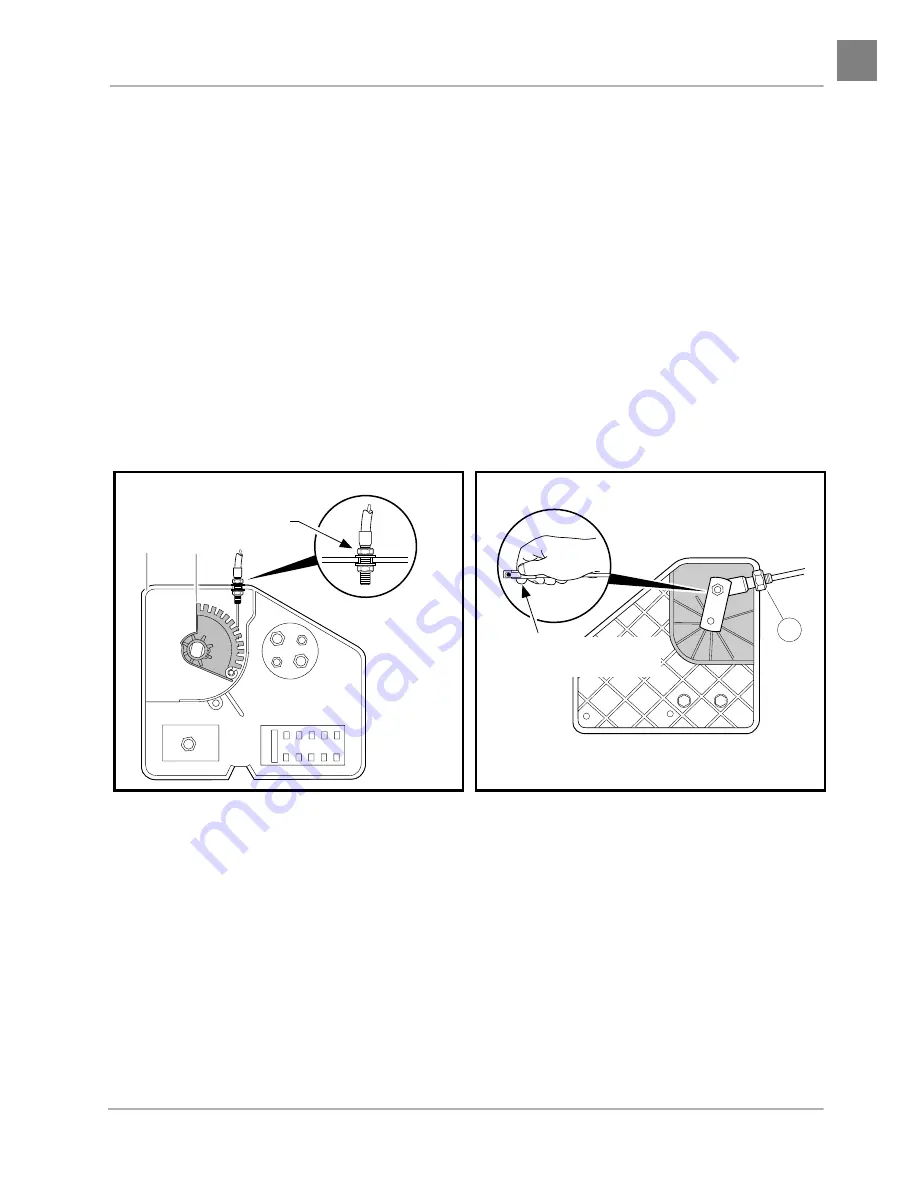
2. Remove the electrical box cover and loosen the cable housing retaining nuts (Figure 14-9, Page 14-11).
3. Disconnect cable (1) from cam (17) in the electrical box (Figure 14-11, Page 14-12).
4. Remove the E-ring (7) on the spring end of the cable at the accelerator cable bracket (5) (Figure 14-11,
Page 14-12). Pull the cable housing out of the bracket.
5. Disconnect the spring (16) from the engine governor arm by rotating the arm counterclockwise one-half
turn. Remove the cable assembly from the vehicle (Figure 14-11, Page 14-12).
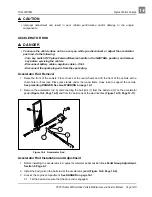
Figure 14-9 Cam Position
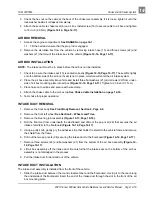
Figure 14-10 Accelerator Rod
RETAINING
NUTS
CAM
PARALLEL
WITH
BOX
Pull spring release to
install accelerator rod.
BOTTOM VIEW
3

