UNITIZED TRANSAXLE
Unitized Transaxle Disassembly
Page 16-16 2001 Pioneer 900 Gasoline Vehicle Maintenance and Service Manual
16
Unitized Transaxle Disassembly, Continued:
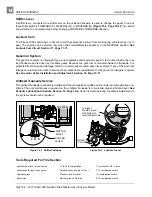
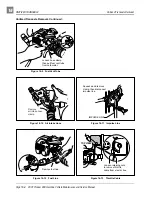
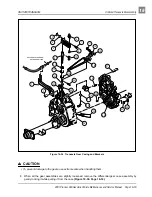
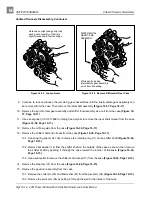
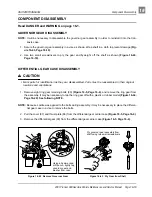
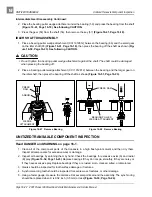
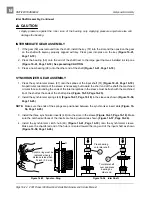
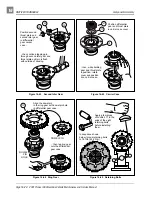
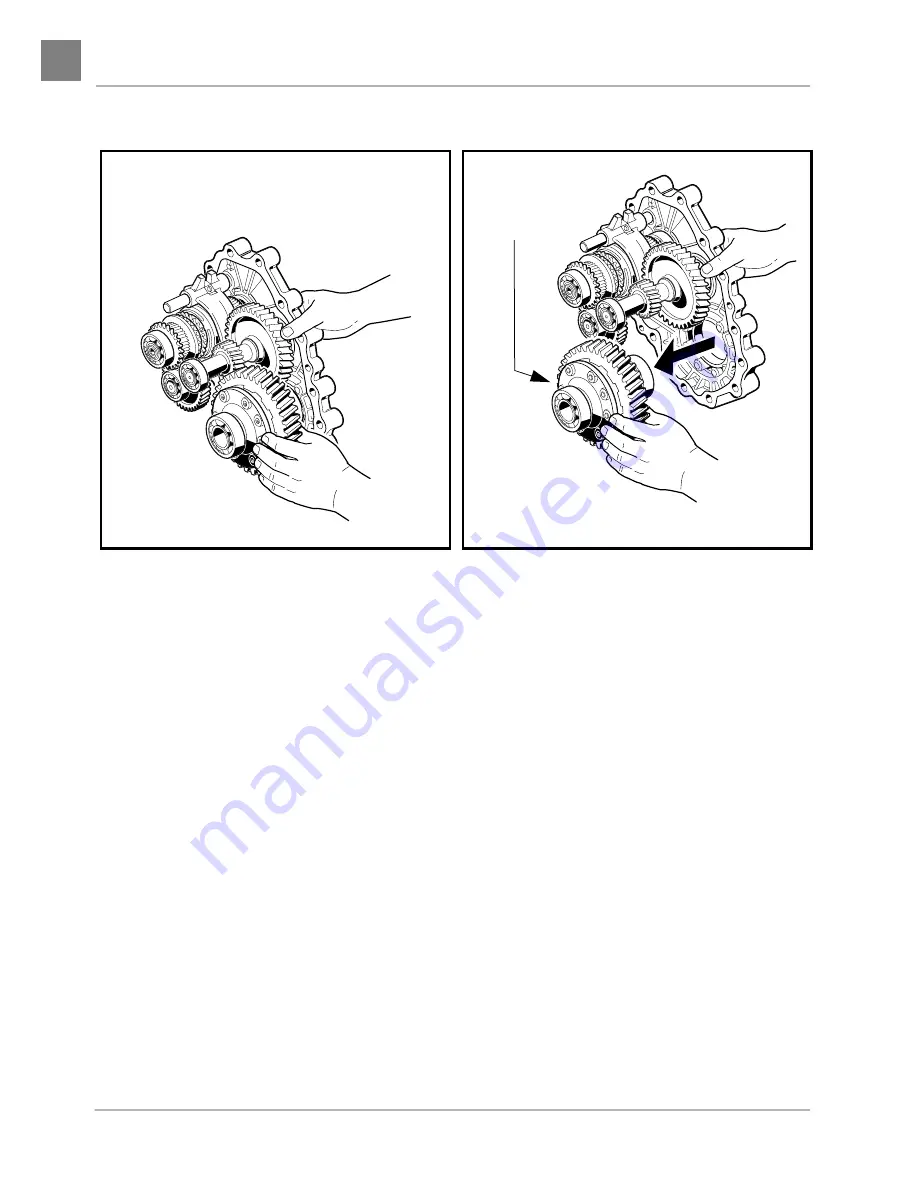
9. Continue to rock and loosen the remaining gear assemblies until the intermediate gear assembly can
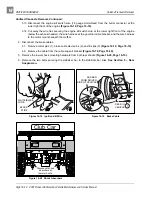
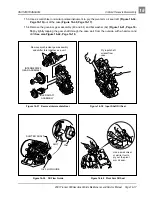
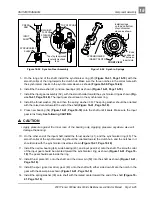
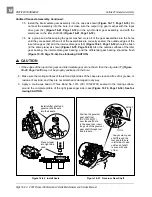
be removed from the case. Then remove the idler shaft assembly (Figure 16-37, Page 16-17).
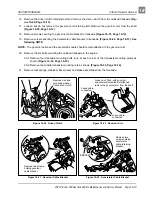
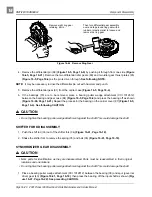
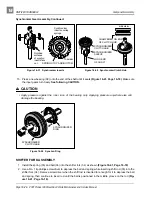
10. Remove the synchronizer gear assembly and shifter fork assembly as a unit from the case (Figure 16-
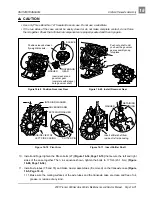
11. Use a seal puller (CCI 1012809) or rolling head prybar to remove the input shaft oil seal from the case
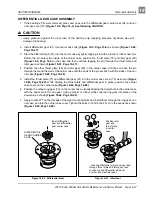
12. Remove the oil flow guide from the case (Figure 16-39, Page 16-17).
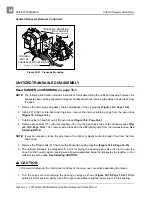
13. Remove the shifter shaft and oil seal from the case (Figure 16-39, Page 16-17).
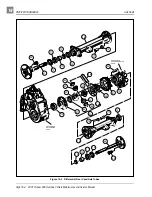
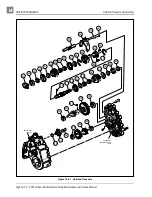
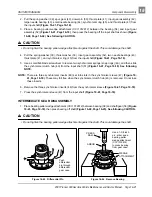
13.1. Use snap ring pliers (.047 tip) to remove the retaining ring (11) on the shifter shaft (Figure 16-34,
13.2. Remove flat washer (12) from the shifter shaft on the outside of the case as shown, then remove
the shifter shaft by pushing it through the case toward the interior of transaxle (Figure 16-34,
Page 16-15).
13.3. Use a seal puller to remove the shifter shaft oil seal (13) from the case (Figure 16-34, Page 16-15).
14. Remove the breather (31) from the case (Figure 16-34, Page 16-15).
15. Remove the governor assembly from the case.
15.1. Remove the cotter pin (20) and flat washer (21) from the pivot arm (24) (Figure 16-34, Page 16-15).
15.2. Remove the pivot arm (24) by pulling it through the wall to the interior of the case.
Figure 16-35 Loosen Gears
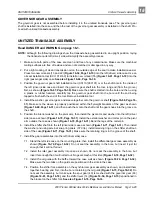
Figure 16-36 Remove Differential Gear Case
Hold case upright and gently rock
each gear assembly until all are
slightly loosened in their seatings.
While gently rocking
intermediate gear assembly,
pull it from its seating.
DIFFERENTIAL
GEAR CASE
ASSEMBLY

