TROUBLESHOOTING AND ELECTRICAL SYSTEM
Test Procedures
Page 11-38 2001 Pioneer 900 Gasoline Vehicle Maintenance and Service Manual
11
TEST PROCEDURE 22 – OIL WARNING LIGHT
Read DANGER and WARNING on page 11-1.
1. Place the Forward/Reverse handle in the NEUTRAL position, chock the wheels and disconnect the bat-
tery, negative cable first.
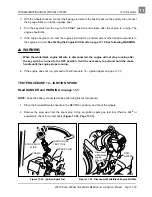
2. Remove the center dash assembly. See Key Switch Removal, Section 12, Page 12-15.
3. Ensure that the wires are connected correctly and are tight. If they are not, rewire or tighten as neces-
sary (Figure 11-8, Page 11-11).
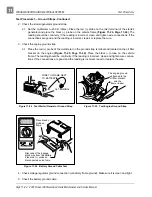
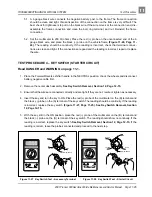
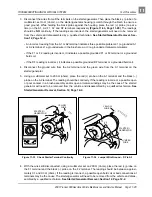
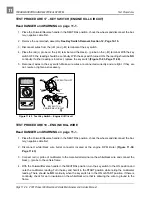
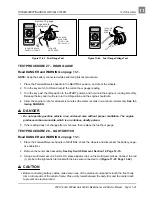
4. Disconnect the yellow wire (to the oil level sensor) from the terminal on the oil light. Using an alligator
clip jumper wire, connect the oil light terminal to the vehicle frame. Connect the red (+) battery cable to
the positive (+) battery post, then attach the black (–) cable to the negative (–) battery post.
5. Turn the key switch ON. The oil light should illuminate. If it does not, check continuity of the yellow wire
that connects the key switch to the oil light. If there is NO continuity in the wire, replace the wire. Then
test the key switch. See Test Procedure 4 – Key Switch (Starter Circuit) on page 11-25. If the yellow
wire and the key switch test okay, then replace the oil light.
TEST PROCEDURE 23 – LOCKOUT CAM
Read DANGER and WARNING on page 11-1.
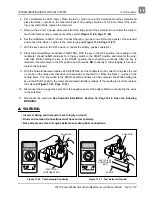
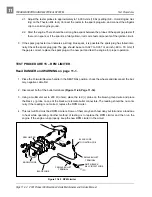
1. Check to be sure the lobes on the cam are depressing the lockout cam limit switch when the Forward/
Reverse shifter is in the NEUTRAL position only. The limit switch should make an audible click as it is
depressed. If it does not, check for wear on the cam lobe. If the cam lobe will not activate the limit
switch, replace the cam.
TEST PROCEDURE 24 – BATTERY TEST (UNDER LOAD)
Read DANGER and WARNING on page 11-1.
NOTE: Keep the battery connected while performing this test procedure.
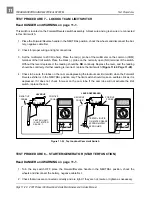
1. Place the Forward/Reverse handle in the NEUTRAL position, and chock the wheels.
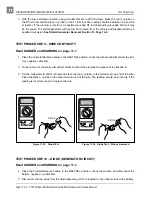
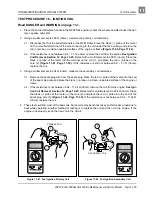
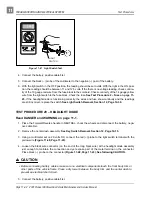
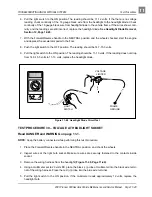
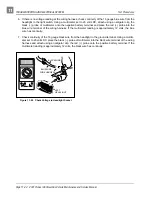
2. Set a multimeter to 20 volts and place the red (+) probe on the F2 (white wire) terminal on the starter/
generator. Place the black (–) probe on the negative battery post.
3. Turn the key switch to the START position and hold it in the START position while noting the voltage
reading on the multimeter (with the key in the START position the battery is under load).
3.1. If the voltage reading is over 9.6 volts at 70 °F (21 °C) (electrolyte temperature) (see following
NOTE), check the starter/generator.
NOTE: The voltage reading is taken at 70 °F (21 °C). At lower electrolyte temperatures the voltage reading
will be lower.
3.2. If the reading is below 9.6 volts at 70 °F (21 °C) (electrolyte temperature), check the battery. See

