FUEL SYSTEM
Choke and Air Intake System
Page 14-14 2001 Pioneer 900 Gasoline Vehicle Maintenance and Service Manual
14
Engine RPM Adjustment, Continued:
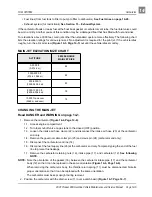
2. Connect the battery cables, positive (+) cable first. Tighten terminals to 20 ft-lb (27.1 N·m).
3. Place the Forward/Reverse handle in the NEUTRAL position and chock the wheels.
4. Connect a tachometer (CCI 1016112) to the spark plug lead.
5. With the tachometer connected, and the engine at normal operating temperature, check high speed
RPM. With the accelerator pedal pressed to the floor, the tachometer should read 3100 (±30) RPM.
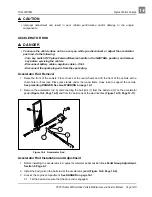
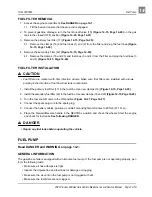
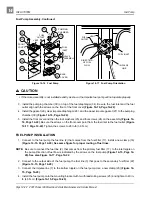
6. To reduce RPM, loosen the accelerator cable retaining nut on the outside of the electrical box wall and
tighten the retaining nut on the inside of the wall until the specified RPM is reached (Figure 14-9, Page
14-11). To increase RPM, loosen the cable retaining nut inside the electrical box and tighten the nut
outside the box until the desired RPM is reached.
7. Be sure both retaining nuts are locked against the electrical box and then check the RPM again. If the
RPM needs to be adjusted, repeat step 6.
8. If more adjustment is required than the cable housing will allow, make sure the spring on the other end
of the accelerator cable is properly positioned. Excessive belt and torque converter wear can also pre-
vent proper RPM adjustment. Check them for excessive wear. See Section 17 – Torque Converter.
CHOKE AND AIR INTAKE SYSTEM
Read DANGER and WARNING on page 14-1.
GENERAL INFORMATION
The choke system is a simple mechanism requiring very little or no maintenance. The system consists of a
choke assembly that is attached to the driver side of the front body, an air filter housing with a hose that is
attached to the carburetor, and an air duct that provides the engine with air from outside the engine compart-
ment. Clean, cool air is drawn through the choke assembly and into the air cleaner intake. This feature
increases engine horsepower and extends air filter life.
The choke system aids in starting the engine in cold weather. When starting a cold engine, the choke cable
handle is pulled. This restricts the air flow, creating a “fuel rich” mixture in the carburetor. The choke cable
handle is pulled until the engine starts, and then is released. The air flow to the engine is no longer restricted,
and the engine operates normally.
The choke assembly is adjusted at the factory and does not require field adjustment. However, if the choke
assembly is subjected to abuse or damaged, it may become necessary to replace the assembly.
CHOKE CABLE REMOVAL
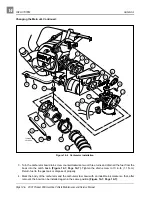
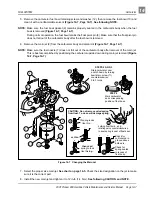
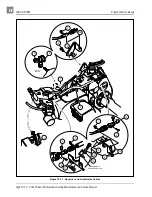
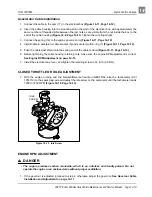
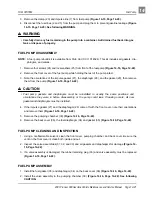
1. Remove the screw (16) securing cable to air box and detach cable end from choke lever (6) (Figure 14-
2. Remove three screws (18), nuts (20) and washers (19) from body and remove choke cable assembly
from body (Figure 14-14, Page 14-17).
CHOKE CABLE INSTALLATION
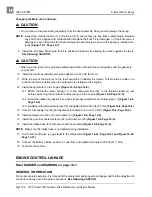
1. Insert choke cable through hole in body until choke lever assembly seats against body.
2. Install three screws (18), washers (19), and locknuts (20) as shown and tighten to 18 in-lb (2.0 N·m)

