STEERING AND FRONT SUSPENSION
Steering Adjustment
2001 Pioneer 900 Gasoline Vehicle Maintenance and Service Manual Page 7-7
7
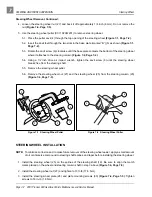
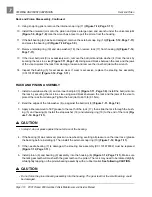
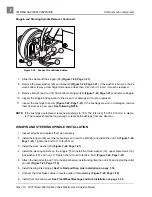
5. Install the bolt (2) and lock washer (3) on the upper universal joint and finger tighten.
6. Tighten the two nuts (9) and bolts (8) to 17 ft-lb (23 N·m) (Figure 7-4, Page 7-5).
7. Tighten the bolt (2) on the upper universal joint to 15 ft-lb (20 N·m) (Figure 7-4, Page 7-5).
8. Check the other bolts on the universal joint (1) to ensure that they are properly tightened to 15 ft-lb (20
N·m) (Figure 7-4, Page 7-5).
9. Reinstall dash pocket and related hardware.
10. Reinstall center dash panel in reverse order of disassembly. Make sure the key switch terminals do not
touch the frame and the center dash panel is properly seated and snapped into place.
11. Install front body and brush guard. See Front Body Installation, Section 4, Page 4-4. See also
Brush Guard Installation, Section 4, Page 4-4.
STEERING ADJUSTMENT
Read WARNING on page 7-1.
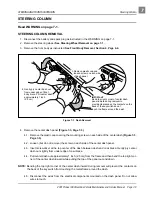
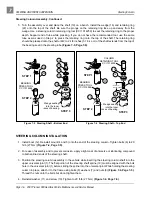
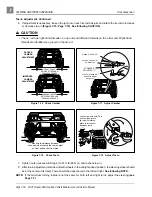
1. Turn the steering wheel all the way to the right. Note the distance between the passenger side spindle
stop (2) and passenger side A-plate (3) (Figure 7-7, Page 7-8). The internal stop on the rack must
reach its limit of travel against rack and pinion housing at exactly the same time the spindle stops
against the passenger side A-plate (with vehicle wheels turned to the right). If simultaneous contact
occurs, steering is in correct adjustment; Proceed to step 4. If simultaneous contact does not occur,
proceed to step 2.
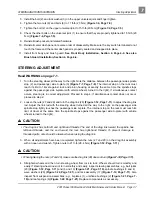
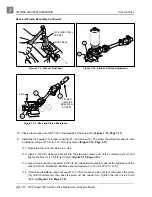
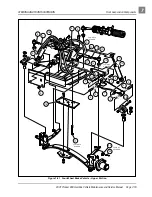
2. Loosen the nuts (27 and 29) and turn the drag link (28) (Figure 7-12, Page 7-11) to adjust the drag link
rod. Adjust the link rod with the steering wheel turned all the way to the right, so the passenger side
spindle stop lightly touches the passenger side A-plate. The internal stop on the rack must reach its
limit of travel at the same time the spindle stops against the passenger side A-plate (with vehicle
wheels turned to the right).
∆ CAUTION
• The drag link has both left and right-hand threads. The end of the drag link toward the spindle has
left-hand threads, and the end toward the rack has right-hand threads. To prevent damage to
threaded parts, care should be taken when servicing the drag link.
3. When all adjustments have been completed, tighten the nuts (27 and 29) on the drag link assembly
with an open end wrench. Tighten nuts to 21 ft-lb (28.4 N·m) (Figure 7-12, Page 7-11).
∆ CAUTION
• When tightening the nuts (27 and 29), make sure the drag link (28) does not turn (Figure 7-12, Page 7-11).
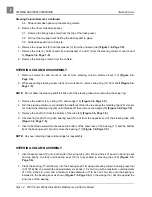
4. Straighten wheels and then turn steering wheel from lock to lock. Wheels should turn smoothly and
easily. If steering wheel does not turn smoothly and easily, inspect steering assemblies; e.g., ball joints
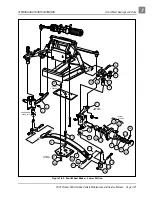
(23) (Figure 7-12, Page 7-11) and (6 and 13) (Figure 7-21, Page 7-19), spindle bushings (3 and 4) ,
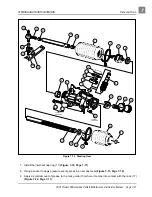
wave washers (20) (Figure 7-22, Page 7-21), and rack assembly (17) (Figure 7-12, Page 7-11). Also
inspect front suspension assemblies; e.g., A-plates (1), urethane bushings (2) (Figure 7-21, Page 7-
19) and leaf springs (6) (Figure 7-22, Page 7-21). Replace components as necessary.

