UNITIZED TRANSAXLE (GASOLINE VEHICLE)
Axle Bearing and Shaft – Kawasaki
24
555
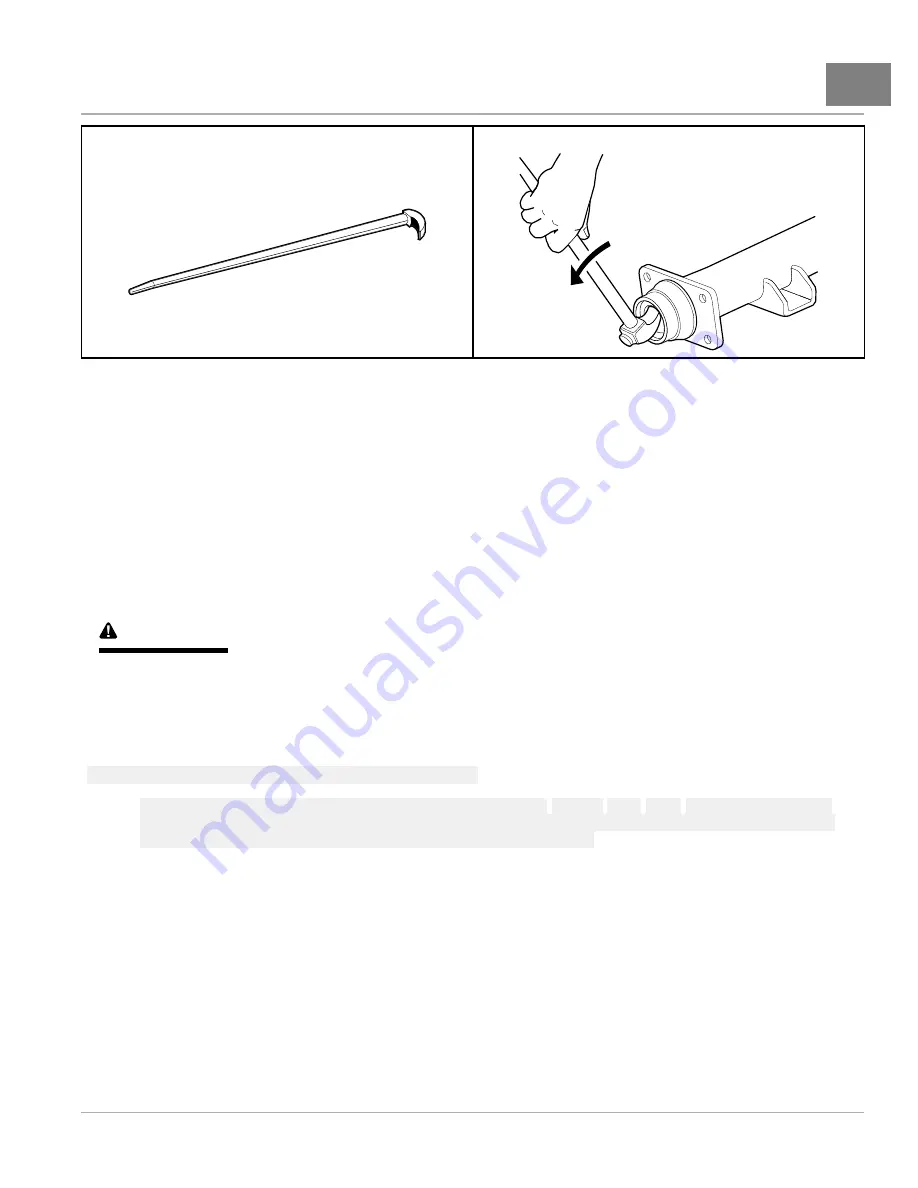
Figure 24-6
Rolling Head Prybar
556
Figure 24-7
Seal Lip
9.
Inspect the axle shaft assembly to be sure the bearing (71) and collar (73) have not slipped and are still seated
against the shoulder on the axle shaft
10. Inspect the bearing. If the bearing is damaged or worn, replace it.
AXLE BEARING
Axle Bearing Removal
1.
Use external retaining ring pliers (0.047 inch (1.19 mm) tip) to remove the retaining ring (74). Place a bearing
puller wedge attachment (P/N 1012812) on the axle shaft between the wheel mounting flange and the bearing
See also Figure 24-9, Page 24-8.See following CAUTION.
CAUTION
• Do not tighten the bearing puller wedge attachment against the axle shaft. This could damage the axle
shaft when pressing the bearing and collar off.
2.
Press the bearing (71) and collar (73) off together
See also Figure 24-9, Page 24-8.
See following NOTE.
NOTE:
It may be necessary to heat the collar to remove it.
Do not remove the large axle retaining ring (70) from the axle
. Since the inner
diameter of the retaining ring (70) is smaller than the outer diameter of the bearing (71), the ring must be
in place on the axle before a new bearing and collar are pressed on.
2014 Precedent
®
Golf Car Maintenance and Service Manual
Page 24-5
Summary of Contents for Precedent 2014
Page 2: ......
Page 4: ......
Page 24: ......
Page 28: ......
Page 38: ......
Page 66: ......
Page 104: ......
Page 116: ......
Page 152: ......
Page 234: ......
Page 252: ......
Page 264: ......
Page 298: ......
Page 332: ......
Page 394: ......
Page 412: ......
Page 438: ......
Page 444: ......
Page 508: ......
Page 534: ......
Page 543: ......
Page 544: ......
Page 545: ......
Page 547: ......
Page 548: ......


