12
Test Procedures
ELECTRICAL SYSTEM TROUBLESHOOTING
2.
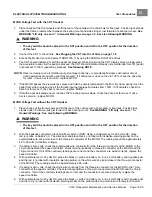
Set a multimeter to 200 volts DC. Use an alligator clip to connect the red (+) probe to the positive terminal on
battery no. 1. With an insulation-piercing probe, connect the black (–) probe to the blue/white wire attached to
pin 17 of the 24-pin connector.
3.
Place the Run/Tow switch in the RUN position, the Forward/Reverse swith in the FORWARD position, and the
key switch in the ON position.
4.
With the accelerator pedal pressed, the multimeter should read 48 volts DC. With the pedal up, the multimeter
should read 0 volts DC.
5.
If any other activity is observed, check the following items:
– Continuity of the wires in the wire harness.
– Reverse buzzer for proper operation.
See Reverse Buzzer on page 12-39.
– Run/Tow switch for proper operation.
See Run/Tow Switch on page 12-15.
– Key switch for proper operation.
See Key Switch and MCOR Limit Switch Circuit on page 12-20.
– Solenoid for proper operation.
See Solenoid Contacts on page 12-23.
Pin 3
Voltage is supplied to Pin 3 through the walk away braking circuit breaker:
1.
Disconnect the 24-pin connector at the speed controller.
2.
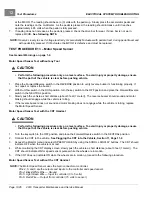
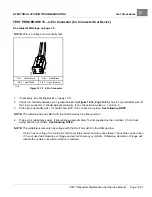
With a multimeter set for 200 volts DC, insert the red (+) probe of the multimeter into pin 3 (orange wire) of the
24-pin connector.
See following CAUTION.
With an alligator clip, connect the black (–) probe to the negative
terminal of battery # 8.
CAUTION
• Do not fully insert probes into the 24-pin plug. Doing so can result in a poor connection.
3.
The reading should be 48 volts. If the reading is zero volts, replace the circuit breaker.
Pin 20 (Smart-Key Switch Only)
Voltage is supplied to Pin 20 when it is in the Mode position.
1.
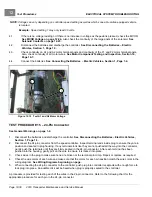
With a multimeter set for 200 volts DC, insert the red (+) probe of the multimeter into pin 20 (purple wire) of the
24-pin connector.
See following CAUTION.
With an alligator clip, connect the black (–) probe to the negative
terminal of battery # 8.
2.
The reading should be 48 volts. If the reading is zero volts, check the purple wire continuity from the key switch
to the 24 pin connector. If there is no continuity, replace the keyswitch.
Pin 23
1.
Place the Run/Tow switch in the RUN position, the Forward/Reverse swith in the NEUTRAL position, and the
key switch in the OFF position.
2.
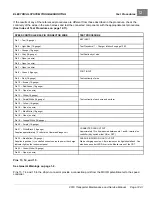
Set the multimeter for 200 volts DC. With an alligator clip, connect the red (+) probe of the multimeter to the
positive terminal of battery # 1. With an insulation-piercing probe, connect the black (–) probe to the green/white
wire at Pin 23.
3.
Push the car to activate walk away braking. When braking activates and reverse buzzer sounds, the reading
should be 48 volts.
4.
If the reading is zero volts, check the continuity of the green/white wire. if the continuity is good, replace the
speed controller.
Page 12-38
2019 Transporter Maintenance and Service Manual
Summary of Contents for TransPorter 4
Page 2: ......
Page 271: ...ELECTRIC MAIN HARNESS Wiring Diagrams Electric Main Harness 18 ...
Page 272: ... Page intentionally left blank ...
Page 273: ...ELECTRIC INSTRUMENT PANEL HARNESS Wiring Diagrams Electric Instrument Panel Harness 18 ...
Page 274: ... Page intentionally left blank ...
Page 275: ...ELECTRIC ACCESSORIES HARNESS Wiring Diagrams Electric Accessories Harness 18 ...
Page 276: ... Page intentionally left blank ...
Page 282: ...NOTES ...
Page 283: ...NOTES ...
Page 284: ...NOTES ...
Page 285: ......
Page 286: ......


