12
Test Procedures
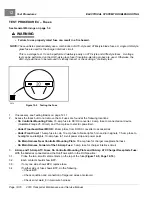
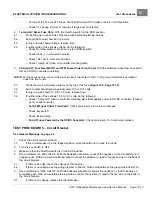
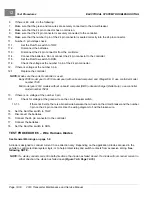
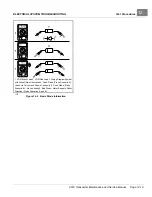
ELECTRICAL SYSTEM TROUBLESHOOTING
NOTE:
Voltage can vary depending on controller speed setting as well as which zone a Guardian equipped vehicle
is located.
Example:
Speed setting 1 may only read 30 volts.
4.1.
If there is no voltage reading or if there is no increase in voltage as the pedal is pressed, check the MCOR.
See MCOR Voltage on page 12-24.
Also check the continuity of the large posts of the solenoid.
Solenoid Contacts on page 12-23.
4.2.
Disconnect the batteries and discharge the controller.
See Disconnecting the Batteries – Electric
Vehicles, Section 1, Page 1-3.
4.3.
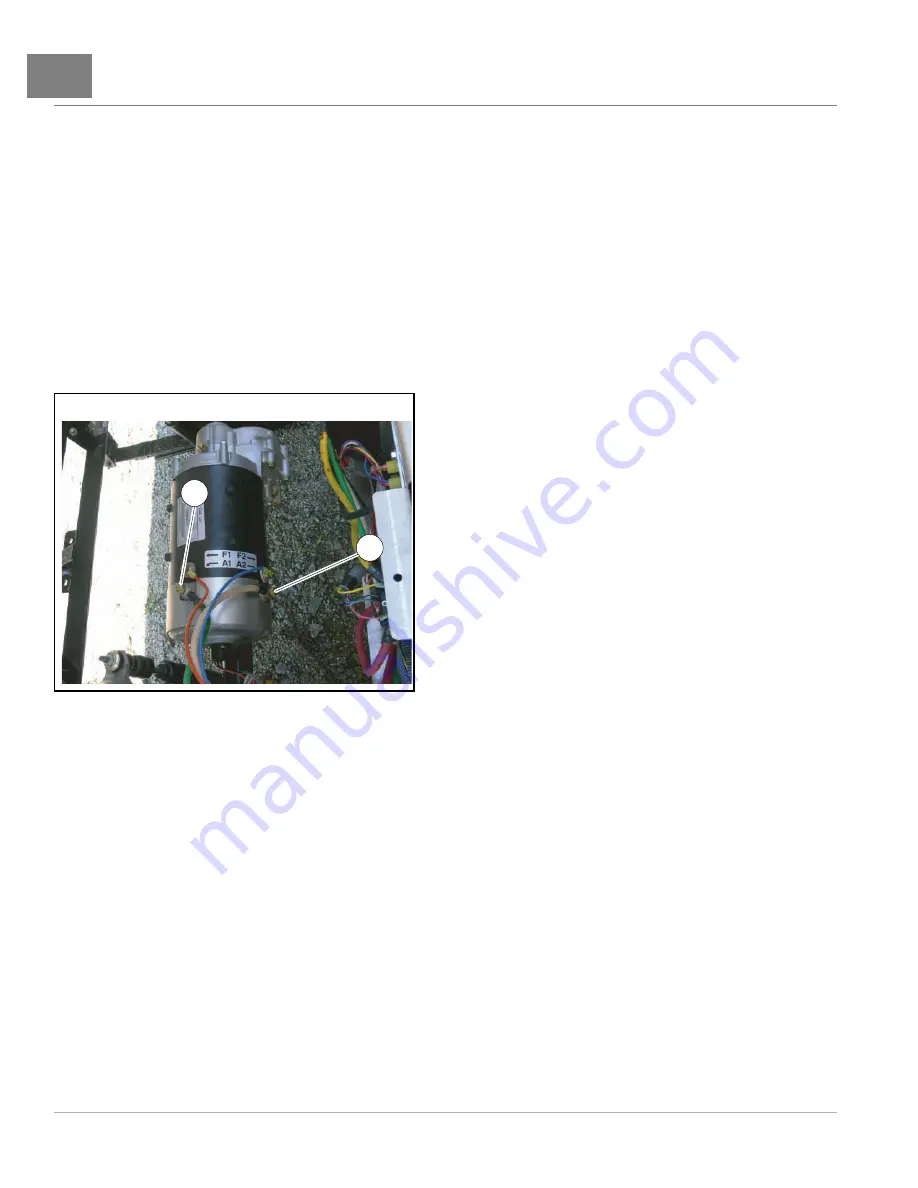
Check continuity on A1 and A2 motor terminal posts and continuity of the F1 and F2 motor terminal posts.
Also, check continuity of all motor wires.
See Motor Component Testing and Inspection, Section 16,
4.4.
Connect the batteries.
See Connecting the Batteries – Electric Vehicles, Section 1, Page 1-4.
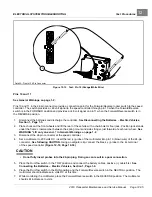
1
2
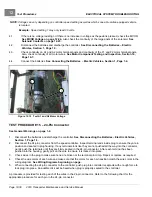
Figure 12-12
Test A1 and A2 Motor Voltage
TEST PROCEDURE 15 – 24-Pin Connector
See General Warnings on page 1-2.
1.
Disconnect the batteries and discharge the controller.
See Disconnecting the Batteries – Electric Vehicles,
2.
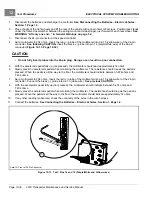
Disconnect the 24-pin connector from the speed controller. Inspect terminal ends inside plug to ensure they are in
position and seated in plug housing. If any terminals look like they are not pushed all the way into the connector,
gently push the terminals until they are firmly seated in the 24-pin connector. After each terminal has been
pushed into the housing, gently pull on the wire to ensure it is locked into place.
3.
Check wires in the plug to make sure none are broken at the terminal pin crimp. Repair or replace as required.
4.
Check the wire colors of each wire and make sure that the colors for each pin position match the wire colors in the
wiring diagram.
See Wiring Diagrams beginning on page
.
5.
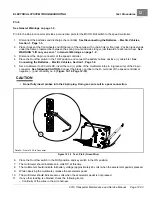
When connecting the 24-pin connector to the controller, push plug into controller receptacle with enough force to
lock plug into place. An audible click will be heard when plug is properly seated to the controller.
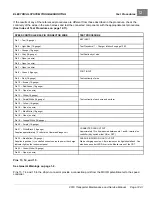
A procedure is provided for testing each of the wires in the 24-pin connector. Refer to the following chart for the
appropriate procedure for each pin in the 24-pin connector.
Page 12-30
2019 Transporter Maintenance and Service Manual
Summary of Contents for TransPorter 4
Page 2: ......
Page 271: ...ELECTRIC MAIN HARNESS Wiring Diagrams Electric Main Harness 18 ...
Page 272: ... Page intentionally left blank ...
Page 273: ...ELECTRIC INSTRUMENT PANEL HARNESS Wiring Diagrams Electric Instrument Panel Harness 18 ...
Page 274: ... Page intentionally left blank ...
Page 275: ...ELECTRIC ACCESSORIES HARNESS Wiring Diagrams Electric Accessories Harness 18 ...
Page 276: ... Page intentionally left blank ...
Page 282: ...NOTES ...
Page 283: ...NOTES ...
Page 284: ...NOTES ...
Page 285: ......
Page 286: ......

