14
Battery Care
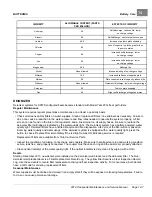
BATTERIES
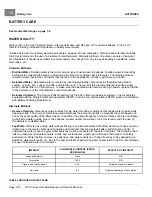
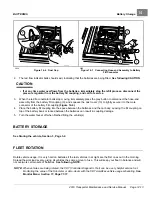
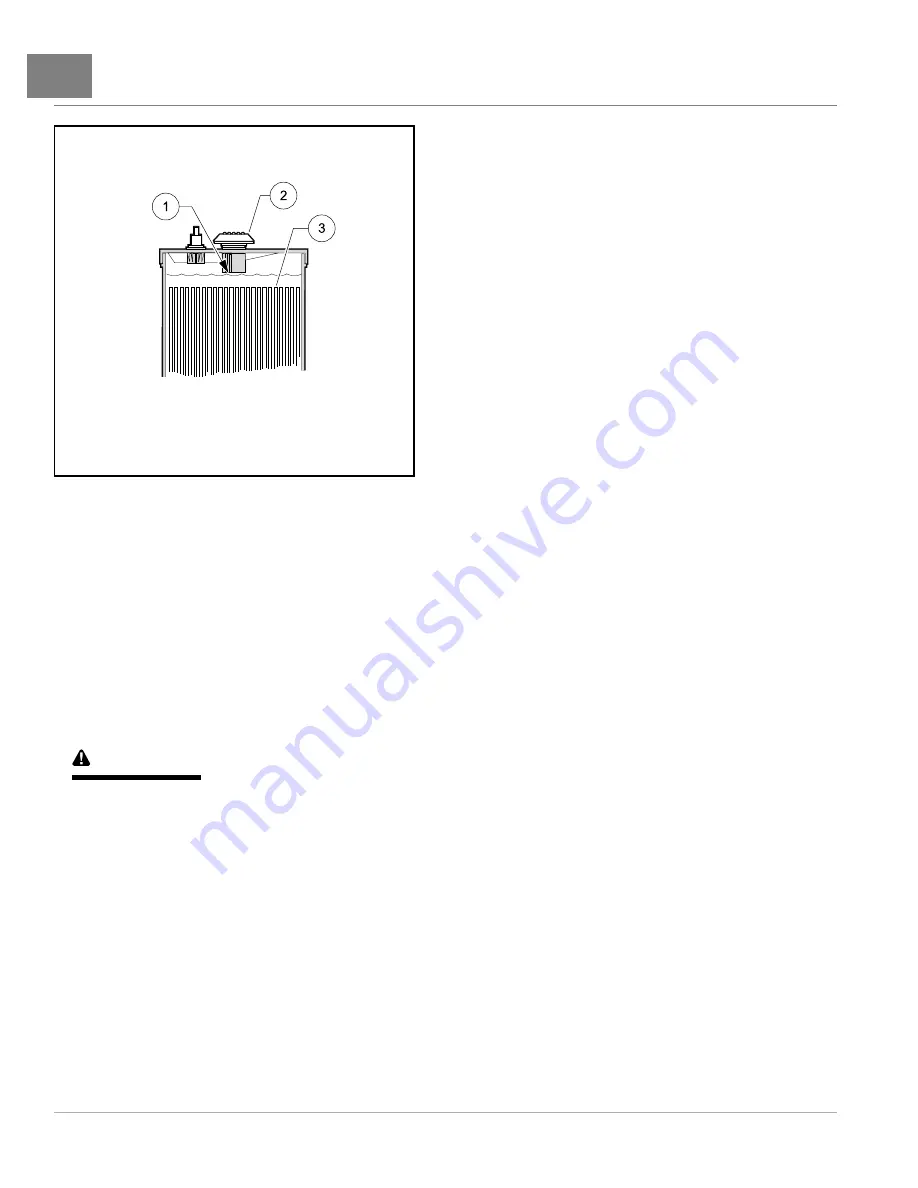
1. Level Indicator 2. Cap 3. Plates
Maintain electrolyte level from at least 1/2 inch (13 mm) above
plates to 1/4 inch (6 mm) below level indicator.
17
Figure 14-3
Electric Battery Electrolyte Level
SELF-DISCHARGE
Contaminants on dirty batteries can provide a path for a small current draw that can slowly discharge batteries, thus
wasting valuable energy. To prevent self-discharge, batteries should always be kept clean.
Hot weather also has an effect on a battery’s self-discharge rate. The higher the temperature, the quicker a set of
batteries will discharge. In hotter climates, batteries should be checked more often. When storing batteries, keep in
a cool place.
See Battery Storage on page 14-13.
ELECTROLYTE LEVEL
CAUTION
• Do not allow battery acid from battery caps or hydrometer to drip onto the front or rear body of the
vehicle. Battery acid will cause permanent damage. Wash immediately.
Add water only after charging unless the electrolyte is below the level of the plates. If the electrolyte level is below the
level of the plates, add just enough water to cover the plates and then charge the batteries. After charging, fill with
water to the level indicator. Filling a battery to the level indicator before charging will result in overfilling because the
electrolyte level will rise during charging and some of the electrolyte may bubble out of the cap. This reduces the
battery’s capacity and corrodes the metal parts around it.
The electrolyte level should be checked weekly to be sure electrolyte is at its proper level
Never allow the electrolyte level to fall below the tops of the plates because this will cause the exposed part of the plate
to become permanently inactive. For best results, use a battery watering gun to add water to batteries. Check the
electrolyte level more frequently in hot weather or when batteries are old.
Page 14-10
2019 Transporter Maintenance and Service Manual
Summary of Contents for TransPorter 4
Page 2: ......
Page 271: ...ELECTRIC MAIN HARNESS Wiring Diagrams Electric Main Harness 18 ...
Page 272: ... Page intentionally left blank ...
Page 273: ...ELECTRIC INSTRUMENT PANEL HARNESS Wiring Diagrams Electric Instrument Panel Harness 18 ...
Page 274: ... Page intentionally left blank ...
Page 275: ...ELECTRIC ACCESSORIES HARNESS Wiring Diagrams Electric Accessories Harness 18 ...
Page 276: ... Page intentionally left blank ...
Page 282: ...NOTES ...
Page 283: ...NOTES ...
Page 284: ...NOTES ...
Page 285: ......
Page 286: ......

