4
Rear Triangle Reflector
BODY AND TRIM
REAR TRIANGLE REFLECTOR
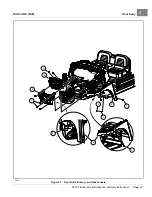
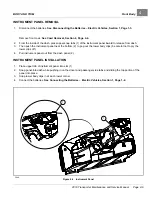
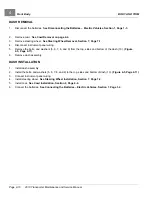
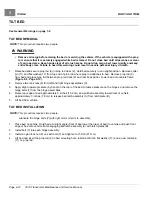
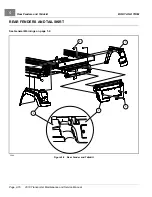
Figure 4-9
REAR TRIANGLE REFLECTOR REMOVAL
1.
Disable the vehicle.
2.
Remove the four rivets (1) and washers (2)
. Discard the rivets.
3.
Remove the rear triangle reflector (3).
REAR TRIANGLE REFLECTOR INSTALLATION
1.
If the rear triangle reflector has never been installed:
1.1.
Put the triangle plate (1) on the tail skirt (2)
NOTE:
Make sure to laterally align the triangle plate on the center-line of the tail skirt.
Make sure to vertically align the lower edge of the triangle plate with the lower part of the flat vertical surface.
1.2.
Use the four holes in the triangle plate as a template. Match drill four 0.20 inch (5.08 mm) holes through
the tail skirt. Deburr all holes drilled and remove unwanted material.
2.
Attach the triangle plate to the tail skirt with four washers (3) and four new rivets (4).
3.
Make sure that the air and surface temperatures are above 60° F (16° C). Temperatures above 60° F (16°
C) result in a good bond.
4.
Clean the triangle plate surface area with soap and water. Make sure to remove all debris (dirt, grease, and oils).
5.
Dry the area fully with a lint free cloth.
Page 4-18
2019 Transporter Maintenance and Service Manual
Summary of Contents for TransPorter 4
Page 2: ......
Page 271: ...ELECTRIC MAIN HARNESS Wiring Diagrams Electric Main Harness 18 ...
Page 272: ... Page intentionally left blank ...
Page 273: ...ELECTRIC INSTRUMENT PANEL HARNESS Wiring Diagrams Electric Instrument Panel Harness 18 ...
Page 274: ... Page intentionally left blank ...
Page 275: ...ELECTRIC ACCESSORIES HARNESS Wiring Diagrams Electric Accessories Harness 18 ...
Page 276: ... Page intentionally left blank ...
Page 282: ...NOTES ...
Page 283: ...NOTES ...
Page 284: ...NOTES ...
Page 285: ......
Page 286: ......


