background image

Preparation 

- 5 - 

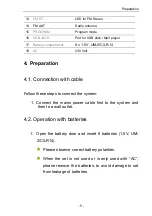
13 

FM ST 

LED for FM Stereo 

14  FM ANT 

Radio antenna 

15 

PROGRAM 

Program mode 

16 

USB JACK 

Port for USB stick / Mp3 player 

17 

Battery compartment 

8 x 1,5V, UM-2/C/LR14 

18 

AC 

230 Volt 

4. Preparation 

4.1. Connection with cable 

Follow these steps to connect the system: 

1. Connect the mains power cable first to the system and 

then to a wall outlet. 

4.2. Operation with batteries 

1.  Open the battery door and insert 8 batteries (1,5V, UM-

2/C/LR14).  

  Please observe correct battery polarities. 

  When the set is not used or is only used with “AC”, 

please remove the batteries, to avoid damage to set 

from leakage of batteries. 

Summary of Contents for CRC 7360

Page 1: ...General 1 VER10820097360 STEREORADIO CRC 7360 Symbol photo USER MANUAL ...

Page 2: ...l 2 Imprint All rights reserved Any reproduction without consent of cmx is prohibited cmx reserves the right to modifications of the device Designed by cmx in Europe Assembled in China TM 2009 cmx electronics ...

Page 3: ...3 1 Main unit 4 4 PREPARATION 5 4 1 Connection with cable 5 4 2 Operation with batteries 5 5 CD PLAYER 6 5 1 Insert CD MP3 CD 6 5 2 CD MP3 CD playback 6 5 3 Program CD MP3 tracks 7 6 RADIO 7 6 1 Listen to radio 7 7 EXTERNAL COMPONENTS 8 7 1 Connect earphones 8 7 2 USB 2 0 8 8 TROUBLESHOOTING 9 9 WARRANTY 10 9 1 Warranty Procedure 10 9 2 Warranty has expired 11 9 3 Shipping the Unit 11 10 IN THE BO...

Page 4: ...o power consumption disconnect from mains power supply Place the device on a stable surface to prevent it from tipping over and causing damages or injuries Condensation can form if the device is placed in cold surroundings Leave the device for at least one hour in standby mode Do not subject the device to direct sunlight or high temperatures this can result in fire 1 2 Disposal of waste electronic...

Page 5: ...al 1 3 Battery disposal The law requires returning exhausted batteries to public collection points or to the dealer Do not dispose of exhausted batteries with the household waste 1 4 Copyright It is illegal to copy send exhibit broadcast via cable publicly show or rent copyrighted materials without consent 1 5 Hearing protection Select a moderate volume to protect your hearing Only turn the volume...

Page 6: ...ls for cleaning this will damage the CD Cleaning the laser Dust or dirt can collect on the laser pick up Only use a commercially available special cleaner Do not clean with liquid cleaning agents or a wet cloth this can cause a short circuit 2 Features This stereo radio can play all Audio CDs and MP3 CDs Music playback is also possible via USB port You can operate the stereo radio with a power cab...

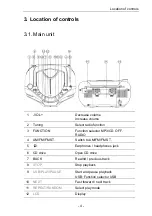
Page 7: ... FUNCTION Function selector MP3 CD OFF RADIO 4 AM FM FM ST Switch to AM FM FM ST 5 Earphones headphones jack 6 CD drive Open CD drive 7 BACK Rewind previous track 8 STOP Stop playback 9 USB PLAY PAUSE Start and pause playback USB Function selector USB 10 NEXT Fast forward next track 11 REPEAT RANDOM Select play mode 12 LCD Display ...

Page 8: ...4 1 Connection with cable Follow these steps to connect the system 1 Connect the mains power cable first to the system and then to a wall outlet 4 2 Operation with batteries 1 Open the battery door and insert 8 batteries 1 5V UM 2 C LR14 Please observe correct battery polarities When the set is not used or is only used with AC please remove the batteries to avoid damage to set from leakage of batt...

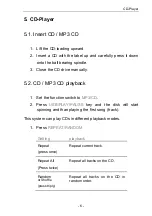
Page 9: ...3 CD playback 1 Set the function switch to MP3 CD 2 Press USB PLAY PAUSE key and the disk will start spinning and than playing the first song track This system can play CDs in different playback modes 1 Press REPEAT RANDOM Setting playback Repeat press once Repeat current track Repeat All Press twice Repeat all tracks on the CD Random or Shuffle press triply Repeat all tracks on the CD in random o...

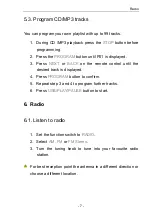
Page 10: ...on the remote control until the desired track is displayed 4 Press PROGRAM button to confirm 5 Repeat step 3 and 4 to program further tracks 6 Press USB PLAY PAUSE button to start 6 Radio 6 1 Listen to radio 1 Set the function switch to RADIO 2 Select AM FM or FM Stereo 3 Turn the tuning knob to tune into your favourite radio station For best reception point the antenna in a different direction or...

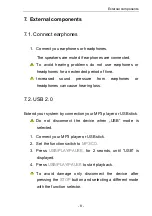
Page 11: ...rphones or headphones can cause hearing loss 7 2 USB 2 0 Extend your system by connection your MP3 player or USB stick Do not disconnect the device when USB mode is selected 1 Connect your MP3 player or USB stick 2 Set the function switch to MP3 CD 3 Press USB PLAY PAUSE for 2 seonds until USB is displayed 4 Press USB PLAY PAUSE to start playback To avoid damage only disconnect the device after pr...

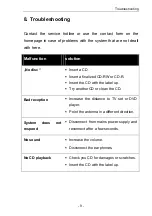
Page 12: ...finalized CD RW or CD R Insert the CD with the label up Try another CD or clean the CD Bad reception Increase the distance to TV set or DVD player Point the antenna in a different direction System does not respond Disconnect from mains power supply and reconnect after a few seconds No sound Increase the volume Disconnect the earphones No CD playback Check you CD for damages or scratches Insert the...

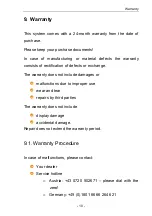
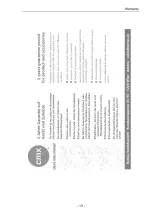
Page 13: ...f defects or exchange The warranty does not include damages or malfunctions due to improper use wear and tear repairs by third parties The warranty does not include display damage accidental damage Repair does not extend the warranty period 9 1 Warranty Procedure In case of malfunctions please contact Your dealer Service hotline o Austria 43 0720 502671 please dial with the zero o Germany 49 0 180...

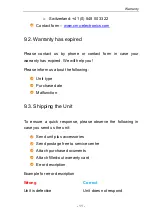
Page 14: ...lease inform us about the following Unit type Purchase date Malfunction 9 3 Shipping the Unit To ensure a quick response please observe the following in case you send us the unit Send unit plus accessories Send postage free to service centre Attach purchase documents Attach filled out warranty card Error description Example for error description Wrong Correct Unit is defective Unit does not respon...

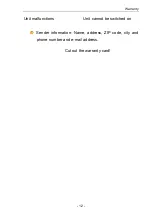
Page 15: ...Warranty 12 Unit malfunctions Unit cannot be switched on Sender information Name address ZIP code city and phone number and e mail address Cut out the warranty card ...

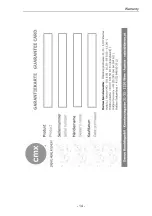
Page 16: ...Warranty 13 ...

Page 17: ...Warranty 14 ...

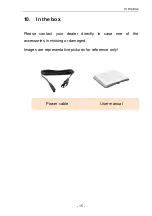
Page 18: ...In the box 15 10 In the box Please contact your dealer directly in case one of the accessories is missing or damaged Images are representative pictures for reference only Power cable User manual ...

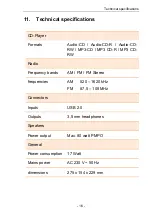
Page 19: ...io CD RW MP3 CD MP3 CD R MP3 CD RW Radio Frequency bands AM FM FM Stereo frequencies AM 520 1620 kHz FM 87 5 108 MHz Connectors Inputs USB 2 0 Outputs 3 5 mm headphones Speakers Power output Max 80 watt PMPO General Power consumption 17 Watt Mains power AC 230 V 50 Hz dimensions 275 x 154 x 229 mm ...

Page 20: ...Technical specifications 1 www cmx electronics com ...

Reviews: