background image

Included in delivery 


Version 1 

cmx® MSC 7460 

Seite 8 von 16


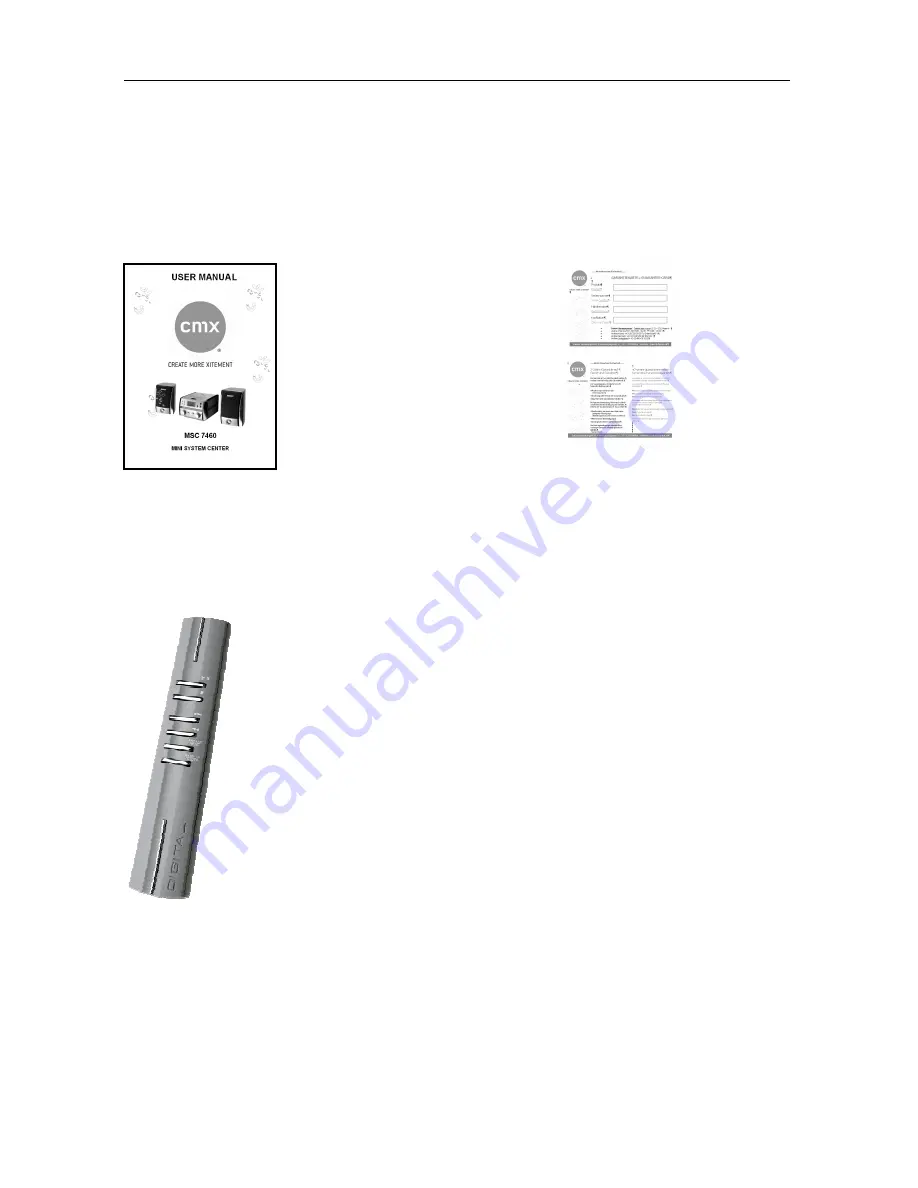
3.  Included in delivery 

User’s 

manual 

    Warranty 

card 


Remote control 


Summary of Contents for MSC 7460

Page 1: ...USER MANUAL MSC 7460 MINI SYSTEM CENTER ...

Page 2: ...he cmx MSC 7460 Our company reserves the right to improve the product That changes to specifications and design also without notice If you have problems please visit our website at www cmx electronics com and select your device Under the point Support you find the most frequently asked questions about your device if not please use the contact form If you provide variations of your product please v...

Page 3: ...5 2 2 REAR SIDE 6 2 3 REMOTE CONTROL 7 3 INCLUDED IN DELIVERY 8 4 CONNECTIONS 9 4 1 POWER SUPPLY 9 4 2 SPEAKERS 9 4 3 HEADPHONE 9 5 CD PLAYER 10 5 1 INSERT AND REMOVAL OF DISCS 10 5 2 CD AND MP3 CD OPERATION 10 5 3 SKIP 10 FOLDERS ON MP3 CD 11 5 4 CD REPEAT 12 5 5 DBBS BASS BOOSTER SYSTEM 12 5 6 PROGRAMMING 12 6 RADIO 14 7 SPECIFICATIONS 15 ...

Page 4: ...rviceable parts inside Refer servicing to qualified service personnel To reduce the risk of fire or electric shock do not expose this appliance to dripping or splashing liquids NOTE Caution symbols are printed on rear of unit Please refer to instruction manual CAUTION Grounding or polarization The precautions should be taken so that the wider blade of the AC plug must match the slot in receptacle ...

Page 5: ...LED light 3 Volume knob 4 Function switch OFF CD MP3 RADIO 5 Radio band switch AM FM FM STEREO DBBS OFF ON switch 6 Radio tuning knob 7 FM Stereo LED light 8 CD PLAY PAUSE key 9 CD STOP key 10 CD REPEAT PROGRAM key 11 CD BACK key 12 CD NEXT key 13 SKIP 10 FOLDER key 14 Display 15 IR sensor 15 6 8 9 1 1 3 4 5 2 7 10 11 12 13 14 ...

Page 6: ...Location of controls Version 1 cmx MSC 7460 Seite 6 von 16 2 2 Rear side 1 Headphone socket 2 Speaker output sockets left right 3 AC cord plug 4 FM antenna wire 2 2 4 1 3 ...

Page 7: ...Location of controls Version 1 cmx MSC 7460 Seite 7 von 16 2 3 Remote control 1 PLAY PAUSE key 2 NEXT key 3 REPEAT PROGRAM key 4 STOP key 5 BACK key 6 SKIP 10 FOLDER key 2 5 1 3 4 6 ...

Page 8: ...Included in delivery Version 1 cmx MSC 7460 Seite 8 von 16 3 Included in delivery User s manual Warranty card Remote control ...

Page 9: ...it on To switch on the set slide the function switch to CD or RADIO as desired 4 2 Speakers Unwrap the speaker cords of both speaker boxes and insert the left right plugs into sockets in the rear of main unit see point 2 location of controls rear side Place the speaker boxes as far apart as possible for best sound effect 4 3 Headphone To connect the headphones or earphones insert the cable into so...

Page 10: ... ready to be played To remove a disc follow the same procedure as described above except to remove the CD instead of inserting it into the compartment by placing one finger at the middle of disc center spindle and the other at the edge of the disc and gentle pulling upwards 5 2 CD and MP3 CD operation Insert a CD or MP3 CD as described Set the function switch to CD Once the CD door is closed with ...

Page 11: ...ck those songs with greater ease convenience If your MP3 CD has no folders you can use the SKIP 10 FOLDER key to jump 10 songs ahead This is useful if you have many songs on you want to quickly jump to a particular song Press release SKIP 10 FOLDER several times until you reach a song number near to your desired song and then press BACK or NEXT repeatedly to arrive and the exact song you desire If...

Page 12: ... powerful enhancement to low frequency music giving a stronger bass sound which is ideal for rock or jazz music This function is only effective for CD mode 5 6 Programming The CD player can be programmed to play any sequence of up to 21 tracks as desired Always press the STOP key before starting the programming Press the PROGRAM key the display will show a P symbol and the display will show po1 to...

Page 13: ...er a maximum of 21 songs or less have been selected as described above press the PROGRAM key Also the P symbol will remain on to indicate that you saved a program memory sequence Pressing PLAY PAUSE key will now play back the saved sequence in the program memory Pressing NEXT BACK will move to the next or previous song in the saved sequence To clear cancel the entire program which is stored in the...

Page 14: ... band selector switch to the desired band FM radio reception fully extend the FM antenna wire and adjust its position AM MW radio reception rotate or re position the main unit Rotate tuning knob to tune in the desired station as displayed in the LCD digital display Adjust the volume to desired level ...

Page 15: ...t PMPO Power consumption 15 Watt Power supply AC 230 V 50 Hz The apparatus should not be exposed to dripping or splashing and no objects filled with liquids should be placed on the apparatus The marking and rating label is located at rear enclosure of the apparatus The mains plug is used as the disconnect device and it shall remain readily operable To be completely disconnected the power input The...

Page 16: ...electrostatic discharge ESD occurs at the front surface whether metal or plastic or near any part or any buttons of this unit there may be a possibility that the product may stop operation and or shut down immediately This is a normal condition and intended to protect the unit and internal components against damage In such a case please reset the unit by disconnecting and reconnecting AC power sou...

Reviews: