• Function :
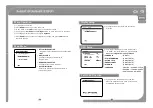
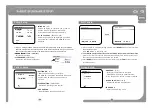
Using the OSD menu, you can configure the image settings or program
PTZ operations such as Preset, Pattern, Swing, and Group.
• Open :
Go Preset [95]
(Pelco® protocols only).
•
Keys used
: save the configurations using Focus
NEAR
button, and use Focus
FAR
button to cancel. (
All protocols
)
• Reason :
Reserved presets can be used when the controller does not have dedicated
menu buttons.
• Function :
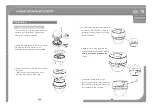
◎ Check to see if all connections are made securely before connecting power.
◎ Make sure the camera’s ID matches the ID selected by the controller. The camera’s ID
is displayed on the screen, or you can check the Address DIP switch on the camera.
◎ Make sure both Camera and the controller are configured with the same protocol.
◎ Turn off the power before changing the protocol on the camera.
◎ Operation of a controller may be different depending on the manufacturer, so please
refer to the manual for your controller. Otherwise, this manual is written based on Pelco
standard protocol controller.
◎ First, see how to operate Preset and Pattern on your controller or DVR.
◎ In case of using Pelco standard protocol controller, the operation is like the following:
Installation Checklist
Preset and Pattern
OSD Menu
Presets reserved for special functions
Go Preset
Press [Preset No] button and [Preset] button.
Go Preset [95]
: Open OSD Menu (Pelco® protocols only).
Go Preset [131~134]
: Run Pattern 1~4
Go Preset [141~148]
: Run Swing 1~8
21
20
• Description :
Maximum 127 preset locations can be saved in between 1 to 128
except for 95 (Reserved for opening Menu). Each preset can have its own image
settings and label. When saving a preset location using the controller, a blank label
and global image settings will be saved. Use the OSD menu if you want to change
the settings of each preset. Preset locations can also be saved in the OSD menu.
• To Configure :
Set Preset [1~128]
• To Run :
Go Preset [1~128]
• To Delete :
Presets can be deleted in the OSD Menu.
◎ Even if your controller does not have a Pattern button, all functions for the camera can
still be operated. Please refer to the ‘presets reserved for special functions’ section of this
manual.
Preset
Go Preset
Press [Preset No] button and [Preset] button.
Set Preset
Press [Preset No] button and press and hold the [Preset] button for
two seconds.
Run Pattern
Press [Pattern No] button and [Pattern] button.
Set Pattern
Press [Pattern No] button and press and hold the [Pattern] button
for two seconds.
Go Preset [141~148]
: Run Swing 1~8
Go Preset [151~158]
: Run Group 1~8
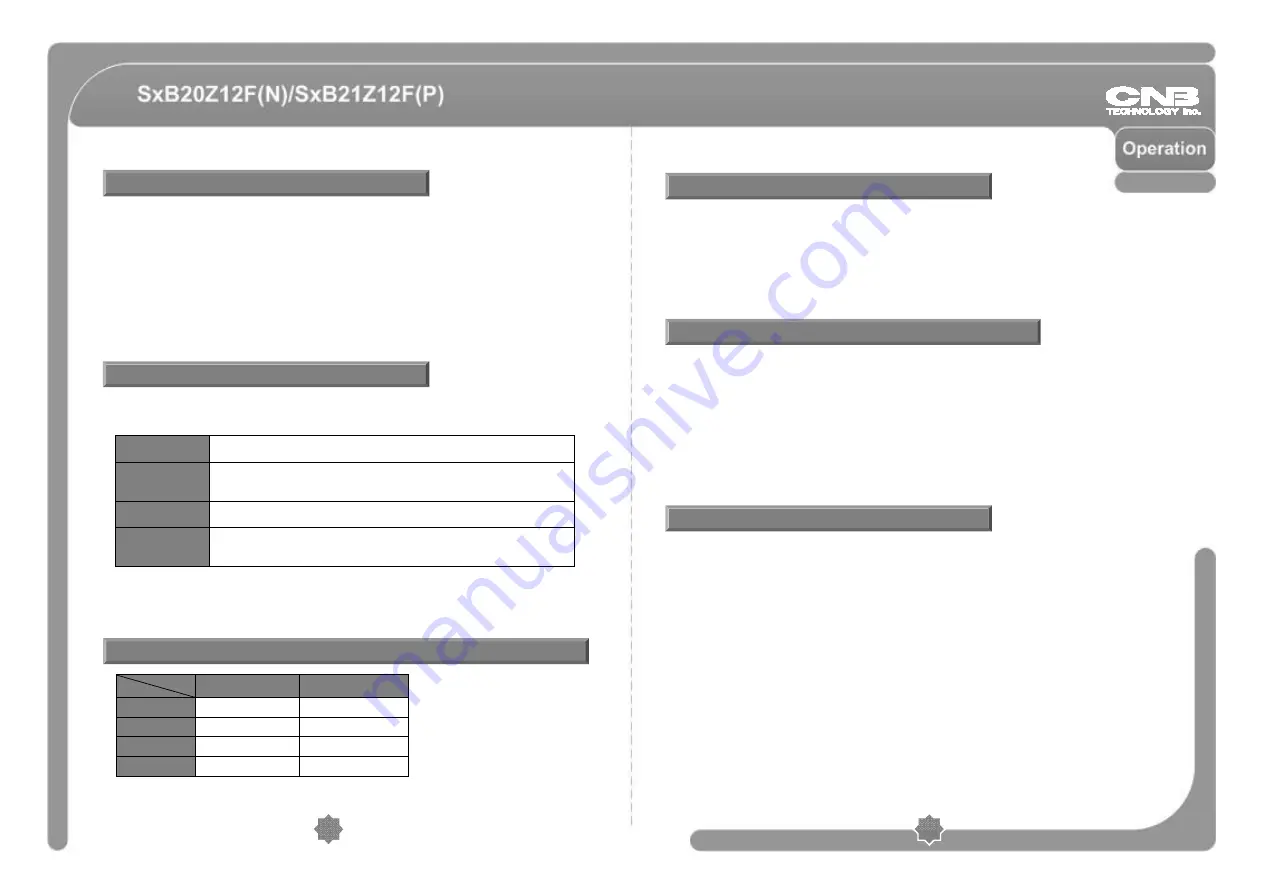
Protocol
Function
Pelco®
BOSCH
Preset
127
98
Swing
8
1
Pattern
4
2
Group
8
1
Protocol and Maximum numbers for each function
Summary of Contents for SxB2xZ12F N
Page 1: ...Compact PTZ Dome Camera SxB2xZ12F N P User s Manual Ver 1 2 3810 0287A2 www cnbtec com...
Page 2: ...Compact PTZ Dome Camera SxB2xZ12F N P User s Manual Ver 1 2 www cnbtec com...
Page 24: ...45 44 Unit mm...
Page 25: ...www cnbtec com Compact PTZ Dome Camera SxB2xZ12F N P Ver 1 2...
Page 26: ......
Page 31: ...4 PTZ 59 58...
Page 32: ...61 60...
Page 47: ...91 90 mm...


