background image

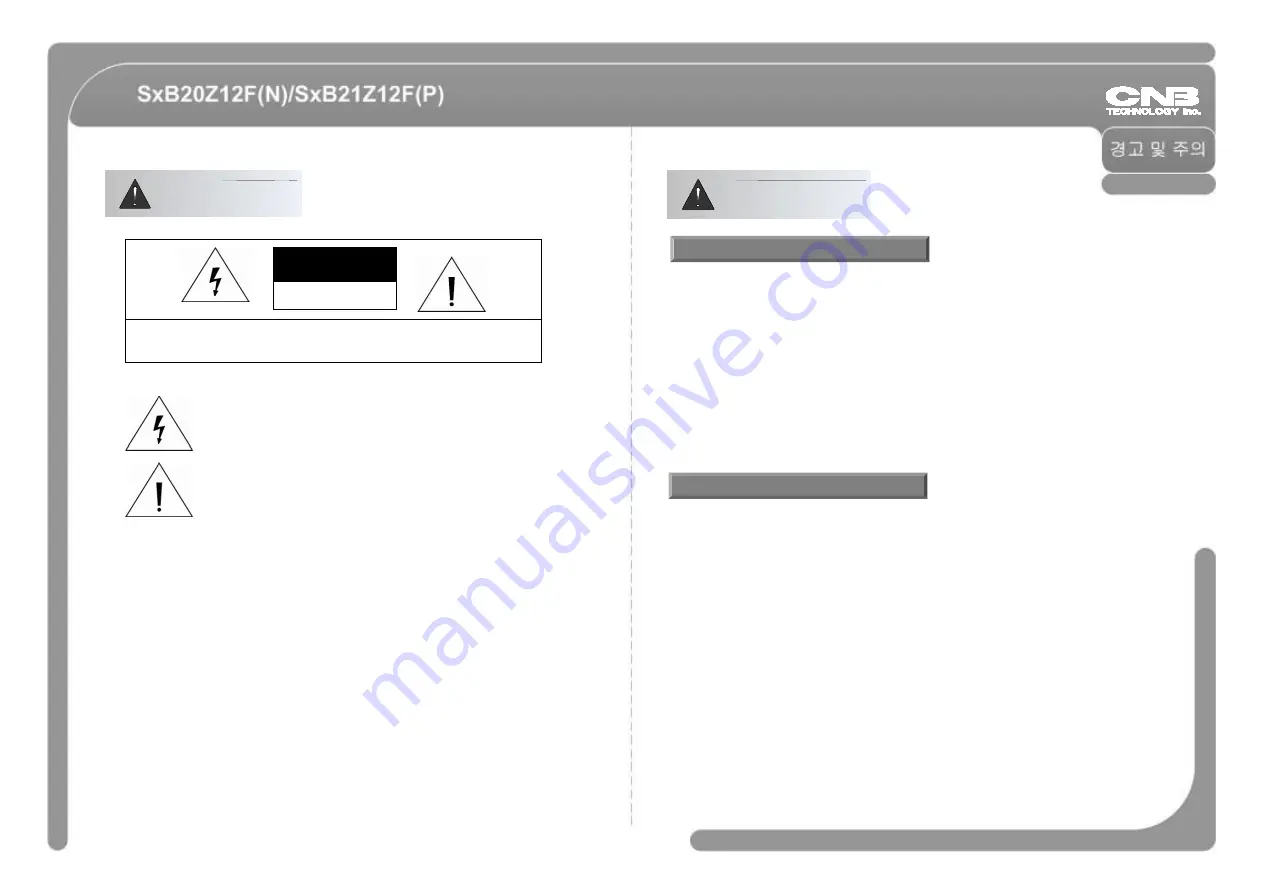
이 표시는 사람에게 전기적 충격으로 인한 위험성이 충분히 있는 높은

전압이 제품 내부에서 나타나게 됨으로써 이러한 절연되지 않는 높은
전압으로부터의 위험성을 사용자에게 경고하는 표시입니다.

◎ 사용하시기 전에 안전에 대한 사항 및 본 제품의 조작 방법을 잘 읽어 주십시오.
◎ 제품의 올바른 사용을 위해서 사용설명서는 잘 보관하십시오.
◎ 기기의 제조사로부터 추천되지 않은 부착물은 위험을 초래할 수 있으므로 사용하지

마십시오.

◎ 물이나 습기가 많은 환경에서는 본 제품을 사용하지 마십시오.
◎ 불안정한 상태로 설치하거나 불안정한 곳에 제품을 올려두지 마십시오. 제품을

떨어뜨리면 사람에게 중대한 상해를 입히거나 제품에 큰 손상을 초래합니다. 제품과
함께 판매되거나 제조사로부터 추천된 고정장치를 사용하십시오. 제품 부착은 제조사의
설치 방법에 따라 하여 주시고 반드시 제조사로부터 추천된 부품을 사용하여 주십시오.

◎ 본 제품은 정격 전원의 형식에 대해서만 동작됩니다.

안전에 대한 사항

주의

전기적 충격의 위험을 피하기 위하여 커버를 열거나 임의로 제품을 분해하지 마십시오.

사용자가 교체할 수 있는 서비스 부품은 들어있지 않습니다.
자격 있는 서비스 요원으로부터 서비스를 받으십시오.

주 의

전기적 충격이 있을 수

있으니 열지 마시오

경 고

주의사항

전압으로부터의 위험성을 사용자에게 경고하는 표시입니다.

이 표시는 제품을 동작시키거나 정비(보수)를 함에 있어서 중요한 내용

임을 사용자에게 주지 시키는 표시 입니다.

경고

: 화재 또는 전기적 충격으로부터의 위험을 예방하기 위하여 본 제품을 비 또는

습기가 있는 환경에 노출시키지 마십시오.

◎ 본 제품은 정격 전원의 형식에 대해서만 동작됩니다.

◎ 사용하시기 전에 결선과 전원연결이 올바른지 확인하십시오
◎ 사용하는 동안 어떠한 비정상적인 상태 또는 이상 동작이 관측될 경우 사용을 중지하고

즉시 공급자에게 문의하십시오.

◎ 제품을 분해하지 마시고 제품 내부의 부품을 만지지 않도록 주의하십시오.
◎ 제품의 손상을 피하기 위하여 카메라를 떨어뜨리거나 진동 및 충격을 가하지 마십시오.
◎ 커버를 청소할 때에는 커버에 이물질이 묻거나 흠집이 나지 않도록 주의하십시오.
◎ 허용되는 온도 범위를 초과하는 곳에 카메라를 설치하지 마십시오.
◎ 습기 또는 먼지가 많은 곳에서의 설치는 피해주십시오.
◎ 방사능이 있는 곳에서의 설치는 피해 주십시오. 부품에 고장을 일으킬 수 있습니다.
◎ 강한 자기장이나 전기 신호가 있는 곳에서의 설치는 피해 주십시오. 
◎ 강한 진동이 가해지는 곳에서의 설치는 피해 주십시오.
◎ 카메라를 비 또는 물에 절대로 노출 시키지 마십시오.

사용시 주의사항

Summary of Contents for SxB2xZ12F N

Page 1: ...Compact PTZ Dome Camera SxB2xZ12F N P User s Manual Ver 1 2 3810 0287A2 www cnbtec com...

Page 2: ...Compact PTZ Dome Camera SxB2xZ12F N P User s Manual Ver 1 2 www cnbtec com...

Page 3: ...k of electric shock to persons This exclamation point symbol is intended to alert the user to the presence of important operating and maintenance servicing instructions in the literature accompanying...

Page 4: ...u 21 Reserved Preset 21 6 26 General Rules of Key Operation for Menu 26 MAIN MENU 26 DISPLAY SETUP 27 CAMERA SETUP 28 MOTION SETUP 32 PRESET SETUP 34 SWING SETUP 36 PATTERN SETUP 36 GROUP SETUP 37 SYS...

Page 5: ...an Tilt Control Multi Language OSD Menu PTZ Control Alarm In Output 7 6 automatically changes as the zoom rate changes for easier operation 127 preset locations can be stored and each preset location...

Page 6: ...can be used from 1 to 255 Do not use address 0 The default address is 1 When using a Keyboard type controller make sure that the address set in the keyboard matches the camera s ID before controlling...

Page 7: ...lowing cases ON 1 2 3 4 ON 1 2 3 4 NO PROTOCOL BAUDRATE 1 2 3 0 PELCO D 2400bps OFF OFF OFF 1 PELCO D 9600bps ON OFF OFF 2 PELCO P 4800bps OFF ON OFF 3 11 10 When connecting many cameras in the same n...

Page 8: ...t Lock the camera in by slightly turning it clockwise Make sure to turn the camera to the position where the mark on the camera lines up with locked II mark on the Installation Installation of a basic...

Page 9: ...n by slightly turning it clockwise Make sure to turn the camera to the 15 14 Mount the wall mount assembly on a wall using the bolts provided Attach the service wire Power video connect the cables Att...

Page 10: ...troller DVR 17 16 Power The power rating for this product is DC 12V 1A and AC 24V 1 5A Please check to make sure the power supply is rated at DC 12V and more than 1A before connecting Video Output Con...

Page 11: ...nection has to be made accordingly In order to use the sensor inputs configure the sensor type in the OSD menu The Sensor Input type can either be Normaly Open or Normaly Closed When this is not confi...

Page 12: ...Presets reserved for special functions Go Preset Press Preset No button and Preset button Go Preset 95 Open OSD Menu Pelco protocols only Go Preset 131 134 Run Pattern 1 4 Go Preset 141 148 Run Swing...

Page 13: ...rn No ex To run Pattern 2 Run Pattern 2 2 Go Preset Preset No 130 ex To run Pattern 2 Go Preset 132 1st Preset 2nd Preset 23 22 To Configure use the OSD menu To Run To Delete A Swing can be deleted in...

Page 14: ...ch preset menu are the Local values When a preset is loaded its Local image configuration values are automatically applied When the preset selection is cancelled by a joystick operation the image conf...

Page 15: ...ms In AUTO the information only gets displayed when the configuration is being changed Menu Operation Main Menu OSD Setup Display setup 27 26 status DISPLAY SETUP Configures Display of OSD with its Di...

Page 16: ...LIZER ON OFF This stabilizes the image when the camera is wobbled or wavered SHARPNESS 0 100 Adjusts the sharpness of the image GAMMA CRT LCD Adjusts the gamma gain value to optimize the image for mon...

Page 17: ...O O O O Manual O O O O O X O O OFF O O O O O X O O High O O O O O O O O 31 30 IRIS AUTO MANUAL 0 100 In Auto Iris mode the AE Auto Exposure is mainly controlled by the Iris value while the Shutter Spe...

Page 18: ...o the initial position when the camera is not in operation for the given time Motion Setup PARKING ACTION Setup 33 32 Please refer to Other Functions JOG MAX SPEED 1 Sec 360 Sec Sets the maximum speed...

Page 19: ...haracters RELAY OUTPUT ON OFF Turn this on to activate the Alarm relay output when the preset is loaded CAM ADJUST GLOBAL LOCAL Each preset location can have its own White Balance and AE configuration...

Page 20: ...AR 37 36 SWING SPEED 1 Sec 180 Sec Sets the Swing speed CLEAR SWING CANCEL OK Deletes the selected Swing Number PATTERN NO 1 4 Select a Pattern number to configure UNDEFINED is displayed underneath th...

Page 21: ...desired parameter values at each item Edit Group NEAR 39 38 Press NEAR button at the NO on the top of the list to start editing in the actions for the group A group can contain 20 actions Move to an...

Page 22: ...E FLIP OFF ALARM INPUT AUTO WHITE BALANCE ATW NORTH DIRECTION Pan 0 BACKLIGHT OFF LANGUAGE ENGLISH DAY NIGHT AUTO BRIGHTNESS 50 Motion Parameters IRIS AUTO 37 40 41 CLEAR EDIT DATA Clears parameters f...

Page 23: ...d Blue Gain Adjustable BACKLIGHT BLC WDR ECL Off 3D DNR Low Middle High Off 43 42 3D DNR Low Middle High Off Sens Up x2 x128 Off Pan Tilt Angle Limit Pan 360 Endless Tilt 5 185 Auto Flip off 5 95 Movi...

Page 24: ...45 44 Unit mm...

Page 25: ...www cnbtec com Compact PTZ Dome Camera SxB2xZ12F N P Ver 1 2...

Page 26: ......

Page 27: ...OSD 66 Preset Pattern 66 66 OSD 67 67 67 52 72 72 73 74 78 80 82 82 83 86 72 54 55 66 88 67 68 68 69 70 OSD 71 88...

Page 28: ...klight WDR Wide Dynamic Range ECL Eclipse Auto Focus Manual Focus Semi Auto Focus PTZ Focus OSD 360 0 05 255 Pelco D Pelco P BOSCH OSD On Screen Display ID OSD PTZ 127 2 8 4 20 8 Page 59 4 1 Normal Op...

Page 29: ...L 1EA 1 255 255 ID 0 ID ID 1 DIP ID ID 55 54 Pin 1 2 3 4 5 6 7 8 ID Value 1 2 4 8 16 32 64 128 ex ID 5 on off on off off off off off ex ID 10 off on off on off off off off PLASTIC ANKER 3EA DC or AC...

Page 30: ...O PROTOCOL BAUDRATE 1 2 3 0 PELCO D 2400bps OFF OFF OFF 1 PELCO D 9600bps ON OFF OFF 2 PELCO P 4800bps OFF ON OFF ON 1 ON ON DVR 57 56 2 PELCO P 4800bps OFF ON OFF 3 PELCO P 9600bps ON ON OFF 4 BOSCH...

Page 31: ...4 PTZ 59 58...

Page 32: ...61 60...

Page 33: ...RS 485 PTZ DVR RS 485 ALARM Line CVBS DC 12V 1A AC 24V 1 5A DC 12V 1A DC 12V DC 12V 10 1A AC 24V AC 24V 10 1 5A Heater 63 62 AC DC Power 485 Line...

Page 34: ...AC IN 1 IN 4 1 4 IN COM 5V 12V AC or DC OUT 1 Open Collector Voltage Output OSD Normal Open Normal Close COM IN1 IN2 IN3 IN4 DC AC DC 24V 1A AC 125V 0 5A 65 64 Type Description Normal Open Normal Clo...

Page 35: ...elco protocols only Go Preset 131 134 1 4 Go Preset 141 148 1 8 Go Preset 151 158 1 8 127 95 1 128 Blank Global OSD OSD Set Preset 1 128 Go Preset 1 128 OSD Pelco Pattern DVR Go Preset Preset No Prese...

Page 36: ...0 x1 N 1 Run Pattern ex 2 Run Pattern 2 2 Go Preset 130 ex 2 Go Preset 132 1st Preset 2nd Preset 1 180 OSD OSD 4 1200 8 20 Action Action OSD OSD Preset 1 Pattern 1 Swing 1 20 Action 1 Run Pattern 10 e...

Page 37: ...uto Exposure Global Local ZOOM CAMERA SET WE AE Global WB AE Local Local WB AE Global Local Global FOCUS MODE Manual Focus Auto Focus Preset Manual Focus Auto Focus Preset Focus Focus Alarm Informatio...

Page 38: ...n NEAR FAR SYSTEM INFORMATION AUTO OSD DISPLAY SETUP OSD DOME CAMERA SETUP SYSTEM INITIALIZE PAN NEAR CAMERA ID ON OFF PTZ INFORMATION ON OFF AUTO ACTION TITLE ON OFF AUTO PRESET LABEL ON OFF AUTO ALA...

Page 39: ...us DIGITAL ZOOM ON OFF IMAGE FLIP ON OFF LINE LOCK ON OFF AC STABILIZER ON OFF SHARPNESS 0 100 GAMMA CRT LCD WHITE BALANCE IMAGE ADJUST AC WB MODE ATW AWB MANUAL Manual RED BLUE AWB 3000k 6000k ATW 20...

Page 40: ...ter Auto O O O O O O O O A FLK O O O O O O O O Manual O O O O O X O O OFF O O O O O X O O High O O O O O O O O IRIS AUTO MANUAL 0 100 Iris Auto AE Iris Shutter Speed Iris Manual Iris AE SHUTTER SPEED...

Page 41: ...MAX SPEED 1 360 Wait Time PARK ENABLE ON OFF WAIT TIME 1 4 PARK ACTION HOME PRESET PATTERN SWING GROUP HOME PARKING ACTION JOG MAX SPEED 1 360 JOG DIRECTION INVERSE NORMAL Inverse Normal FRZ IN PRESE...

Page 42: ...bel 10 RELAY OUTPUT ON OFF Preset Position relay CAM ADJUST GLOBAL LOCAL White Balance AE GLOBAL ZOOM CAMERA SETUP LOCAL WB AE LOCAL WB AE LABEL LABEL Character Map LEFT RIGHT UP DOWN NEAR Space Backs...

Page 43: ...Position 1st Position Counterclockwise 360 NEAR FAR Bar 1200 NEAR SWING SETUP SWING SPEED 1 180 CLEAR SWING CANCEL OK Swing PATTERN NO 1 4 UNDEFINED CLEAR PATTERN CANCEL OK EDIT PATTERN 1200 NEAR FAR...

Page 44: ...ACTION NONE PRESET SWING PATTERN DWELL 0 4 Action OPT Action Option LEFT RIGHT UP DOWN NEAR NO NEAR 1 20 Action UP DOWN Action NEAR Action Action NEAR UP DOWN Action Action FAR SAVE NEAR NEAR 85 84...

Page 45: ...W NORTH DIRECTION Pan 0 BACKLIGHT OFF LANGUAGE ENGLISH DAY NIGHT AUTO BRIGHTNESS 50 IRIS AUTO REBOOT CAMERA REBOOT SYSTEM 87 86 MOTION LOCK OFF SHUTTER AUTO PWR UP ACTION ON AGC MIDDLE AUTO FLIP ON 3D...

Page 46: ...uto Manual Shutter Auto A FLK MANUAL x128 1 90000sec Off AGC Low Middle High Off White Balance ATW AWB Manual Red Blue Gain Adjustable BACKLIGHT BLC WDR ECL Off 89 88 BACKLIGHT BLC WDR ECL Off 3D DNR...

Page 47: ...91 90 mm...
Reviews: