Model SH-2012AH-QG
Cutting Machine
(
C002
)
7
This key is used to reminder input of kerf compensating width; if no necessary to compensate(usually in
blanking), simply enter 0.
3.2.6[F6] ASSI
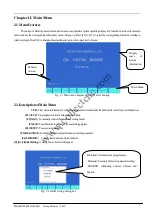
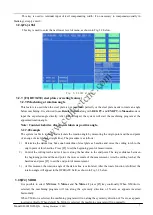
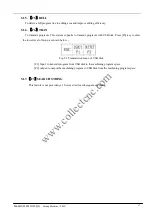
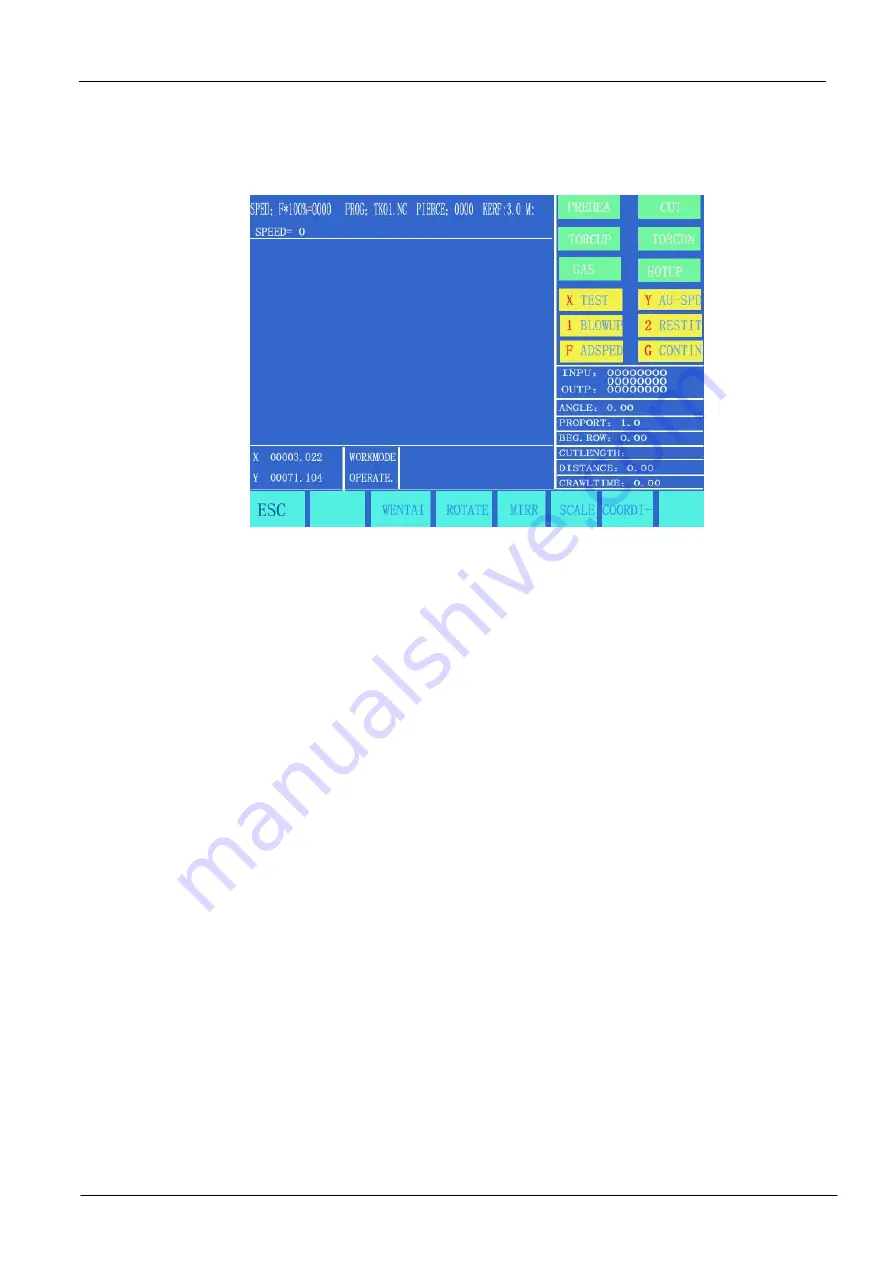
This key is used to enter the next lower level of menu, as shown in Fig. 3.2 below.
3.2.7. [F3] ROTATE(steel plate correcting feature)
3.2.7.1Machining at rotation angle
This feature is used when the steel plate is not positioned perfectly or the steel plate needs to rotate an angle
before machining. It is allowed to use
Rotate
function along with
BEG. PT.
and
END PT.
in
Manual
mode or
input the expected angle directly. After acknowledged, the system will start the machining program at the
appointed rotation angle.
Note: Counterclockwise direction is taken as positive angle.
3.2.7.2Example
The system is able to identify and calculate the rotation angle by measuring the origin point and the end point
of an edge of steel plate(a straight line). The procedure is as follows:
1)
Determine the datum line. Take one borderline of steel plate as baseline and move the cutting torch to the
origin point of this baseline. Press [F2] to set the beginning point of measurement.
2)
Control the cutting torch and let it move along the baseline to the end point. The larger distance between
the beginning point and the end point, the more accurate of the measurement. Aim the cutting torch at the
baseline and press [F3] to set the end point of measurement.
3)
At this moment, the rotation angle of the datum line is calculated. After the rotate function is fulfiled, the
rotation angle will appear in the OPERATE field, as shown in Fig. 3.2 below.
3.2.8[F4] MIRR
It is possible to select
X Mirror
,
Y Mirror
and
No Mirror
if press [F5] key continually. When X Mirror is
selected, the machining program will run along the symmetry direction of X-axis, as appears inverted
horizontally.
When Y Mirror is selected, the machining program will run along the symmetry direction of Y-axis, as appears
inverted vertically. When default No Mirror is selected, the machining program will run normally.
Fig. 3.2 ASSI window
www.collectcnc.com

