Sampling Data Logger User Manual
CO2Meter
PAGE
11
of
16
To
ensure
maximum
accuracy,
it
is
recommended
to
install
the
device
in
an
environment
that
will
routinely
see
this
low
value.
Alternatively,
the
unit
can
be
exposed
to
fresh
air
for
a
few
minutes
periodically,
or
set
the
ABC
period
to
0
sec.
to
perform
a
calibration
as
specified
in
the
next
section.
Calibration
The
calibration
process
varies
depending
on
the
type
of
unit
and
whether
it
has
optional
data
logging
functionality
or
not.
All
units
are
factory
‐
calibrated
with
multiple
reference
points
of
gas,
and
have
been
verified
to
be
accurate
within
their
specific
functionality
before
shipment.
However,
if
the
unit
is
severely
jolted
or
otherwise
mechanically
disturbed,
the
sensor
can
drift
requiring
recalibration.
All
calibration
procedures
follow
a
single
‐
point
calibration
routine
that
effectively
shifts
the
zero
‐
point
of
the
CO2
sensor.
Attach
calibration
gas
to
the
unit
and
connect
it
to
a
personal
computer.
Open
the
calibration
screen
in
the
GasLab®
software.
Click
the
“Calibrate”
button
in
the
calibration
tab
for
the
desired
gas,
located
in
the
“Configure
Sensor”
screen.
As
long
as
the
gas
concentration
is
stable,
the
unit
should
instantly
reflect
the
calibrated
value.
This
can
be
confirmed
by
watching
the
display.
To
see
the
calibration
value
in
real
time,
click
in
the
“Collect
Real
time”
button
to
capture
these
values
before
opening
the
configuration
screen.
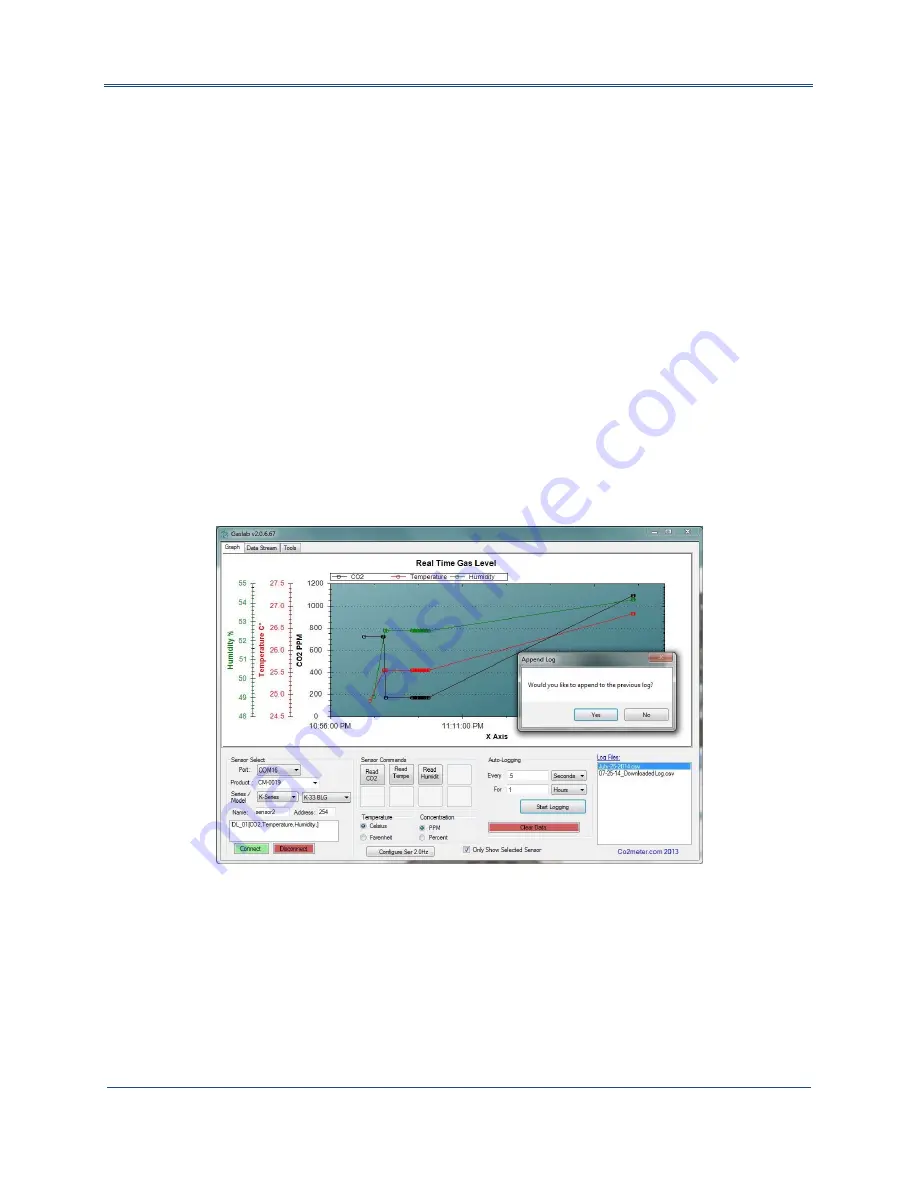
Figure
8:
Real
‐
time
capture
0
‐
1%
or
0
‐
30%
Sampling
Unit
with
Data
Logging
Calibration
can
be
performed
using
either
0%
CO2
calibration
gas
(typically
nitrogen,
argon,
etc.),
or
using
a
fresh
source
of
air,
assumed
to
be
approximately
400ppm.
Open
the
calibration
screen
in
the
GasLab®
software.
Click
the
“Calibrate”
button
in
the
calibration
tab,
located
in
the
“Configure
Sensor”
screen.


