21
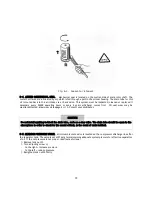
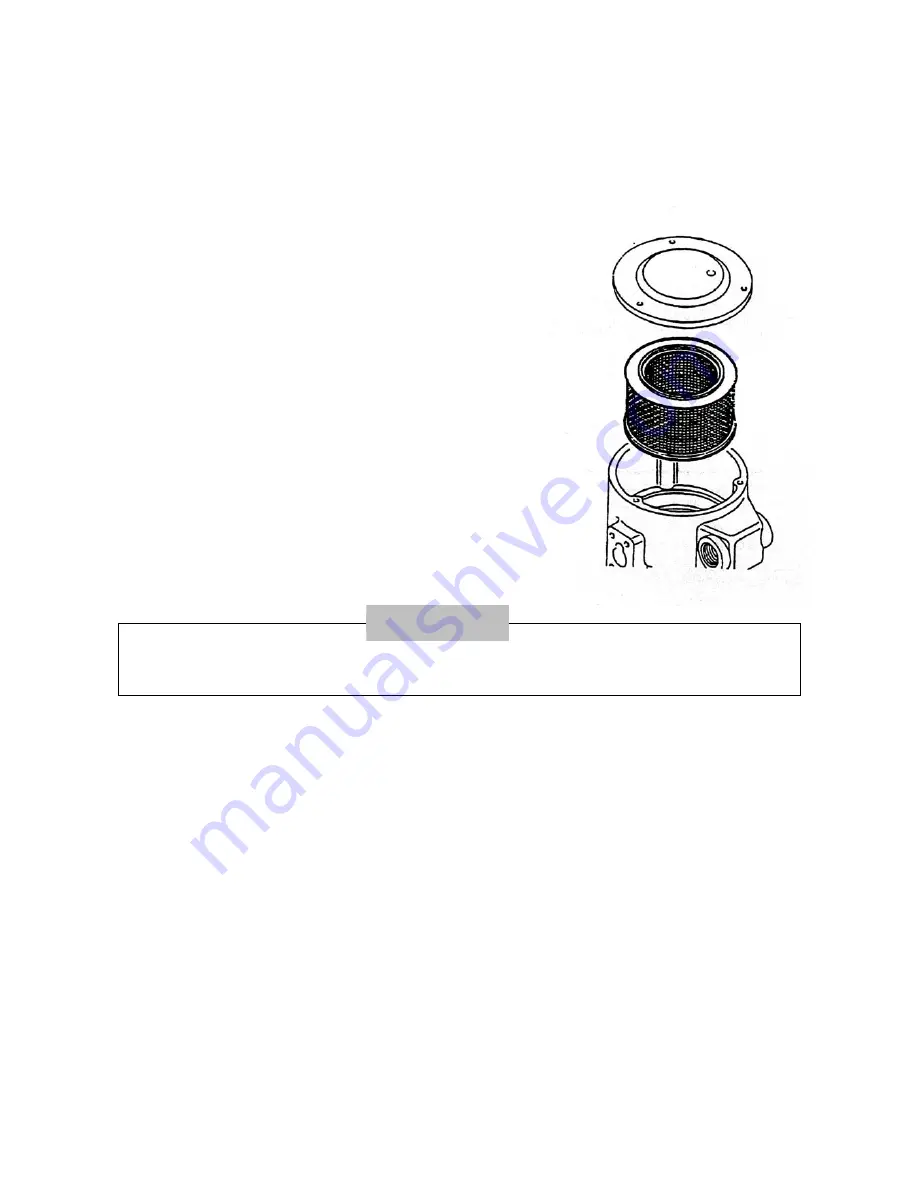
6-2. SUCTION FILTER.
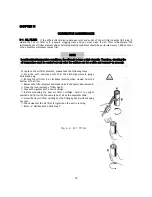
Whenever the operating time is over 500 hours or as required in service operating
conditions, clean the suction filter. To clean the suction filter, please follow the steps as described below :
After stopping the unit, remove the cover. Unscrew the nu
⒜
t off,
and take out the element
Remove
⒝
the element, clean or renew it.
-
Cleaning by knocking out;
Knock the face of the cartridge several times against the ball
of your thumb so that dust falls off. Do not use force, avoid
damaging the cartridge. Cleaning seat of gaskets
-
Cleaning by blowing;
Blow cartridge surface with dry compressor air of no more 5
bar at on angle from the outside and the inside.
⒞
Close filter lid, observe correct positioning during assembly.
Inspect the element by placing a bright light nearby it If there
⒟
are thin spots, pin holes or ruptures show up, discard the
element.
Reinstall the element. Make sure that the element ha
⒠
s seated
tightly without any gap between the filter and the cover.
Tighten the nut.
⒡
Fig 6-2. Suction Filter
CAUTION
The second stage polyester element may be washable five times at a maximum. Do not fail to discard the
used element and replace it with a new one.
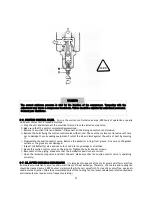
6-3. OIL SEPARATOR CARTRIDGE.
Oil separator cartridge is located at the upper part of air-end. Oil
separator cartridge separates the fine oil mist from the air. Separated oil is collected at the bottom of the
cartridge, and is scavenged to the air-end. Under normal operating conditions, the oil carry over in the
discharge air is controlled within the design limits. If the oil separator element is clogged, the oil carry-over is
increased. Check every 3,000 hours or six(6) month to check whether excessive oil consumption exists. Replace
the oil separator cartridge and clean the inside of oil separator every 6,000 hours or yearly whichever comes
first. To replace the element, please follow the steps as described below :
Stop the unit, and make sure that the discharge pressure gauge indicates 0 psig.
⒜
⒝
Unscrew the cartridge by turning it to the left with an oil filter tool.
⒞
Screw the cartridge on the fitting by hand, without using any tool.
⒟
Place sticker on the cartridge for the next renewal and mark the 18
th
month.
⒠
Check whether the cartridge is tight.
Summary of Contents for CHSA-10M
Page 31: ...27 AIR END NK40 ...
Page 33: ...29 AIR END NK60 ...
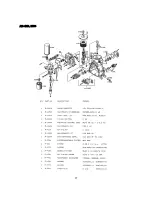
Page 34: ...30 Appendix B 1 PART LIST FOR MODEL CHSA 7 5M 1 2 ...
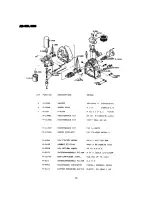
Page 35: ...31 1 PART LIST FOR MODEL CHSA 7 5M 2 2 ...
Page 36: ...32 2 PART LIST FOR MODEL CHSA 10M 1 2 ...
Page 37: ...33 2 PART LIST FOR MODEL CHSA 10M 2 2 3 PART LIST FOR MODEL CHSA 15M 1 2 ...
Page 38: ...34 3 PART LIST FOR MODEL CHSA 15M 2 2 ...
Page 39: ...35 4 PART LIST FOR MODEL CHSA 20M 1 2 ...
Page 40: ...36 ...
Page 41: ...37 4 PART LIST FOR MODEL CHSA 20M 2 2 ...
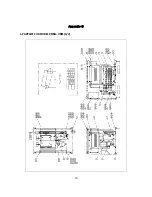
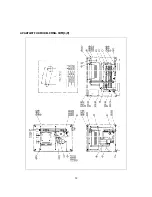
Page 42: ...38 C Wiring Diagram for Model CHSA 7 5 10 15 20M ...
Page 43: ...39 Appendix D 1 Outline Drawing for Model CHSA 7 5 10M ...


