HANDBOOK (V
4.0)
COMPLETE CONTROL SYSTEM GEN2
22
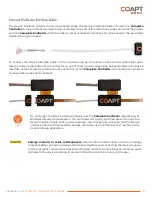
A disposable plastic fabrication aid is provided and can be used in the fabrication processes. The aid is an exact
size and shape match of the
Complete Controller
with the Device Interface Cable and the EMG Interface Cable
connected.
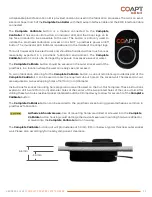
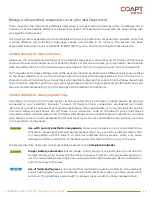
The
Complete Calibrate
button is a module connected to the
Complete
Controller
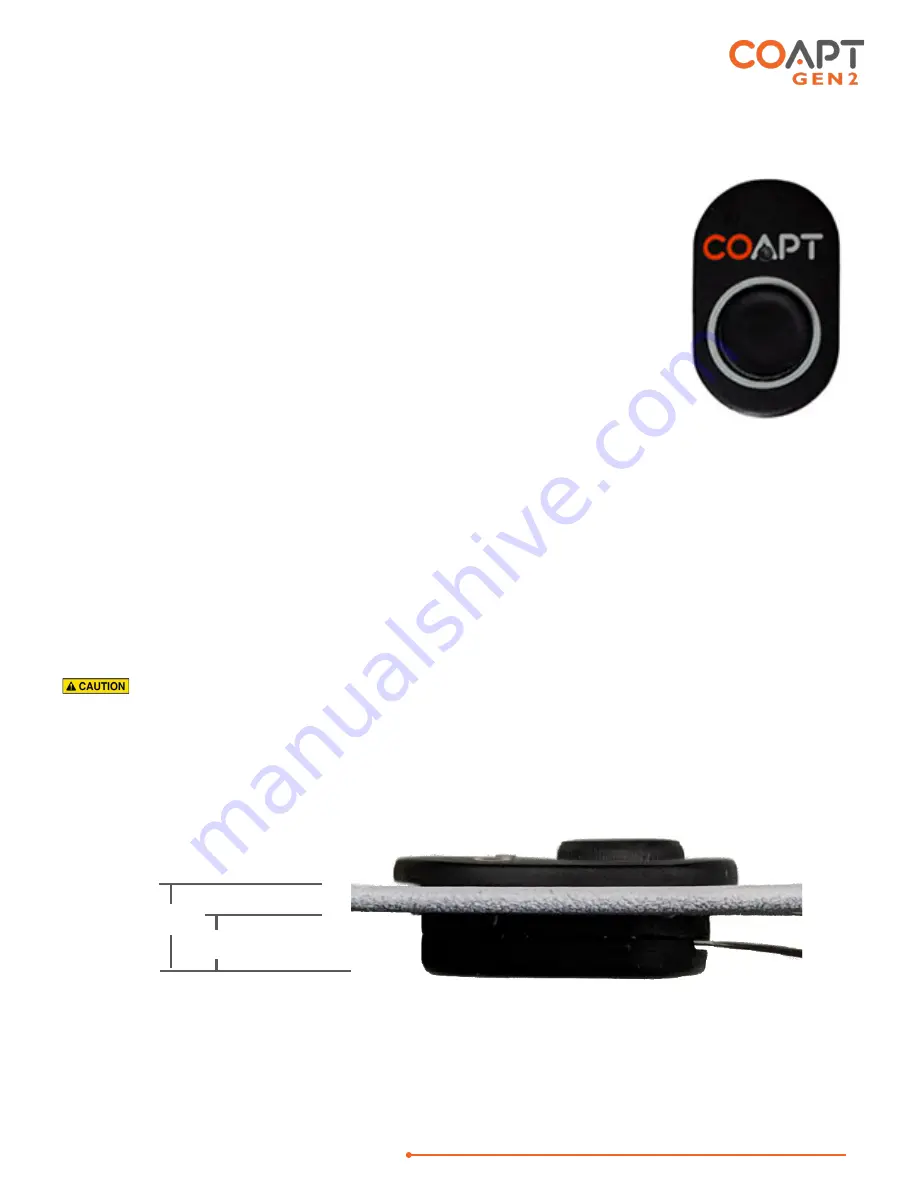
. It has one central button, an indicator LED, and the Coapt logo on its
top face intended to be accessible to the user. The button is primarily used to
initiate the prosthesis calibration process and is NOT a prosthesis power on/off
button. The multicolor LED indicator is positioned in the middle of the Coapt logo.
This unit houses sensitive electronics and should be handled with as much care as
reasonably expected in a prosthetic fabrication environment. The
Complete
Calibrate
button can also be damaged by exposure to excessive sweat or water.
The
Complete Calibrate
button should be secured in the outer socket wall of the
prosthesis, in a location where the user can easily see and access it.
To aid in fabrication planning for the
Complete Calibrate
button, a cut-out template is provided as part of the
Complete Control
kit. It can be used to mark the required cut-out hole on the socket wall. The desired cut-out
area equates to two overlapping holes of 12.7mm (½ in) diameter.
Instructions for socket mounting hole preparation are embossed on the Cut-Out Template. These instructions
explain to drill two 12.7mm (½ in) diameter holes at the center of the two printed holes of the cut-out aid. After
drilling these two holes, residual socket material should be trimmed away to allow for secure fit of the
Complete
Calibrate
button.
The
Complete Calibrate
button can be secured to the prosthetic socket using general adhesives common in
prostheses’ fabrication.
Adhesive & hardware use.
Use of mounting hardware drilled or screwed into the
Complete
Calibrate
button housing could damage the device. Never use mounting hardware drilled or
screwed into the
Complete Calibrate
button housing.
The
Complete Calibrate
button unit will protrude about 3.9 mm (0.15 in) below a typical thickness outer socket
wall. Please plan accordingly for nearby component clearance.
~3.9mm
6.5mm


