D
K
18
19
17
15
14
1
12)
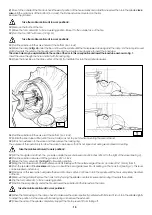
Lower the spindle until the tire is resting on the platform.
13)
Move the ramp towards the outside until the tire together with the split ring comes completely off the rim.
14)
Remove the rim from the spindle.
15)
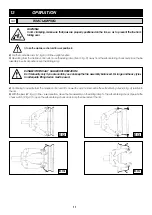
Position the tire on the ramp with the splint ring turned towards the spindle.
16)
Clamp the split ring on the spindle as explained in the section of RIM CLAMPInG.
DANGER!
The tire is not attached to the split ring
completely. Any strain on it during positioning or clamping operations could cause it to detach and fall.
17)
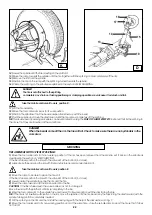
Lift the tire assembly.
18)
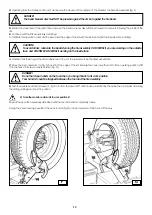
Move the tool carrier arm back to its work position.
19)
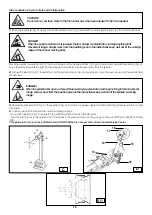
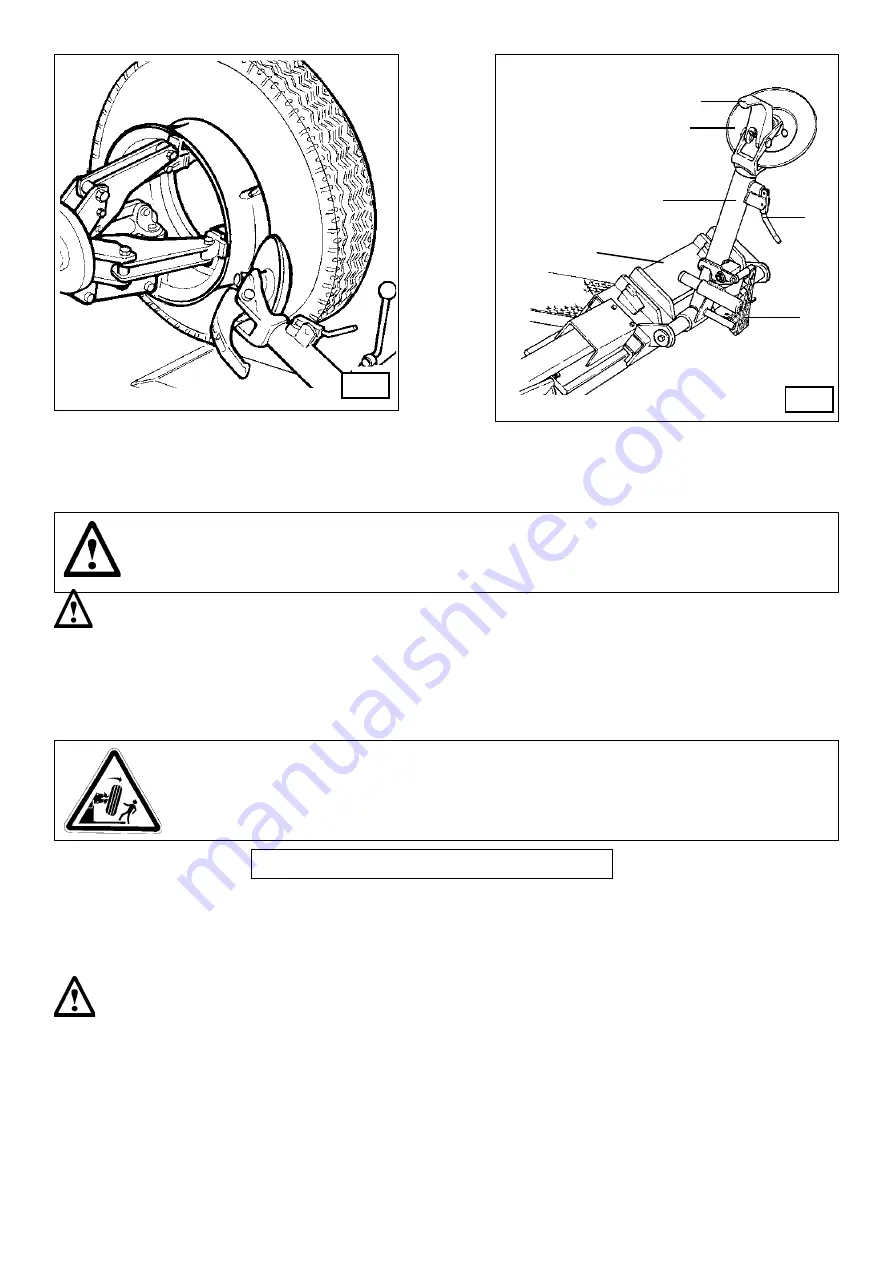
Position the spindle so that the bead loosener disk is lined up with the bead.
20)
Turn the spindle and move the disk forward until the tire comes completely off the split ring.
NB:
This double bead loosening procedure can be eliminated by using the
PAIR OF CLAMPS #9299273
(optional) that fix the split-ring to
the rim so that they are loosened at the same time.
DANGER!
When the beads come off the rim, the tire will fall. Check to make sure there are no bystanders in the
work area.
MOUNTING
TIRE ASSEMBLIES WITH 3-PIECE SPLIT-RINGS
1)
Move the tool carrier arm to its non-working position. If the rim has been removed from the spindle, put it back on the spindle as
described in the section on “RIM CLAMPInG”.
If the tire is tubed, position the rim with the valve slot at the bottom (6 o’clock).
2)
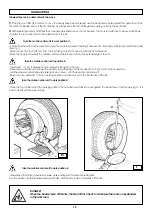
Lubricate both beads and the rim with tire manufacturer recommended lubricant.
Take the mobile control unit to work position D.
Take the mobile control unit to work position B.
3)
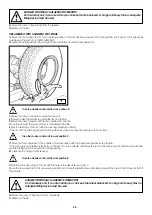
Move the ramp to be able to place the tire on it.
If the tire is tubed, position the rim with the valve slot at the bottom (6 o’clock).
4)
Lower or raise the spindle to centre the rim and the tire.
5)
Move the ramp forward until the rim is inserted into the tire.
CAUTION!
If the tire is tubed push the valve inside so as not to damage it.
Move forward with the platform until rim is completely in the tire.
6)
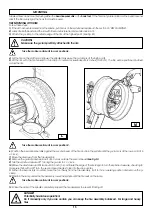
Bring the tool carrier arm to the outside face and lower it to its work position with the disk facing the tire.
NB:
If the tire is not inserted sufficiently on the rim, move the spindle until the tire bead is by the disk. Bring the disk forward (with the
spindle turning) until it is completely inserted.
7)
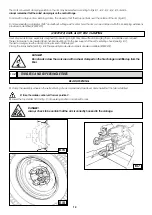
Put the split-ring on the rim and then install the locking ring with the help of the disk as shown in Fig. Y.
8)
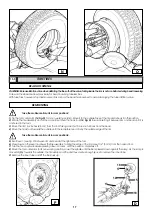
Move the tool carrier arm to its non-working position and, at the same time, close the spindle arms. Support the tire so that it does
not fall off.

