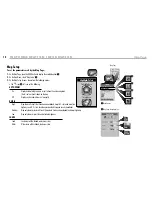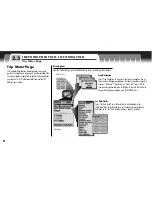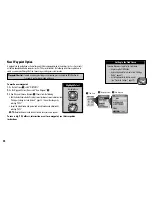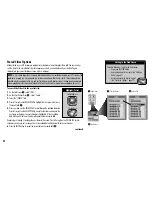
From the Tracks Page, press on
the ROCKER PAD to scroll up or
down through a screen or to
highlight various options. Press the
ENTER button to select an option.
Selecting Options
menu
enter
p
enter
p
esc
zoom
ter
p
N AV I G AT I O N T O O L S
Tracks
3.2
27
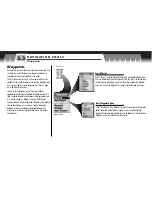
Tracks Page
Tracks
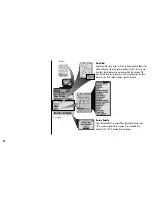
This GPS receiver automatically keeps a record of your progress
as you travel and gives you a graphic representation or “track
log” of the path or track you have taken. Each time you turn the
receiver on, it begins a new track log recording, called a
“session.” You can use the track log to create a track that you
can recall for navigation.
You can create and store up to 10 different tracks. Each track
can be recalled and used for navigation as the receiver shows
you how to retrace the track again, either forward or in the
reverse direction. When traveling in unfamiliar territory, this is a
quick and easy way to make sure you always know how to get
back to your starting point.
To assist in your Track navigation, your GPS receiver is already
programmed with locations of hundreds of worldwide cities; U.S.
state, Canadian provincial and European country boundaries; and
U.S. interstate freeways, highways and exits. With optional
computer software, interface cable and
SD Memory Card (needed for map downloading), you can
access a computer mapping database to transfer in additional
mapping information that includes points of interest, local roads
and streets, intersections and addresses.
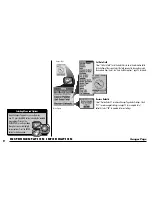
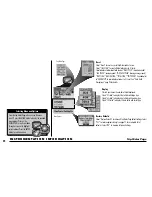
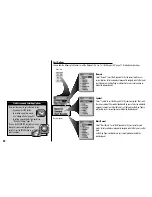
Log Options
Select “LOG” to save a session as a track or to clear the track log. Select
“SAVE” to save “This Session” (the track log recorded since the receiver was
last turned on) or to save the “Entire Log.” Select “CLEAR” to delete the entire
track log.
See “Track Log Options,” page 29 for details and instructions.
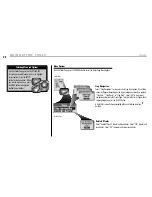
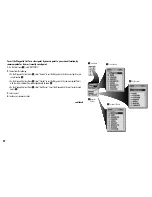
Saved Track Options
Select any saved track on the Track List to “NAVIGATE” through that track, to
see that track on the “MAP,” to see “DETAILS” of that selected track such as
the name and total distance or to “DELETE” that individual track.
See “Saved
Track Options,” page 30 for details and instructions.

