83
3
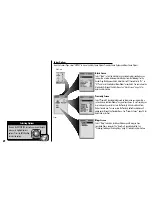
Clock Format
4
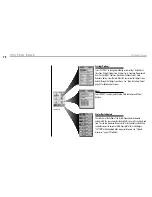
Time Zone
5
Daylight Savings
6
Language
7
Measurement
Settings Screen Settings
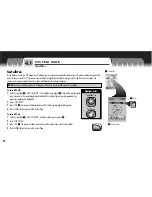
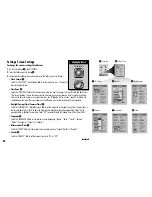
To change the various settings listed below:
1.
On the System Page
1
, select “SETTINGS.”
2.
Select the field you want to change
2
.
3.
Choose from the following (you only need to select the fields you want to change.)
• Clock Format
3
Select the “CLOCK FMT” (Clock Format) field to set the receiver to use a 12 hour or 24
hour clock display format.
• Time Zone
4
Select the “TIME ZONE” field to set the time zone in which you want the receiver to format the time and date. Select
“Use Current Location” to have the receiver use the time zone at your current location. Select a specific city within a
time zone to have the receiver use a specific time zone.
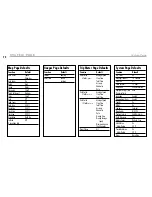
See “Worldwide City Time Zones,” page 90 for details.
The
small window at the top of the screen shows you the difference in hours from the Universal Time Coordinate.
• Daylight Savings Time (Summer Time)
5
Select the “DAYLIGHT SAV” (Daylight Savings) field to set the receiver to use Daylight Saving Time (Summer Time) in
the time and date. Select “Auto” to have the clock switch to Daylight Savings Time automatically. Select “On” to
manually switch to Daylight Savings Time. Select “Off” to manually switch to Standard Time (Winter Time [GMT].)
• Language
6
Select the “LANGUAGE” field to set the receiver’s screen language to “English,” “Dutch,” “French,” “German,”
“Italian,” “Portuguese,” “Spanish” or “Swedish.”
• Measurement Units
7
Select the “UNITS” field to set the receiver’s measurement system to “English,” Metric” or “Nautical.”
• Sounds
8
Select the “SOUNDS” field to set the receiver’s sounds to “On” or “Off.”
continued
8
Sounds
To highlight use
To select use
enter
p
esc
zoom
ter
p
Highlight/Select
1
System Page
2
Settings Screen

