4. DISASSEMBLING AND SERVICING
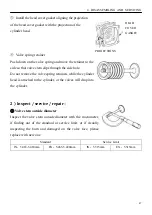
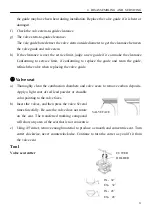
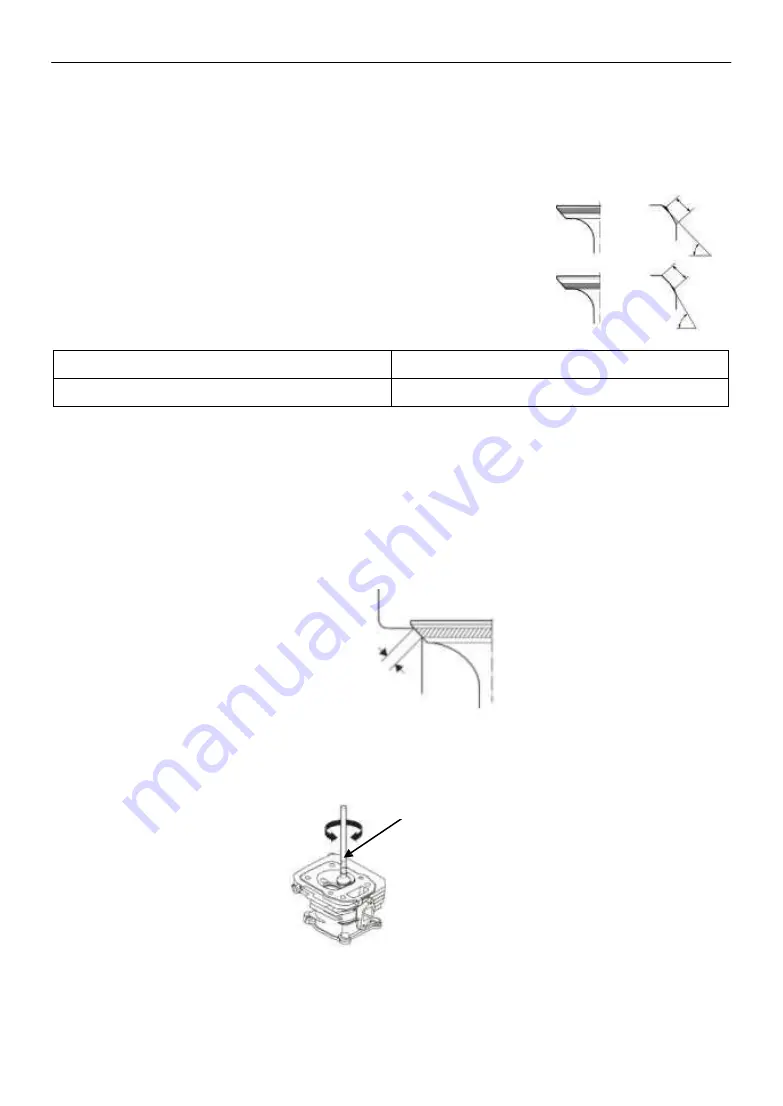
VALVE LAPPING TOOL
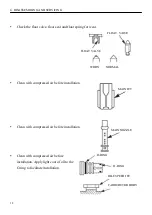
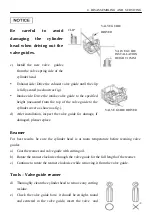
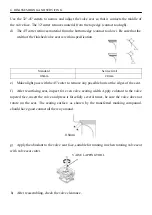
Use the 32°-45°cutters to narrow and adjust the valve seat so that it contacts the middle of
the valve face. The 32°cutter removes material from the top edge (contact too high).
d)
The 45°cutter removes material from the bottom edge (contact too low). Be sure that the
width of the finished valve seat is within specification.
Standard
Service limit
0.8mm
2.0mm
e)
Make alight pass with the 45°cutter to remove any possible burrs at the edges of the seat.
f)
After resurfacing seat, inspect for even valve seating width. Apply colorant to the valve
tapered face, insert the valve and press it forcefully several times, be sure the valve does not
rotate on the seat. The seating surface, as shown by the transferred marking compound,
should have good contact all the way around.
g)
Apply the abradant to the valve seat face, suitable for running in when rotating valve seat
with valve seat cutter.
h)
After reassembling, check the valve clearance.
0.8mm
Summary of Contents for Y173V
Page 4: ......
Page 8: ...2 DIMENSION AND TORQUE 4 2 DIMENSION AND TORQUE 2 1 Dimension ...
Page 48: ...46 4 DISASSEMBLING AND SERVICING INTAKE VALVE Reassembly ...
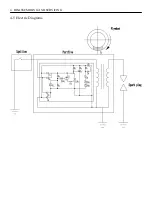
Page 64: ...4 DISASSEMBLING AND SERVICING 4 5 Electric Diagrams ...
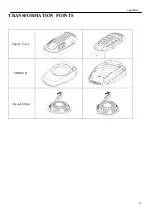
Page 65: ...61 appendix TRANSFORMATION POINTS Engine Cover SHROUD Recoil Starter ...
Page 66: ......

