4. DISASSEMBLING AND SERVICING
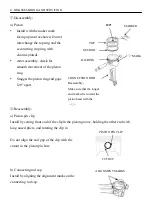
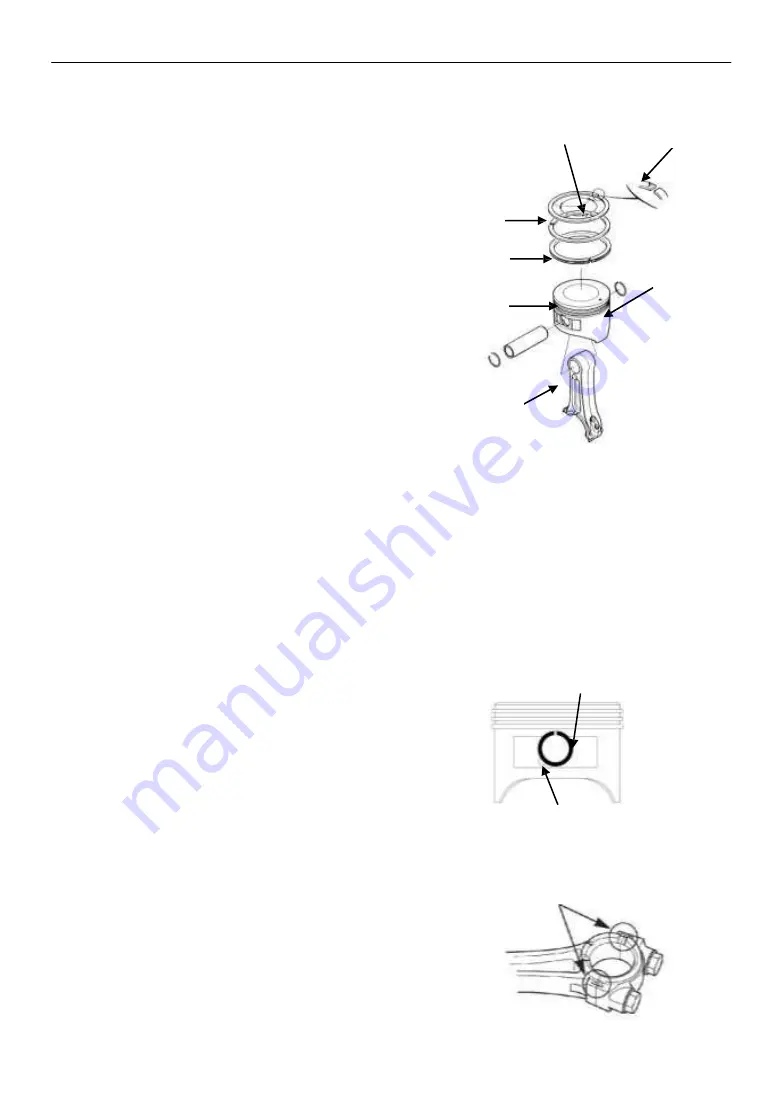
120°
MARKER
TOP
SECOND
“
▽
”MARK
OIL RING
CONNECTION ROD
Reassembly
:
Make sure that the longer
end marked is toward the
piston head with the
“
▽
”
ALIGNMENT MARKS
①
Disassembly
:
a) Piston
Install with the maker mark
facing upward as shown. Do not
interchange the top ring and the
second ring (top ring with
chrome plated).
After assembly, check for
smooth movement of the piston
ring.
Stagger the piston ring end gaps
120° apart.
②
Reassembly
:
a)
Piston pin clip
Install by setting front end of the clip in the piston groove, holding the other end with
long nosed pliers, and rotating the clip in.
PISTON PIN CLIP
Do not align the end gap of the clip with the
cutout in the piston pin bore.
CUTOUT
b)
Connecting rod cap
Install by aligning the alignment marks on the
connecting rod cap.
Summary of Contents for Y173V
Page 4: ......
Page 8: ...2 DIMENSION AND TORQUE 4 2 DIMENSION AND TORQUE 2 1 Dimension ...
Page 48: ...46 4 DISASSEMBLING AND SERVICING INTAKE VALVE Reassembly ...
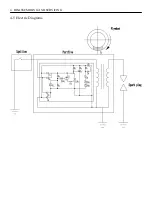
Page 64: ...4 DISASSEMBLING AND SERVICING 4 5 Electric Diagrams ...
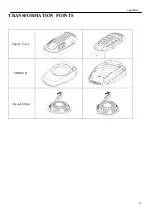
Page 65: ...61 appendix TRANSFORMATION POINTS Engine Cover SHROUD Recoil Starter ...
Page 66: ......

