2
Microphone Pairing
Before You Begin:
The Cochlear
™
Nucleus
®
6
(CP900
Series)
Sound Processor may require a
simple software update before it can
pair to a wireless accessory. In addition,
the CR230 Remote Assistant will not
be able to monitor or control wireless
streaming without a software update.
Confirm the CP900 Series Sound
Processor and CR230 Remote
Assistant
(if applicable)
has been
connected to Cochlear™ Custom
Sound
®
4.2 or later
(Custom Sound
4.3 was introduced in October 2015.
All devices shipped after this date
already have the latest software.
)
Ensure microphone is fully charged,
Nucleus 6 Sound Processor has a
fresh or recharged battery, and the
hearing aid has a new battery. You
may experience connectivity issues
if battery power is low.
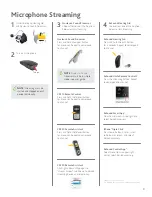
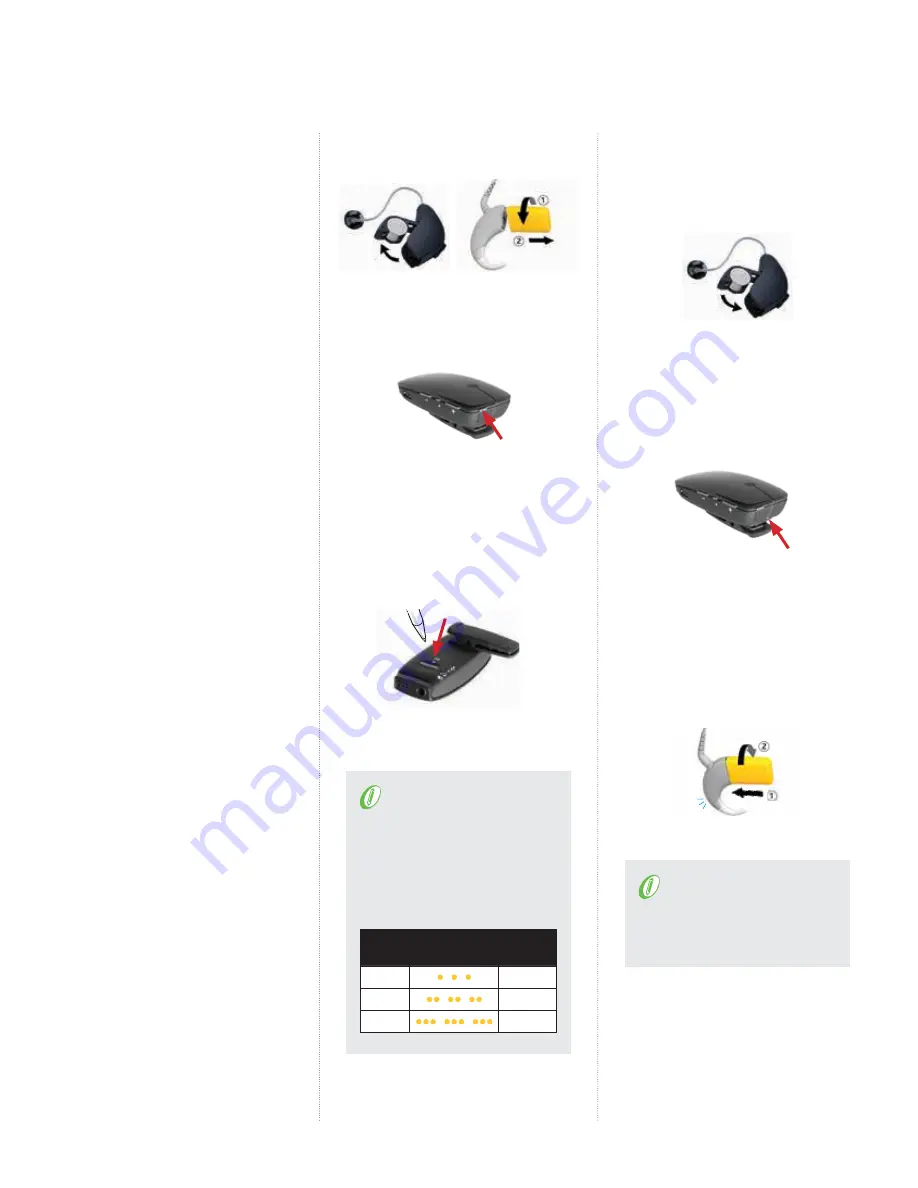
1
Turn off ReSound Hearing Aid
and Nucleus 6 Sound Processor.
2
Turn on microphone.
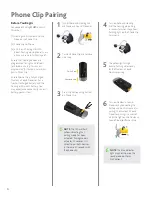
3
Locate and press the pairing
button on back of the
microphone by the clip. Press
number of times
(1, 2, or 3)
for channel allocation.
NOTE
: The LED will flash
yellow indicating that
pairing mode has been
activated. The number of
flashes indicates the channel
selection. Pairing mode is
active for 20 seconds.
Pushes
Light Indicator
Pattern
Channel
1
1
2
2
3
3
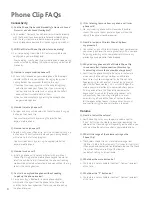
4
Turn on ReSound Hearing
Aid. The hearing aid pairing
is successful when the yellow
flashing light on the microphone
turns solid.
5
The yellow light will go
back to flashing when ready
for the Nucleus 6 Sound
Processor pairing.
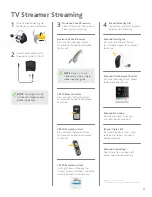
6
Turn on Nucleus 6 Sound
Processor by connecting the
battery and confirm successful
pairing. The Nucleus 6 Sound
Processor pairing is successful
when the light on the Nucleus 6
Sound Processor flashes blue.
NOTE
: The blue indicator light
may not show on the sound
processor for a Cochlear
™
Nucleus
®
22 patient.
Turn on


