

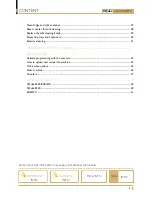


Summary of Contents for CQube SE20
Page 1: ...CQUBE SE20 BARISTA USER MANUAL UM_EN Part No 1764020_02 ...
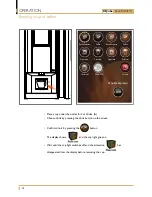
Page 42: ......
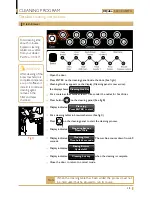
Page 43: ......
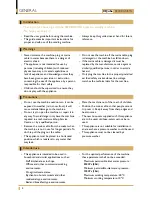
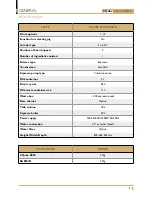
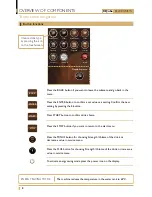
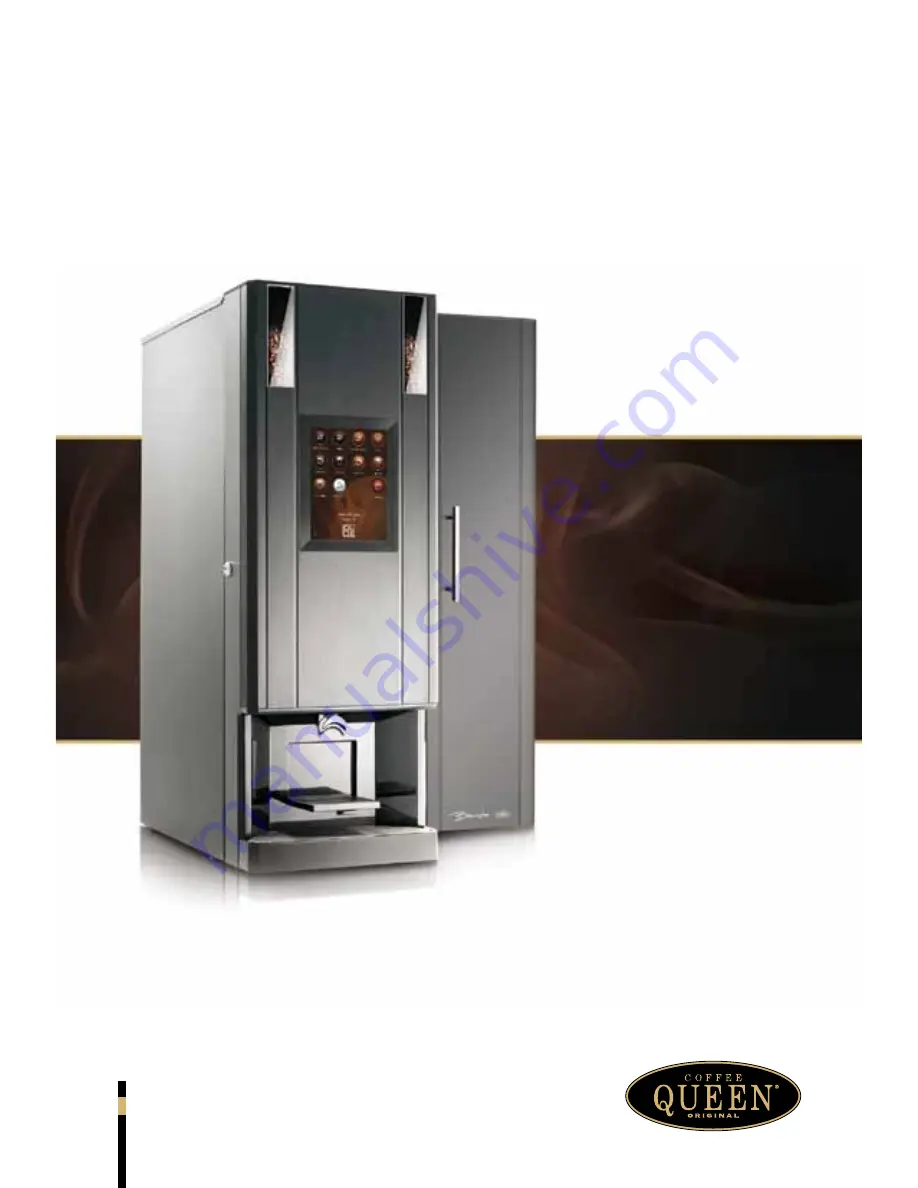
The Coffee Queen CQube SE20, a high-performance espresso machine, brings the café experience to your home. Enhance your mornings with its sleek design, advanced features, and rich coffee flavors. Unleash its potential by easily accessing the detailed User Manual, available for free download exclusively at our website, ensuring a seamless coffee-making experience.
Page 1: ...CQUBE SE20 BARISTA USER MANUAL UM_EN Part No 1764020_02 ...
Page 42: ......
Page 43: ......


